
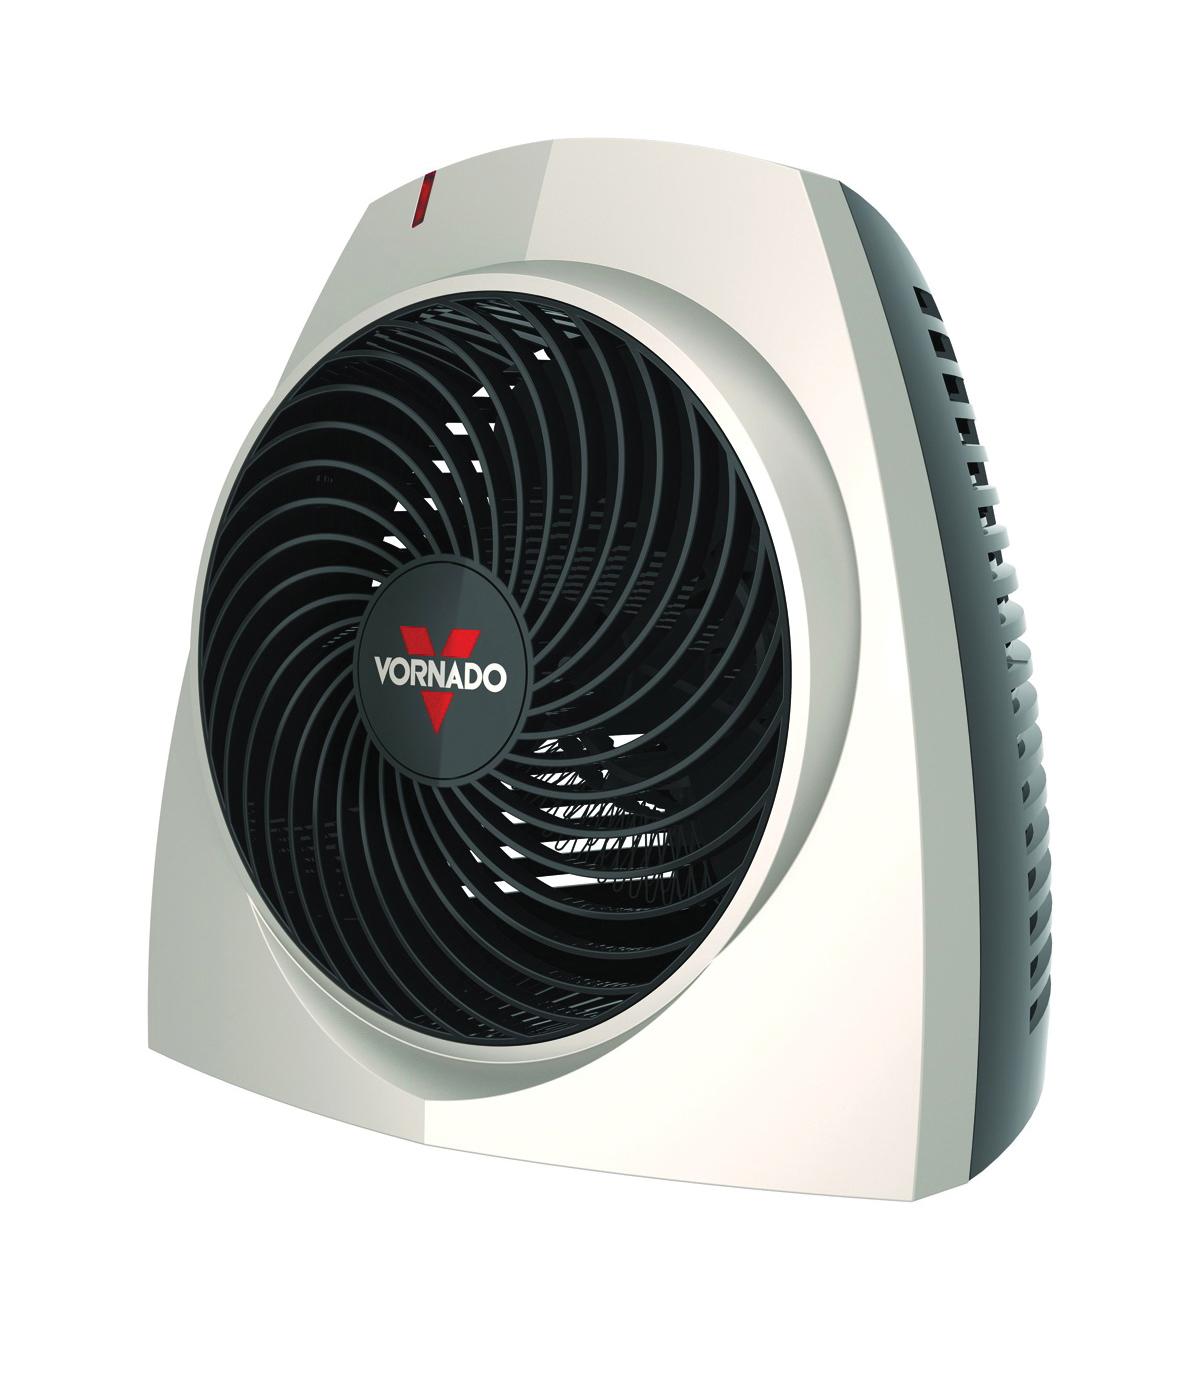
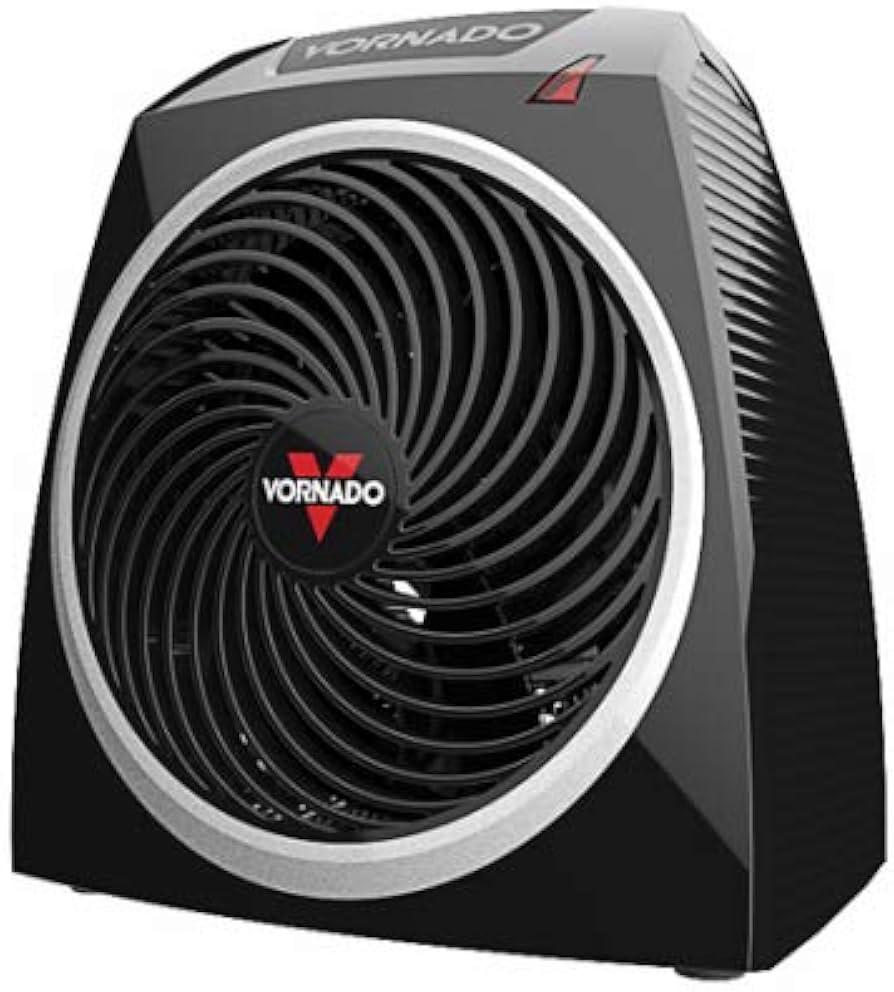
Ever stared at your Vornado EH1 and thought, “What’s going on inside that sleek body?” Well, you’re not alone! The EH1 is more than just a pretty face in the world of heaters; it’s a little powerhouse packed with technology that keeps us cozy during those chilly months. But, like any well-loved gadget, it might need a little TLC or troubleshooting from time to time. That’s where this guide comes into play! We’re diving deep into the DIY world, unlocking the secrets of disassembling your Vornado EH1. Whether you’re a curious tinkerer or facing a minor malfunction, this friendly guide will walk you through the steps with clarity and a sprinkle of fun. Let’s take that heater apart and discover what makes it tick! Ready to roll up your sleeves? Let’s get started!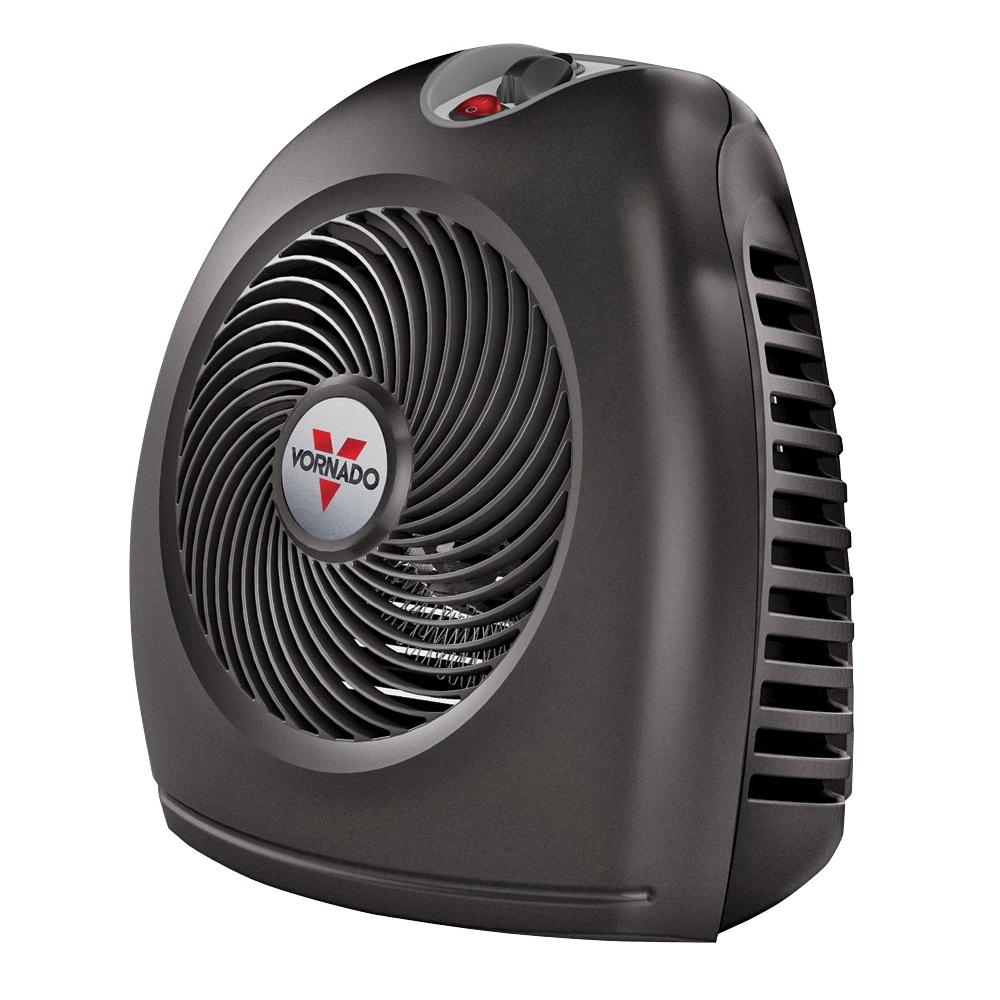
Understanding the Anatomy of the Vornado EH1 and What Makes It Tick
The heart of the Vornado EH1 is its unique airflow technology, designed to circulate warm air efficiently throughout your space. Think of it like a maestro conducting a symphony; every component plays its part to create a harmonious climate in your home. At its core, you’ll find the fan and heating elements, strategically configured to maximize heat distribution. There’s a thermal sensor nestled inside, constantly monitoring the temperature, ensuring you’re never left in the cold. The compact design houses everything neatly, making it a breeze to disassemble.
When you dive into the anatomy, there are a few components you should get familiar with:
- Fan Assembly: The powerhouse, pushing air with precision.
- Heating Element: Where the magic happens, transforming electricity into cozy warmth.
- Control Surface: Your interface for setting the desired temperature.
- Base and Shell: The exterior, providing both style and stability.
Getting to know these parts not only helps you understand how the EH1 operates but also makes troubleshooting a piece of cake if something goes awry. Remember, it’s all about breaking it down into bite-sized pieces, just like pie! Plus, spot checking each part can prevent potential overheating or mechanical hiccups down the line.

Essential Tools You Need Before You Dive In
Before you roll up your sleeves and tackle the Vornado EH1, having the right tools at your fingertips is crucial for a smooth disassembly. Think of it as gathering your treasure map before heading on an adventure; each instrument plays a role in ensuring you hit the treasure chest without a hitch. Here’s what you’ll want to have on hand:
- Small Phillips and Flathead Screwdrivers: These are your trusty sidekicks for loosening screws. The Phillips will get you into most places, while the flathead can help pry things gently apart.
- Plastic Spudger or Pry Tool: This nifty tool is non-marring, meaning you can wiggle your way into tight spots without scratching or damaging any surfaces.
- Tweezers: Because those tiny screws can sometimes feel like they have a mind of their own! A good pair can help you grip and maneuver small parts effortlessly.
- Container for Screws: It’s like your treasure chest; you don’t want to lose those tiny screws amidst the chaos. Keep it organized!
Once you’ve secured these tools, you’ll feel more like a craftsman than a novice. It’s about having confidence in your approach! If you’re diving deep, consider setting up a small workstation lit with natural light—just like a painter needs a clean canvas. Here’s a quick reference guide to ensure you’re fully prepared:
| Tool | Purpose |
|---|---|
| Phillips Screwdriver | Loosening and attaching screws |
| Flathead Screwdriver | Prising open tight spots |
| Plastic Spudger | Gently separating components |
| Tweezers | Gripping and precision work |
| Container | Storing screws and small parts |
Step-by-Step Disassembly Process for the Vornado EH1
Before diving in, make sure you’ve unplugged your Vornado EH1. Safety first, right? Grab a Phillips screwdriver, a flathead screwdriver, and a soft cloth to catch any loose screws. It’s like a cozy blanket for your workspace! Start by removing the base cover, which is typically secured with a few screws. Once you’ve taken those out, gently lift the cover off. Be careful with the wiring—think of it as a delicate spider web that you don’t want to disturb too much. Now you’ll see the internal components, like your own little ecosystem.
Next, locate the fan assembly. Remove any screws or clips holding it in place, then gently pull it out, as if you’re uncovering a hidden treasure. If you encounter a stubborn part, don’t force it; try wiggling it instead. Once the fan is out, give it a good clean—dust bunnies don’t stand a chance! To make reassembly easier, lay out all your screws and parts in a neat row, creating a visual guide. It’s a bit like doing a puzzle, but with fewer edge pieces and more fans!
Common Pitfalls to Avoid and Tips for a Smooth Reassembly
When diving into the world of DIY disassembly, it’s easy to trip over a few common missteps. First off, rushing the process can lead to serious headaches down the line. Take your time, because those little screws and clips are like puzzle pieces—if you force them, you might break them. Keep a magnetic tray handy for screws; it’s a lifesaver when it comes to keeping track of all those fiddly bits that can easily get lost in the chaos. Also, mark or photograph the order in which you remove components; trust me, future you will thank present you for that little bit of forethought!
Another pitfall is neglecting to check for hidden fasteners. Some parts are like introverts at a party—they like to hide away. Make sure to look closely for screws or tabs that might be tucked away under labels or components. You wouldn’t want to wrestle with a stubborn piece that simply needs a hidden screw undone! When reassembling, always reverse the disassembly steps. It’s like retracing your steps after a long hike—better to follow the same path back than to wander aimlessly. Don’t be afraid to give components a gentle wiggle to ensure they’re seated correctly. If things aren’t lining up quite right, just take a breath, double-check your work, and try again!
Wrapping Up
And there you have it! You’ve conquered the mighty Vornado EH1, unlocking its secrets one screw at a time. By diving into this DIY adventure, not only have you gained some handy skills, but you’ve also become a little more attuned to the inner workings of your trusty heater. Whether you’re looking to perform a bit of maintenance, tackle a repair, or just satisfy your curiosity, this guide has armed you with the know-how to keep your EH1 running smoothly.
Remember, every time you give that heater a little TLC, you’re not just preserving a piece of equipment—you’re investing in your comfort. So, if you ever find yourself shivering or just want to brush off some dust, you know what to do! Keep those tools handy, stay curious, and don’t hesitate to get your hands a bit dirty now and then. After all, there’s something incredibly satisfying about taking a device apart and putting it back together—like a little puzzle where you hold all the pieces. Happy DIYing, friends!