Hey there, fellow creators! So, you’ve hopped onto YouTube Studio, ready to whip up some magic with your videos, but instead, you find yourself stuck in the editing trenches, feeling like you’re trying to swim upstream without a paddle. We’ve all been there—the endless tweaks, the stubborn timelines, and let’s not forget that pesky audio sync issue that seems to have a vendetta against you! If your editing process feels more like navigating a labyrinth than unleashing your creativity, you’re in the right place. In this article, we’re going to unpack those editing frustrations, break them down bit by bit, and arm you with tips and tricks to transform that chaotic experience into a smooth, enjoyable ride. Let’s dive in and turn that editing dread into editing delight—because creating should be fun, not frustrating! Ready? Let’s go!
Navigating the Labyrinth of YouTube Studio Tools

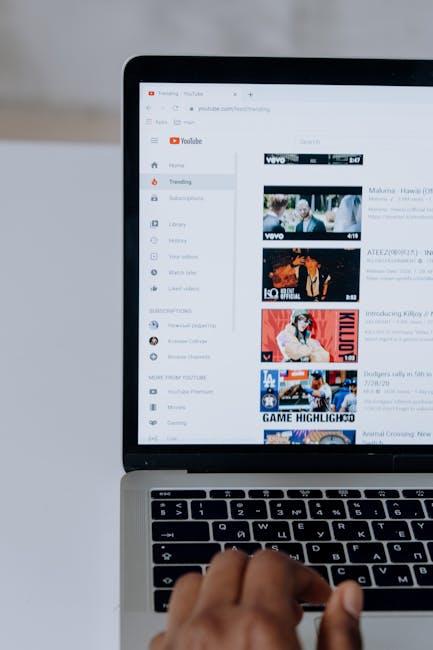
Getting familiar with the YouTube Studio can feel like wandering through a maze, right? It’s packed with so many features that it can be overwhelming. One minute, you’re adjusting your video’s title and tags, and the next, you’re knee-deep in analytics trying to decode your audience’s viewing habits. What even are impressions? And don’t get me started on the editing tools! Tackling those feels like trying to juggle while riding a unicycle. If you’ve ever found yourself scratching your head over the difference between trim and cut, you’re definitely not alone! Here’s a quick breakdown of some of the essential tools that can help streamline your editing process:
- Trim: This lets you remove parts from the beginning or end of your video, making it cleaner and more engaging.
- Split: Use this to cut your video into sections; perfect for creating highlights or removing fluff.
- Filters: Spice up your visual style to fit the vibe you want for your channel!
- Music Library: Find royalty-free tracks that can elevate your content’s mood without breaking the bank.
Now, let’s talk about the analytics. It’s like having a treasure map that leads you straight to your audience’s heart. By diving into metrics like watch time and subscriber growth, you can uncover what works and what flops. Want to know where your viewers are dropping off? That’s your cue to tweak the content and keep them hooked. Set up a dummy table to visualize your engagement stats—keeping track doesn’t have to feel like a chore!
| Metric | What it Shows | Action Items |
|---|---|---|
| Watch Time | Indicates how long viewers are engaged | Revise content for better pacing |
| CTR (Click-Through Rate) | Shows how effective your thumbnails & titles are | Experiment with new thumbnails |
| Audience Retention | Percentage of video watched | Focus on hooks in the first 10 seconds |
Decoding the Editing Puzzle: Common Hurdles and Solutions

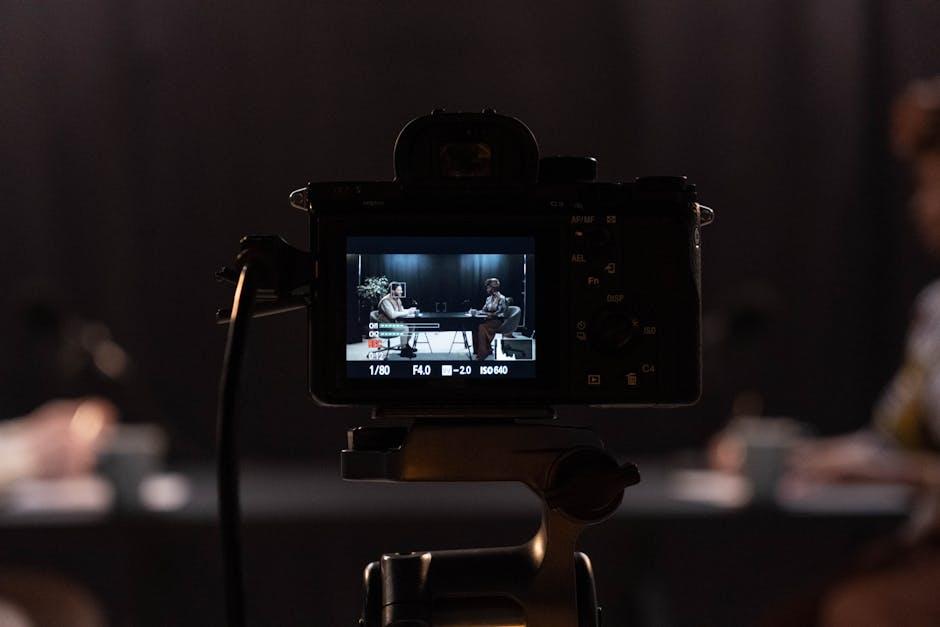
Editing can feel like you’re piecing together a baffling jigsaw puzzle, isn’t it? One minute, you’ve got a clear vision of your video, and the next, you’re tangled in glitches or lost in a sea of options. The most common hiccups often arise during the rendering phase—sudden crashes or slow processing can turn that creative high into a frustrating low. It’s like waiting for paint to dry while you’re already bursting with ideas for your next masterpiece! Here are some common hurdles and how you can leap over them:
- Lagging Software: Make sure your software is updated to the latest version. Sometimes, the tiniest tweak can solve a mountain of problems!
- Footage Compatibility: Are all your clips in the same format? Mixing different formats can lead to headaches. Convert them to a compatible format before starting your edit!
- Too Many Effects: While flashy effects are tempting, overloading your video can slow down processing times. Use effects sparingly to keep things smooth.
Next up, let’s talk about organization. Trying to edit when your files are scattered like leaves in the wind? Not fun. Maintaining a tidy workspace in YouTube Studio can streamline your process and save you plenty of time. Consider creating folders for different projects or segments so you can quickly locate what you need. A little organization goes a long way! Here’s a neat table to give you a visual roadmap for tackling your editing woes:
| Common Issues | Quick Fixes |
|---|---|
| Slow Rendering Times | Close unused applications and consider upgrading hardware. |
| Unresponsive Software | Restart the program or your device; sometimes, it just needs a little nap. |
| Disorganized Files | Create dedicated folders for each project to keep everything in one place. |
Finding Your Flow: Tips for Streamlining Your Editing Process

When it comes to editing your videos, finding a rhythm can sometimes feel like trying to catch smoke with your bare hands. Here are some effective tips to help you streamline your editing process and make it less of a headache:
- Organize Your Files: Before you even start editing, have your assets sorted by type or project. This means your footage, audio, and graphics should have designated folders that are easy to find.
- Create a Template: Consider developing a go-to project template that includes your intro/outro, branding, and any graphics that you use consistently. This saves time and keeps your style on point.
- Set Time Limits: It can be tempting to keep tweaking and refining, but set a timer for each editing session. This can help you stay focused and prevent you from getting lost in the nitty-gritty.
Also, ever thought about using keyboard shortcuts? They’re like secret weapons in your editing arsenal. They can drastically reduce the time spent on repetitive tasks, leaving you more time for the creative side of things. Here’s a quick table of common shortcuts:
| Action | Shortcut |
|---|---|
| Cut | Ctrl + K |
| Copy | Ctrl + C |
| Paste | Ctrl + V |
| Undo | Ctrl + Z |
Harnessing Creativity: Turning Frustration into Inspiration

Ever found yourself staring at the screen, the cursor blinking at you like it’s taunting your every thought? Editing can feel like a tightrope walk on a windy day—just one misstep, and you could tumble into the abyss of frustration! But what if I told you that these moments of irritation can actually be your superpower? Transforming hurdles into leaps of creativity can be your secret weapon. Instead of letting the frustration win, take a step back and ask yourself what’s triggering these feelings. Is it a stubborn clip that just won’t align? Turn that pesky problem into a challenge! Grab a notepad, brainstorm some wild ideas, and jot down alternative ways to express your vision. Who knows? That slight tweak might just unlock an entirely new direction for your video!
To illustrate this idea further, think of editing like navigating a maze. Every twist and turn may present obstacles, but it’s also a chance to explore hidden pathways. Here are a few tips to help you channel that frustration into creativity:
- Take Breaks: Sometimes, all you need is a little distance to see things clearly.
- Experiment: Try using funky transitions or unexpected sound effects; surprise yourself!
- Get Feedback: Share your work with a friend – fresh eyes can provide fresh perspectives.
Key Takeaways
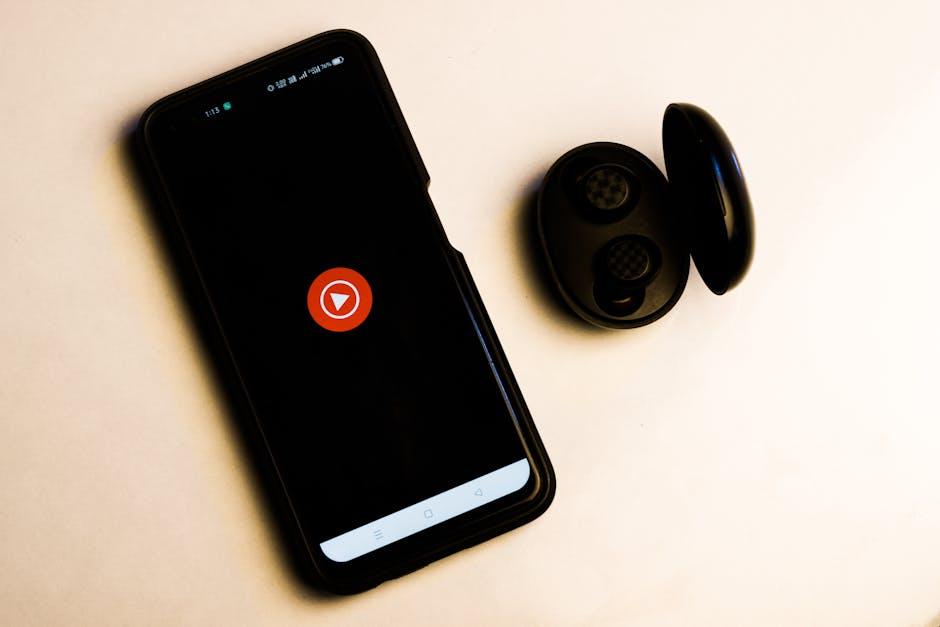
As we wrap up our journey through the often perplexing world of YouTube Studio, let’s be real: editing can sometimes feel like trying to untangle a pair of headphones that have spent too much time in your pocket. Frustrating, right? But here’s the good news—you’re not alone in this. Every creator, from the beginners to the seasoned pros, has had their share of headaches while grappling with editing tools and features.
Remember, every edit, every clip you shuffle around is a step closer to your final masterpiece. So embrace those challenges! Next time you find yourself navigating through those editing quirks, take a deep breath, grab a cup of your favorite brew, and know that with a little patience and practice, you’ll be crafting videos that not only tell your story but also resonate with your audience.
And hey, don’t forget to keep experimenting! Sometimes the best ideas come when you least expect them. So cheer up, keep that creativity flowing, and let’s make those editing frustrations just a stepping stone on your path to YouTube success. Happy editing, and see you in the next video!