Ready to dive into the vibrant world of YouTube? Think of it as launching your very own spaceship into the digital cosmos! Setting up your channel can feel daunting, but here’s the scoop: it’s not just about tech and tangents; it’s about creativity, connection, and sharing the things you love. Whether you’re a budding filmmaker, a gaming guru, or a cooking connoisseur, this guide is your ticket to a fun-filled adventure. We’re talking everything from branding to content strategy, all wrapped in a friendly vibe to keep those nerves at bay. So grab your idea notebook and let’s sketch out your path to YouTube stardom! Who knows? The next viral sensation could just be a click away!
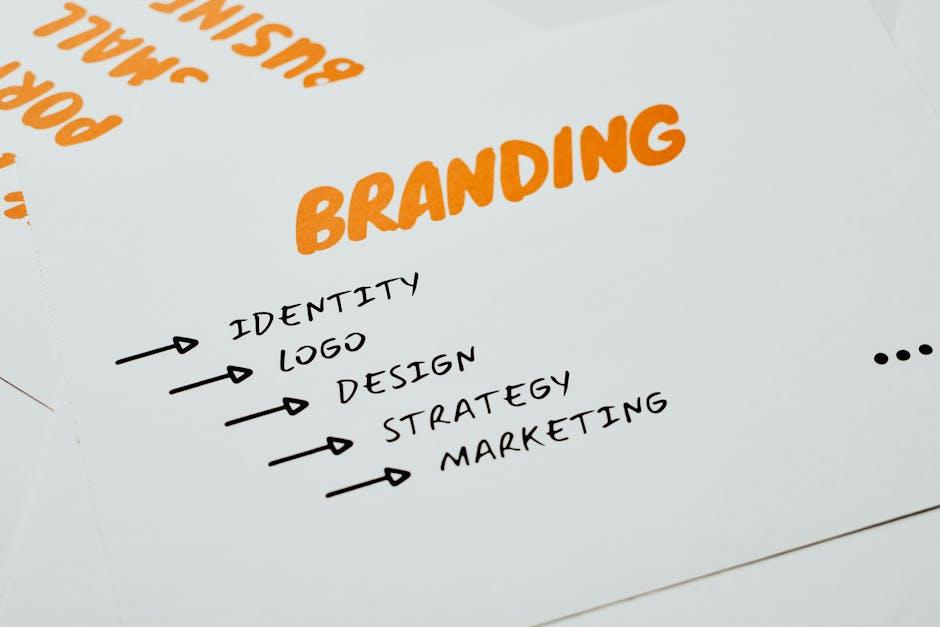
Crafting Your Channel Identity to Shine Bright
Creating a unique channel identity is like dressing your favorite action figure—it’s all about the details that make it stand out in a sea of similar toys. You want your personality to shine through, so think about what vibes you’re giving off. Consider these essentials when carving out your niche:
- Channel Name: It should roll off the tongue and hint at what kind of content you’re offering.
- Profile Picture: Use a clean and recognizable image, maybe of yourself or an iconic logo, so viewers can instantly associate it with you.
- Channel Banner: A visually compelling banner that reflects your style can set the mood. Think of it as the front yard of your content home!
- Content Style: Define your tone, whether it’s upbeat, laid-back, or educational. This is what makes viewers feel at home on your channel.
Next comes the magic of storytelling. Your channel description is your elevator pitch, so make it snappy and inviting! You want to draw people in, right? Consider using an engaging hook that gives potential subscribers a reason to stick around. Here’s a quick layout to help you structure your description:
| Element | Description |
|---|---|
| Who I Am | A brief intro about yourself and what drives your passion. |
| What To Expect | Highlight the types of videos you’ll create—tutorials, vlogs, reviews, etc. |
| Call to Action | Encourage visitors to subscribe, enabling them to join your journey. |
Think of it as planting seeds; with each detail you perfect, you’re nurturing your channel to grow and flourish!
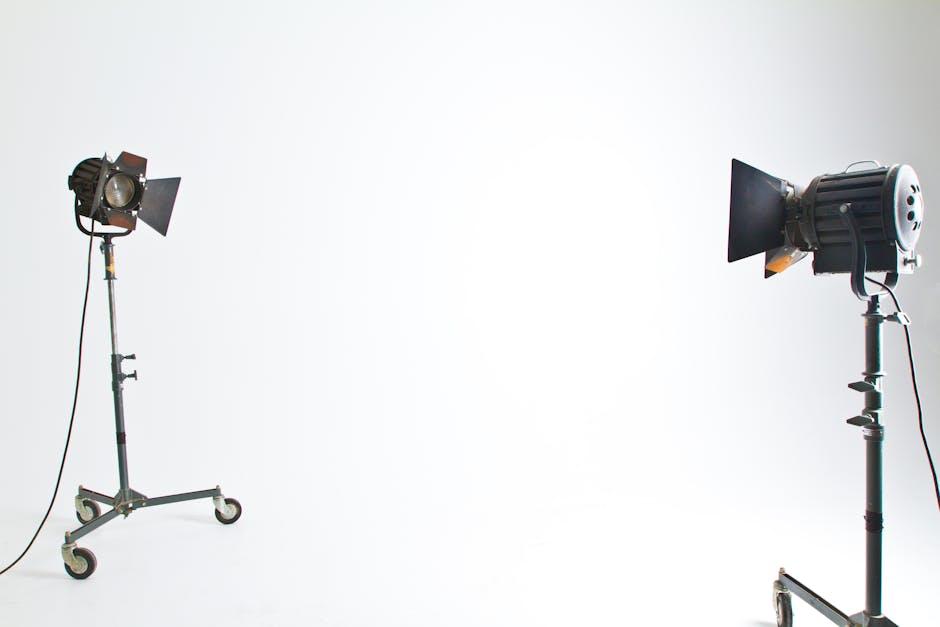
Essential Gear That Wont Break the Bank

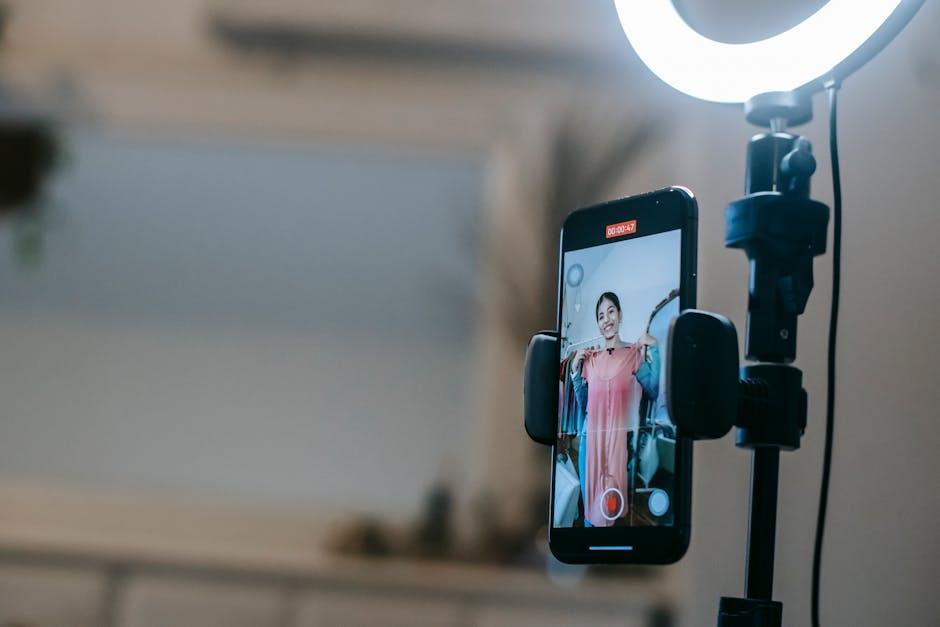
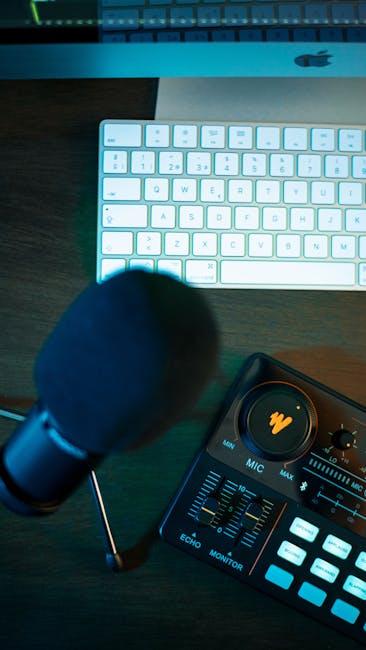
Getting started on YouTube doesn’t mean you need to drain your savings. Trust me, your smartphone can be your best friend. Most modern smartphones come equipped with impressive cameras that shoot high-definition video and have built-in editing tools. Pair that with a simple tripod—which you can snag for around $20—and you’ve got yourself a stable shooting setup! If you want to enhance your audio quality without splurging, consider grabbing a lavalier microphone. They’re compact, easy to use, and can often be found for under $30. You don’t need Hollywood-level gear to make great content; sometimes, less is more!
When it comes to lighting, don’t sweat it. Natural light is a game-changer. Filming near a window can transform your videos from drab to fab without costing a dime. If the sun isn’t cooperating, consider investing in a simple ring light—they go for about $40 and make a world of difference for that professional glow! Don’t forget about editing software: many free options like DaVinci Resolve or HitFilm Express pack powerful tools that can help you cut, splice, and fine-tune your videos without spending a penny. Remember, the focus should be on producing engaging content, not how shiny your gear is!
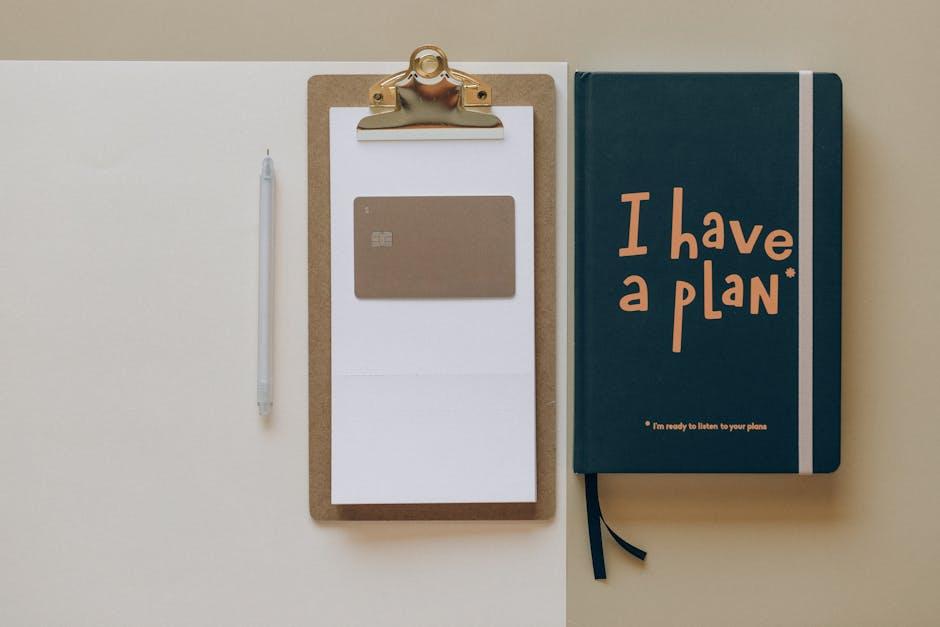
Unlocking the Magic of Content Ideas and Planning
Finding the right content ideas can feel like searching for a needle in a haystack, but trust me, with a little creativity and planning, you can uncover a treasure trove of inspiration! Start by brainstorming topics you’re passionate about, and don’t be afraid to let your personality shine through. Here’s a quick exercise: jot down 10 things you absolutely love—it could be anything from your favorite recipes to behind-the-scenes of your daily life. This list can serve as your content goldmine, providing a solid foundation for your first few videos. Engaging with your audience through these topics can build a genuine connection and keep them coming back for more. Isn’t it thrilling to think about the stories you can tell?
Once you’ve tapped into those ideas, it’s all about planning! Think of it as laying a roadmap for your YouTube journey. Organize your content by creating a simple editorial calendar. Break down your ideas into themes or series, which can keep your channel cohesive and appealing. Here’s a table to help you visualize your planning:
| Week | Theme | Video Idea |
|---|---|---|
| 1 | New Adventures | Exploring Local Hidden Gems |
| 2 | DIY Fun | Crafting Your Own Home Decor |
| 3 | Foodie Fridays | Quick and Easy Meal Prep |
| 4 | Heartfelt Moments | Storytime: My Most Embarrassing Experience |
This simple structure not only keeps you organized but also gives your viewers something to look forward to each week. Plus, don’t forget to sprinkle in a bit of spontaneity—some of the best content comes from unplanned moments!
Mastering the Art of Eye-Catching Thumbnails and Titles

Crafting that perfect thumbnail is like serving up a delicious meal that draws everyone into your kitchen. You want vibrant colors and engaging visuals that scream “click me!” Think about your audience and what grabs their attention. Use bold text, strong imagery, and make sure it reflects your video content accurately. Keep it simple — no one wants to decipher a complex art piece. Instead, try using an easy-to-read font and a clear focal point that conveys the essence of your video. Less is more; a cluttered thumbnail can be overwhelming. Remember, your thumbnail is the first impression, so make it pop!
Equally important is your title, which is like the enticing smell wafting from that meal. It should be catchy and relevant, drawing viewers in. Use action words and question formats to spark curiosity. Adding keywords can help with visibility but don’t stuff them in there awkwardly. A good formula to follow is: What your video is about + a hook. For instance, instead of “Video Editing Tips,” try “Unlock Stunning Edits with These Game-Changing Tricks!” This creates a sense of promise and intrigue. With the right thumbnail and title combo, you’re setting the stage for success, giving viewers a reason to click and dive into your content!
The Way Forward
And there you have it—your cheerful roadmap to launching your YouTube channel! Just think of it like planting a seed: with a little nurturing, creativity, and dedication, you’ll be amazed at how it can grow into something special. Remember, every big journey starts with those first few steps. Don’t get too caught up in perfection; instead, enjoy the ride and let your personality shine through. Engage with your audience, learn from feedback, and, most importantly, have fun creating! So go out there, hit that record button, and let your unique voice be heard. Who knows? Your next video could be the one that inspires someone else to start their own journey. Keep creating, stay curious, and watch how your channel blossoms!