Hey there, fellow creative spirit! Have you ever found yourself scrolling through YouTube, marveling at the incredible drawings some artists whip up in a matter of minutes? You’re not alone. The world of drawing is vast and exciting, but if you’ve ever felt a bit intimidated or just plain stuck when it comes to putting pencil to paper, you’re in the right place!
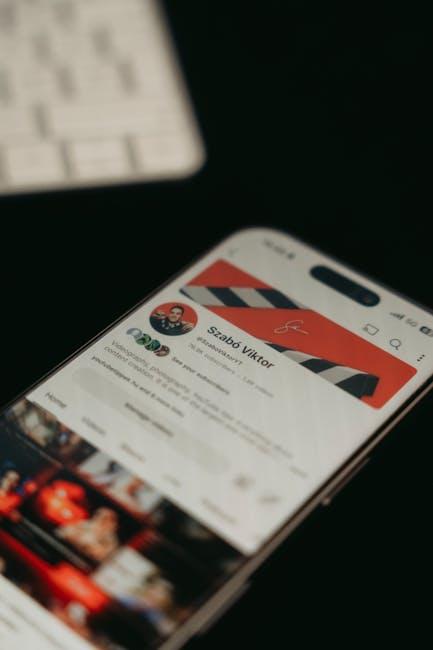
In this fun and friendly guide, we’re diving into the colorful universe of drawing on YouTube—where inspiration meets technique in the most delightful way. Whether you’re a complete newbie, someone who doodles now and then, or a seasoned sketch artist looking to shake things up, we’ll explore tips and tricks to help you unlock that creative potential buried within. Think of this as your passport to artistic adventure; we’re here to transform those blank pages into vibrant stories. So grab your sketchbook, and let’s embark on this creative journey together! Ready to get those creative juices flowing? Let’s do this!
Embrace Your Inner Artist: Finding Inspiration Everywhere
When it comes to finding inspiration, it’s amazing how many bursts of creativity can be sparked from the mundane. Have you ever looked at a simple cup of coffee and thought, “What a great opportunity to draw?” Embrace those little moments! People, nature, and day-to-day objects can serve as your muse. Next time you’re out and about, take a moment to really observe your surroundings. You might find inspiration in the shape of tree branches against a colorful sunset or the intricate details of a friend’s laugh. Being aware of these details allows your imagination to run wild and helps deepen your artistic expression.
Think of your creativity as a garden that needs regular nurturing. To keep it blooming, try exploring different sources of inspiration, such as:
- Social Media Platforms like Instagram and Pinterest
- Art Books and Magazines
- Nature Walks—imagine sketching every leaf and petal
- Music—listen to a song and visualize its story
When you actively seek out these inspirations, it’s like collecting colorful pebbles for your garden pathway. Eventually, they’ll lead you to your unique style and voice as an artist. Remember, every doodle counts in this journey of unlocking your creativity!

Mastering the Basics: Essential Drawing Techniques for Beginners
Diving into the world of drawing can feel like standing on the edge of a diving board—thrilling yet intimidating! But don’t sweat it; mastering some basic techniques can make the leap a lot easier. Start with shading, which is all about giving your drawings depth. You know how a good cup of coffee needs that perfect frothy top? Well, shading adds that froth to your art! Grab some pencils with different leads: a harder pencil (like a 2H) for light lines and a softer one (like a 6B) for those rich, dark regions. Practice creating gradients by layering your strokes. This will give your pieces that polished, professional look!
Next up is perspective. Imagine you’re looking down a straight road; it seems to narrow into the distance, right? That’s perspective in action! Learning to draw with a vanishing point can bring your drawings to life, making them feel more three-dimensional. Start with simple shapes—like cubes or cones—and place them at different angles on your paper to understand how they change in size and form when viewed from various points. Trust me, once you get the hang of this, you’ll feel like you’ve unlocked a secret level in your artistic journey! Check out the tips below to elevate your skills further:
- Practice daily: Even 10 minutes can make a difference!
- Keep a sketchbook: Jot down ideas and doodles anytime.
- Watch tutorials: YouTube is packed with valuable resources!
Your Channel, Your Style: Developing a Unique Artistic Voice
Finding your artistic voice is like discovering a hidden treasure chest filled with your unique ideas and inspirations. You don’t have to stick to the conventional styles that flood YouTube; instead, let your individuality shine! Start by experimenting with different techniques to see what sparks joy in you. Whether it’s sketching in a whimsical doodle style or turning everyday objects into stunning portraits, allow yourself the freedom to play. Ask yourself, what makes my art special? Perhaps it’s the vibrant colors you choose, the humor you inject, or the stories you tell through your pieces. Embrace whatever excites you, and channel that into your videos. It’s like making your secret sauce—once you find it, you’ll want to share it with the world!
Once you’ve got a grasp on what defines your style, it’s time to combine it with your unique personality. Don’t just create; involve your audience! Engage them by sharing the inspiration behind your artwork or a little “behind-the-scenes” action while you’re creating. Create a connection with your viewers, even asking them to participate in your creative process! Consider these ideas to foster interaction:
- Conduct polls on social media to choose your next project.
- Host Q&A sessions to discuss your artistic choices.
- Invite audience submissions for themes or styles.
Your channel can become a vibrant community where everyone feels a sense of ownership and involvement. This, my friends, is where the magic happens! It’s not just about the art; it’s about creating an experience that resonates with others.

Engaging Your Audience: Tips for Creating Compelling Content
To truly connect with your audience, you have to step inside their shoes. Think about what makes you click on that video, what draws you into that perfect drawing tutorial, or what keeps you engaged in a story. You want to create content that resonates, sparks curiosity, and maybe even stirs a little laughter. Ask yourself: What are their interests? What problems can I solve for them? Use that insight as the backbone of your creative process. Whether it’s incorporating popular trends or sprinkling in relatable anecdotes, make it feel personal. Remember: Authenticity is magnetic! Your viewers will feel valued when they see themselves reflected in your content.
Another effective tactic is to mix in a little bit of fun with practicality. Consider using visuals, like colorful infographics or eye-catching thumbnails, to complement your storytelling. You could even create an engaging WordPress table to break down complex ideas or comparisons. Check out this simple table comparing different drawing techniques to showcase your versatility:
| Technique | Ease of Learning | Time to Master |
|---|---|---|
| Sketching | Easy | Weeks |
| Inking | Medium | Months |
| Digital Art | Challenging | Varies |
By presenting your content in engaging formats, you’re not only informing your audience but also making the experience enjoyable! Keep refreshing your content approach, throw in unexpected twists, and, most importantly, let your unique voice shine through. After all, when you unlock your creativity, you unlock the magic that keeps your audience coming back for more!
Insights and Conclusions
And there you have it! Unlocking your creativity through the fun world of drawing on YouTube is not just a journey; it’s an adventure waiting to happen. Whether you’re doodling in your bedroom or sharing your masterpieces with thousands online, remember that creativity isn’t about perfection—it’s about expression. So grab your sketchbook, pick up that pencil, and let your imagination run wild.
Think of yourself as the captain of your own creative ship, navigating the vast oceans of inspiration. The waves can be a little tricky sometimes, but with every stroke, you’re steering toward your unique artistic horizon. Don’t forget, every great artist started off as a beginner!
So, what’s stopping you? Dive in, explore different styles, and make connections with fellow creators. Every line you draw and every color you splash adds a new chapter to your story. Keep that playful spirit alive, and who knows? Maybe you’ll inspire someone else to unfurl their creative sails!
Thanks for joining me on this journey through the vibrant world of drawing on YouTube. Now get out there, create, and don’t forget to share your amazing creations with the world. Happy drawing!