Are you ready to unleash your inner filmmaker and share your creations with the world? If you’ve got a video just sitting on your device, waiting for its moment in the spotlight, you’re in the right place! Uploading your masterpiece to YouTube might seem like a daunting task—like trying to figure out a complicated puzzle with missing pieces. But trust me, it’s way easier than you might think! In this step-by-step guide, we’ll demystify the entire process, breaking it down into simple, bite-sized steps that will have you feeling like a YouTube pro in no time. From creating your channel to hitting that magical “Upload” button, I’ll walk you through everything you need to know. So, grab a cup of coffee, get comfy, and let’s dive into the exciting world of YouTube together!
Getting Started with Your YouTube Channel Journey

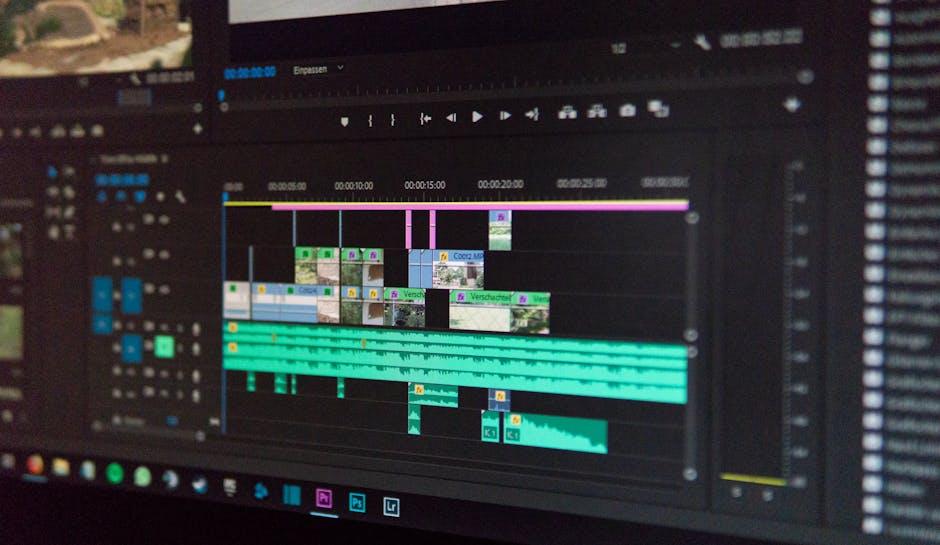
So, you’ve decided to dive into the world of YouTube! Exciting, right? Before you hit that upload button, make sure you have your video polished and ready to shine. Think of your video as a fine dish prepared in a gourmet kitchen—every detail matters. Start by ensuring your video is edited smoothly, has clear audio, and presents engaging visuals. And don’t forget, a catchy title and captivating thumbnail are like the cherry on top, drawing viewers in just like a well-decorated cake at a bakery!
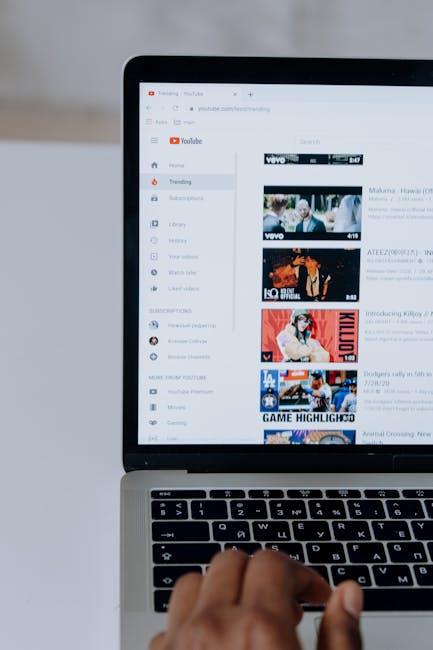
Now, let’s break down the upload process. Simply log into your YouTube account, and look for that little camera icon with a plus sign—your gateway to sharing! Click it, select your video, and while it uploads, you’ll have the chance to fill in important details like the title, description, and tags. These steps are vital because they help users find your content. Here’s a quick checklist to keep you organized:
- Title: Make it catchy and relevant!
- Description: Provide a sneak peek of your video.
- Tags: Use keywords to help with searchability.
- Thumbnail: Choose or create an eye-catching thumbnail.
| Element | Tip |
|---|---|
| Video Quality | Use at least 1080p for best results. |
| Audio Clarity | Consider using a good microphone. |
| Length | Aim for 5-10 minutes to retain viewer interest. |
Mastering the Perfect Video Format and Quality
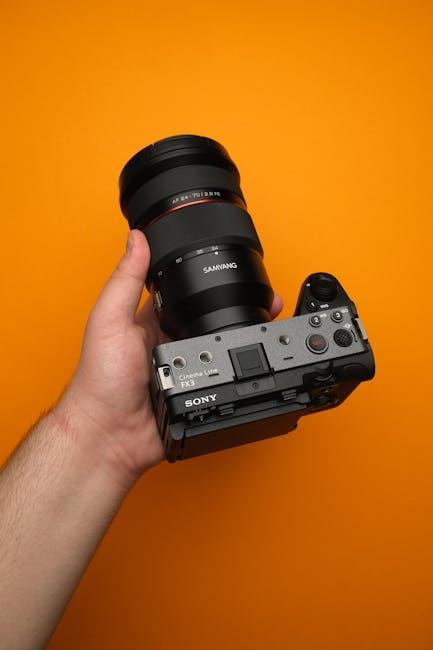
When you’re ready to share your masterpiece on YouTube, understanding the right video format and quality is crucial. The goal is to ensure your video looks vibrant and professional, drawing in viewers from all corners of the internet. So, what’s the magic formula? Here’s a quick guide to get you started:
- Resolution: Aim for at least 1080p (1920 x 1080) for high-definition visuals that pop!
- Aspect Ratio: Stick with 16:9, the YouTube standard, for that perfect widescreen view.
- Format: MP4 is your best friend—it’s widely accepted and offers a great balance between quality and file size.
- Frame Rate: 30 fps is standard, but if you want that cinematic feel, consider 24 fps.
- Bitrate: Higher bitrate means better quality; aim for 10 Mbps for 1080p videos.
Once you’re armed with the right details, make sure to check the video quality settings before hitting that upload button. Think of it like a dress rehearsal; you wouldn’t go on stage looking unprepared, right? It’s the little tweaks that can make a huge difference in viewer engagement. Here’s a quick look at common formats and their strengths:
| Format | Best For | File Size |
|---|---|---|
| MP4 | General Uploads | Medium |
| AVI | High Quality | Large |
| MOV | Apple Devices | Medium to Large |
| WMV | Windows Users | Small to Medium |
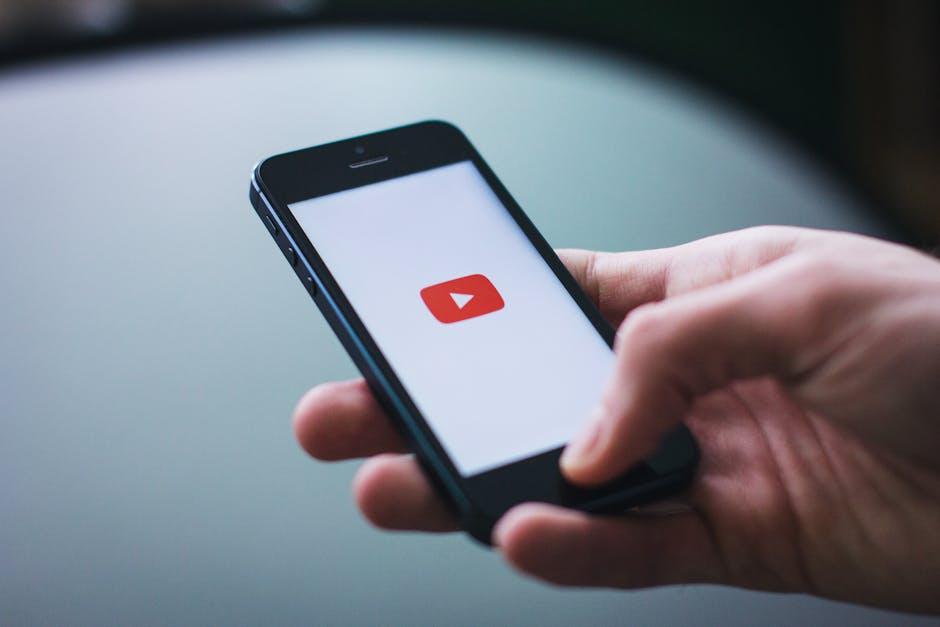
Navigating the Upload Process with Ease

First off, let’s chat about prepping your video for the big debut on YouTube. Before diving into the actual upload, make sure that your video file is the right format—generally, .MP4 works like a charm. Once you’re good on that front, it’s a breeze to navigate to the YouTube site. You’ll see that little camera icon with a plus sign at the top right of the screen—give it a click! From there, select “Upload Video” and let the fun begin. Don’t forget to optimize your title and description as this is your chance to grab viewers’ attention. Think of this as your video’s first impression; you want it to shine bright!
As the upload progresses, YouTube will guide you through some colorful options to jazz up your video’s appearance. You can choose a captivating thumbnail, add tags, and even set the visibility level. Want it public for everyone to see? Go for it! Prefer to keep it a secret for now? You can choose “Private” or “Unlisted.” And hey, if you ever get overwhelmed, remember: it’s okay to take a breather! Check out the preview to make sure everything looks perfect before you hit that “Publish” button. Just think of it like baking a cake—sometimes you need to adjust the frosting before serving it up!
Enhancing Your Video’s Reach with Strategic Tags and Thumbnails

When it comes to getting your video out there, the right tags and eye-catching thumbnails can make all the difference. Think of tags as breadcrumbs leading potential viewers straight to your content. They help categorize your video and ensure it pops up in relevant searches. To nail it, be specific and think like your audience. Consider using a mix of broad terms and more niche keywords to widen your reach. Aim for around 5-10 tags that perfectly encapsulate your video’s essence. Remember, this isn’t just about throwing in random words; it’s about connecting with viewers who are genuinely looking for what you have to offer.
Now let’s talk about thumbnails—your video’s first impression! An engaging thumbnail can significantly boost clicks, so take some time to design one that stands out. It should be visually appealing and clearly represent what your video is about. Use bold colors and readable fonts. A few tips to keep in mind:
- Feature faces when possible; they draw people in.
- Add text that teases the content without giving it all away.
- Maintain a consistent style to build your brand recognition.
With these strategies in place, you’ll increase the likelihood of inviting more viewers to check out your hard work.
Final Thoughts
And there you have it! You’re now armed with all the steps you need to effortlessly upload your videos to YouTube. It’s just like riding a bike—or, let’s be real, maybe it’s more like riding a bike with training wheels. Once you get the hang of it, you’ll be cruising along, creating and sharing your content with the world like a pro!
Remember, every great YouTuber started with that first upload, just like you. So don’t hesitate—dive in, hit that “upload” button, and let your creativity shine. Whether you’re sharing travel vlogs, cooking tips, or just good old-fashioned fun, YouTube is waiting for your unique voice.
If you face a hiccup or have a question, don’t sweat it! The YouTube community is vast and full of helpful folks eager to lend a hand. So keep experimenting, keep learning, and most importantly, keep creating. Your channel is a blank canvas; paint it however you like!
Thanks for hanging out with me during this guide. Now go on out there, upload your masterpiece, and enjoy the ride! Happy filming! 🎥✨