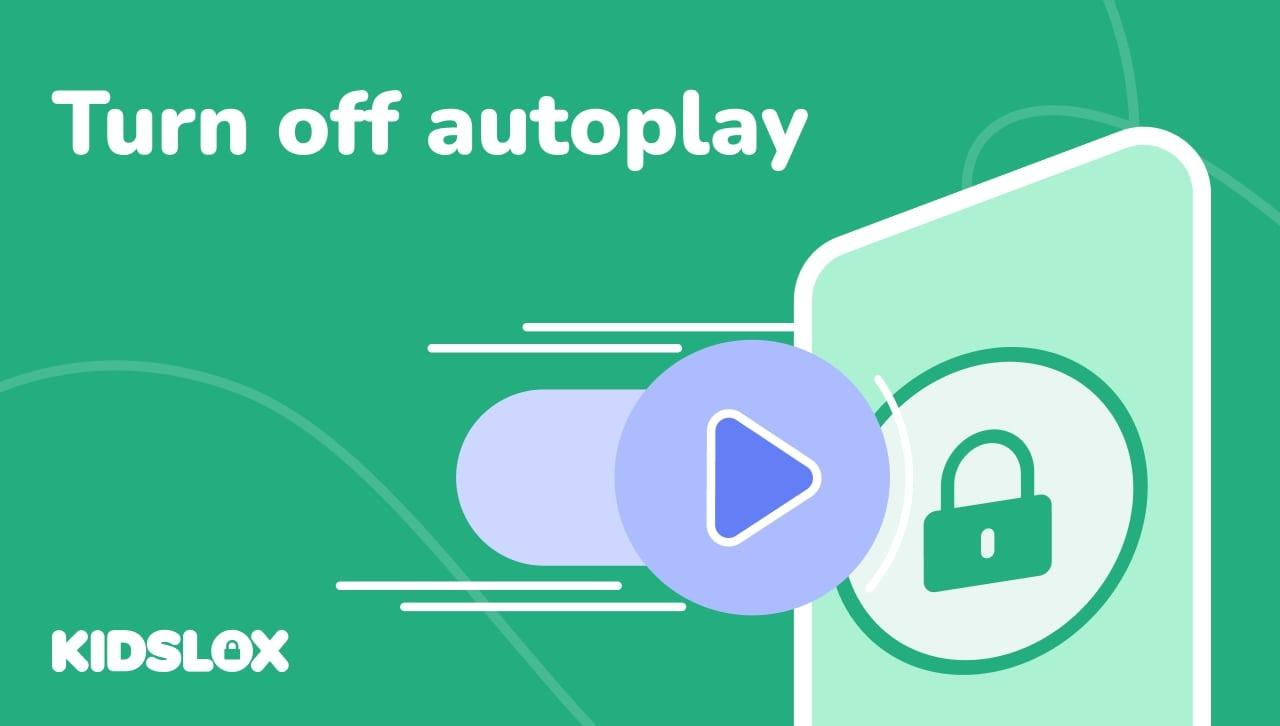
Ever find yourself deep in the rabbit hole of YouTube, watching one video after another without even realizing it? You click on a tutorial, and suddenly, you’re knee-deep in cat memes, conspiracy theories, or endless makeup tutorials. The culprit? That sneaky autoplay feature. It’s like when you say, “Just one more episode” of your favorite series and end up binge-watching until dawn. But fear not! We’re here to help you take back control. This simple guide will walk you through the steps to silence that autoplay function, so you can curate your viewing experience and spend your screen time on exactly what you want to see – no more, no less. Ready to hit the brakes on that endless stream? Let’s dive in!
Understanding YouTube Autoplay and Its Impact on Your Viewing Experience

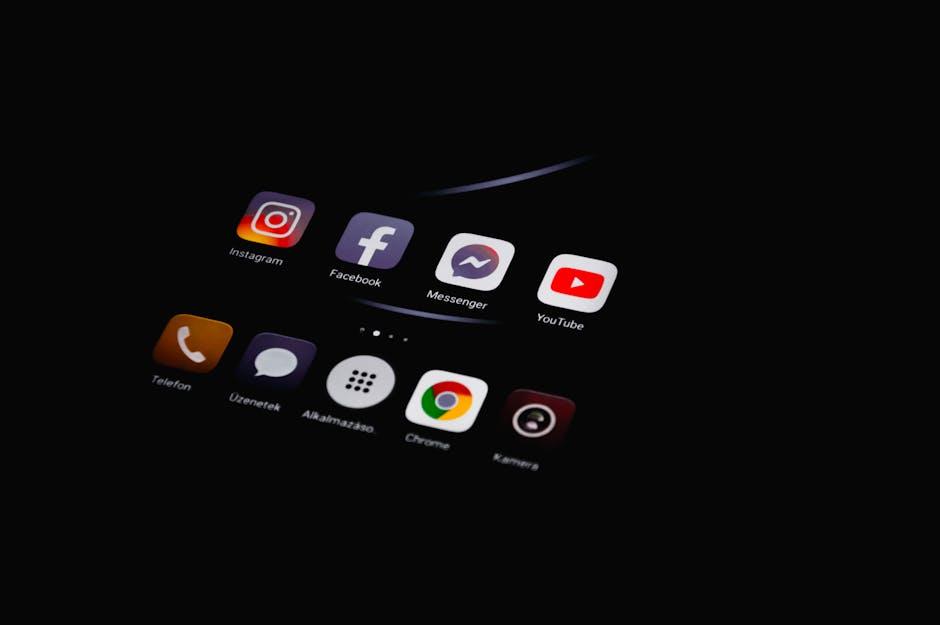
Ever found yourself deep into a YouTube rabbit hole, where one video leads to another, and before you know it, your afternoon’s completely vanished? That’s the magic—and sometimes the menace—of autoplay. It’s like watching a stream trickle down a mountain; you get caught in the current and forget that you had other places to be. Autoplay is designed to keep you engaged by automatically starting the next video, often thought to enhance your viewing experience. But what happens when your casual browsing turns into a binge-watching spree? It can disrupt your focus and lead you down a path of endless videos that you never intended to watch.
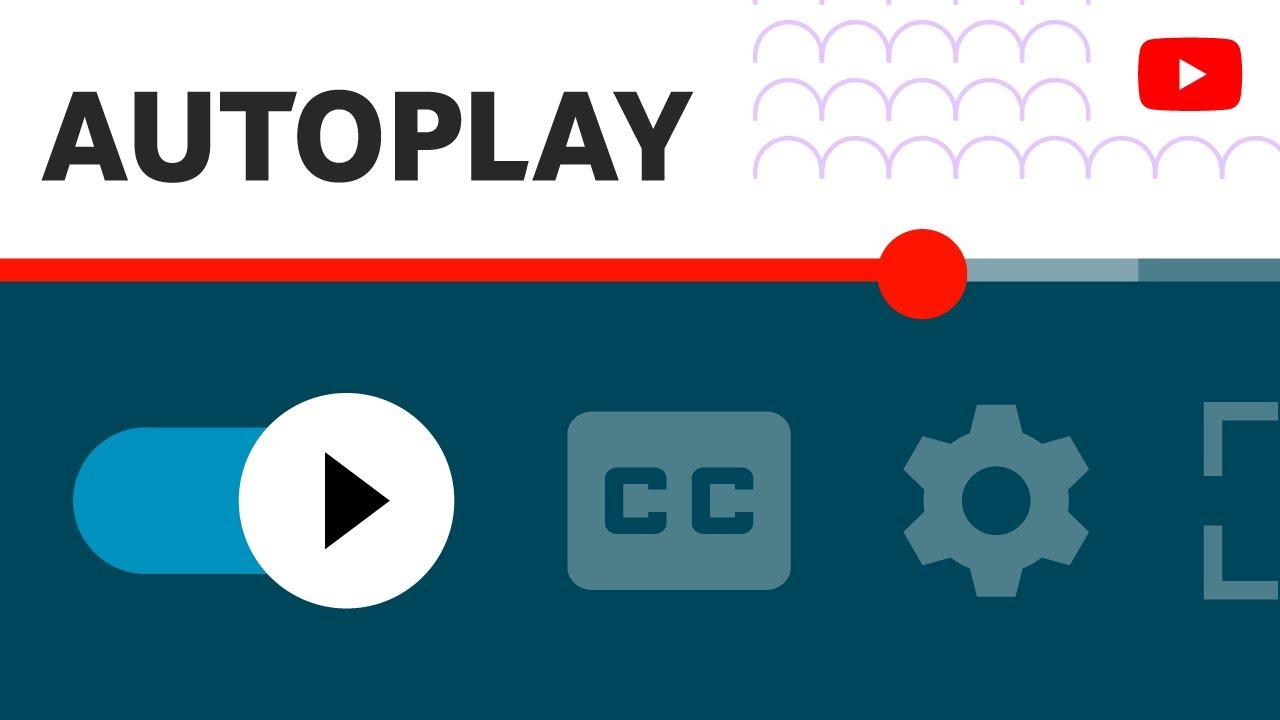
Here’s the deal: if you’ve had enough of YouTube deciding your viewing schedule, turning off autoplay can be a game-changer. Imagine being in control of your playlist instead of letting the algorithm dictate your every click. By disabling this feature, you regain the power to choose what to watch, allowing for a more intentional and enjoyable experience. Here’s how you can adjust your settings:
- Desktop: Click on the autoplay toggle on the right sidebar.
- Mobile: Tap on the autoplay button beneath the video player.
With a little tweak, you can transform your viewing behavior from a passive observer to an active participant.
| Benefit of Turning Off Autoplay | Details |
| Control | Choose what to watch next, instead of the algorithm. |
| Time Management | Limits the chance of mindless binge-watching. |
| Reduced Distraction | Helps maintain focus on what really interests you. |
Taking Control of Your YouTube Settings for a Customized Experience

Customizing your YouTube experience is like getting your favorite coffee just right—it’s all about those little tweaks that make it feel personal. If you’re the type who enjoys choosing what to watch next rather than letting the algorithm decide for you, turning off autoplay is a total game-changer. Imagine being at a buffet where you can only have what the chef decides; freeing yourself from autoplay is like taking the reins and crafting your own dish! By disabling this feature, you get to savor each video at your own pace, without the pressure of an endless stream of recommendations just waiting to pounce.
To make this adjustment, simply head over to your YouTube settings. Here’s a quick rundown of where to find it:
- Click on your profile icon at the top right corner.
- Select YouTube Settings from the dropdown menu.
- Go to the Playback and performance section.
- Toggle off the Autoplay option.
It’s as easy as pie! Now, each time a video ends, you’ll have a moment to reflect on what you just watched before diving into your curated watchlist.
Step-by-Step Guide to Disable Autoplay on Desktop and Mobile

Disabling autoplay on YouTube can feel like untangling a pair of earphones after they’ve been stuffed in your pocket—a bit fiddly but completely worthwhile. Whether you’re on a desktop or mobile device, taking control of your viewing experience is a breeze. For desktop users, head straight to the YouTube site, and locate your username at the top right corner. Click on it, then choose Settings from the drop-down menu. From there, find the Playback and performance tab, where you’ll spot the Autoplay option. Simply toggle it off, and voilà! You’re the master of your own streaming destiny!
Now, if you’re rocking it on mobile, the process is just as easy-peasy. Open the YouTube app and tap on your profile picture in the upper right corner. Select Settings, then head to Autoplay. With a quick toggle, you can turn it off, preventing that pesky next video from automatically starting. Want a quick reference? Here’s a handy table to summarize:
| Device | Steps to Disable Autoplay |
|---|---|
| Desktop | Settings > Playback and performance > Toggle Autoplay Off |
| Mobile | Settings > Autoplay > Toggle Off |
Reclaiming Your Time: The Benefits of Turning Off YouTube Autoplay

Turning off YouTube’s autoplay feature can feel like hitting the pause button on a runaway train. Ever notice how one video easily turns into a rabbit hole of endless clips? It’s like stepping into a time warp where hours are lost in mere minutes. By taking that simple step, you’re reclaiming ownership of your time, ensuring that each video you watch is a conscious choice rather than a product of algorithmic randomness. Think about it: how many times have you said, “Just one more video” only to find yourself deep into the evening with no clue how you got there? Flicking off autoplay brings your attention back to the real world, allowing you to engage with content that genuinely matters to you.
But the benefits don’t stop at just saving time. Turning off autoplay can also reduce cognitive overload. With fewer videos automatically queued up, you can take a breather to reflect on what you’ve just watched, giving yourself the space to process ideas and insights. Plus, it might even spark your creativity! Instead of mindlessly consuming, you can dedicate some headspace to thinking about what you truly want to watch next. Imagine you’re at a buffet, but instead of piling your plate high with everything available, you’re savoring each dish one at a time. Here’s a quick overview of the key advantages:
- Time Management: Make better use of your time.
- Focused Viewing: Engage meaningfully with content.
- Cognitive Clarity: Reduce decision fatigue and think critically.
Future Outlook
And there you have it! Turning off YouTube’s autoplay is as easy as pie. Just a few clicks, and you’ve regained control over your viewing experience. No more endless rabbit holes or surprise recommendations that lead you astray. Think of it like steering your own ship—navigating the vast ocean of content with intention rather than being tossed around by the current.
So, next time you’re cozying up for a binge-watch session, take a moment to customize your settings. It’s all about keeping those distractions at bay and making sure you enjoy each video on your own terms. After all, who wants to fall into that autoplay trap when there’s a world of carefully curated content waiting for you? Happy watching, and may your YouTube journey be deliberate and delightful!