Are you ready to take your YouTube game to the next level? Picture this: you’ve got all these fantastic ideas bouncing around in your head, a treasure trove of footage, but when it comes to piecing it all together, you hit a brick wall. Sound familiar? Don’t worry; you’re not alone. Editing can feel like a maze with dead ends, but fear not! We’re diving into some killer tips that will have you mastering YouTube editing faster than you can say, “cut and splice.” Whether you’re a total newbie or someone looking to polish your skills, grab your favorite snack and let’s dig into how to create videos that don’t just capture attention but keep viewers coming back for more. Ready? Let’s roll!
Boosting Your Footage: Techniques for Perfect Cuts and Transitions
Creating seamless cuts and transitions in your footage is like weaving a tapestry—each thread has to align perfectly for the piece to stand out. Start by familiarizing yourself with jump cuts; they’re fantastic for maintaining energy in your videos. Jump cuts work wonders in eliminating flab, making your narrative crisp and engaging. Combine them with techniques like crossfades or fade-ins to layer your shots and create a sense of flow that keeps the audience hooked. When doing this, consider the emotion or tone you’re conveying. A sudden jump cut might inject excitement, while a slow fade can evoke nostalgia. Find the rhythm that suits your message best!
Next, enhance your transitions using motion graphics and sound effects. Think of your video as a rollercoaster—transitions should elevate the experience! Utilize software options that give you access to customizable templates; this ensures a unique look without reinventing the wheel. Here’s a quick checklist to keep your edits sharp and your transitions smooth:
- Keep it simple: Too many effects can distract from your content.
- Match the mood: Ensure your transitions align with the theme of your video.
- Test Before Finalizing: Playback transitions to ensure they feel natural.
| Transition Type | Best Used For |
|---|---|
| Jump Cut | Quick edits for pacing |
| Fade | Shifting moods or scenes |
| Cross Dissolve | Soft transitions between similar shots |
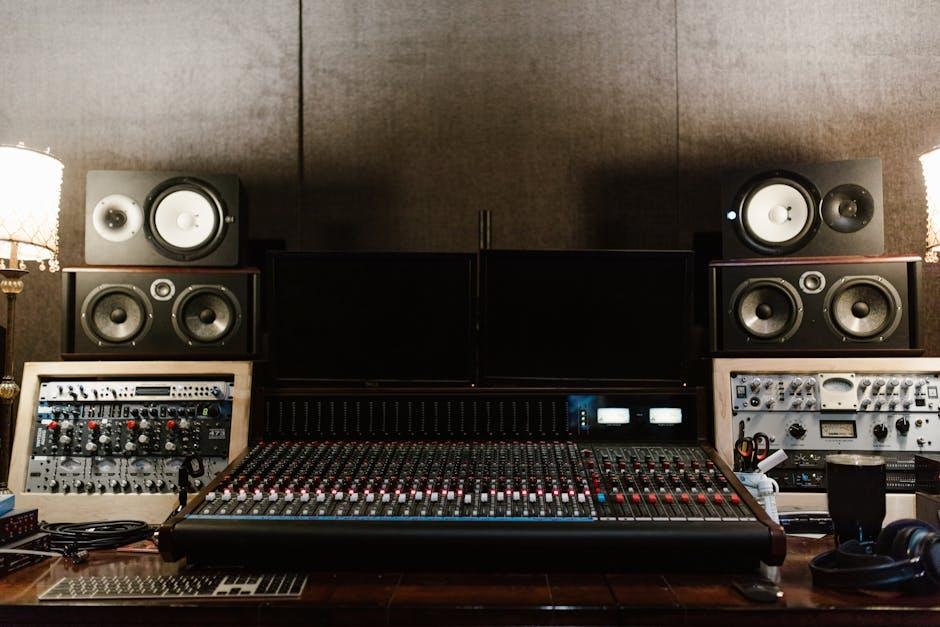
Polishing Your Sound: Elevating Audio Quality for Immersive Experiences
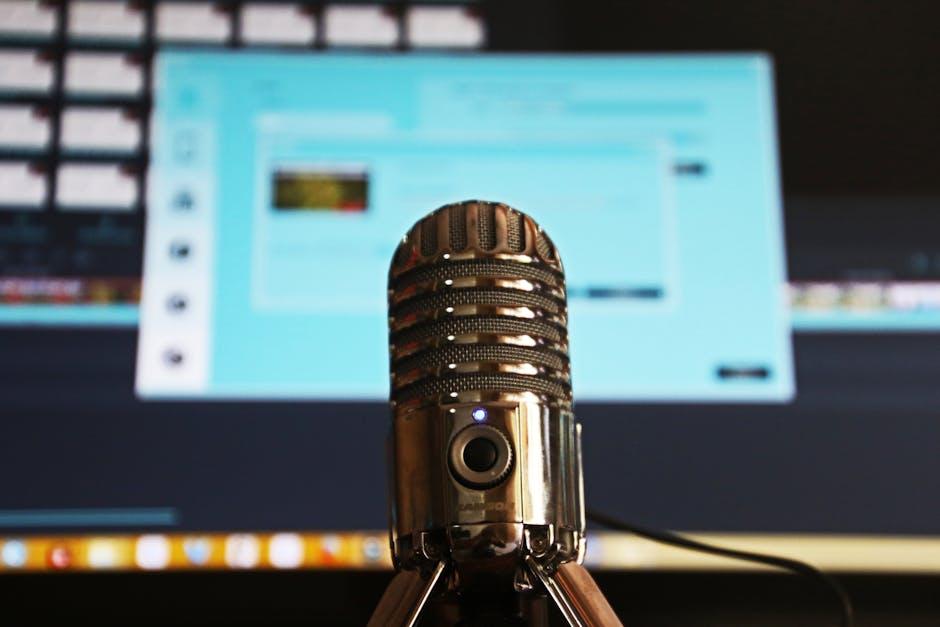
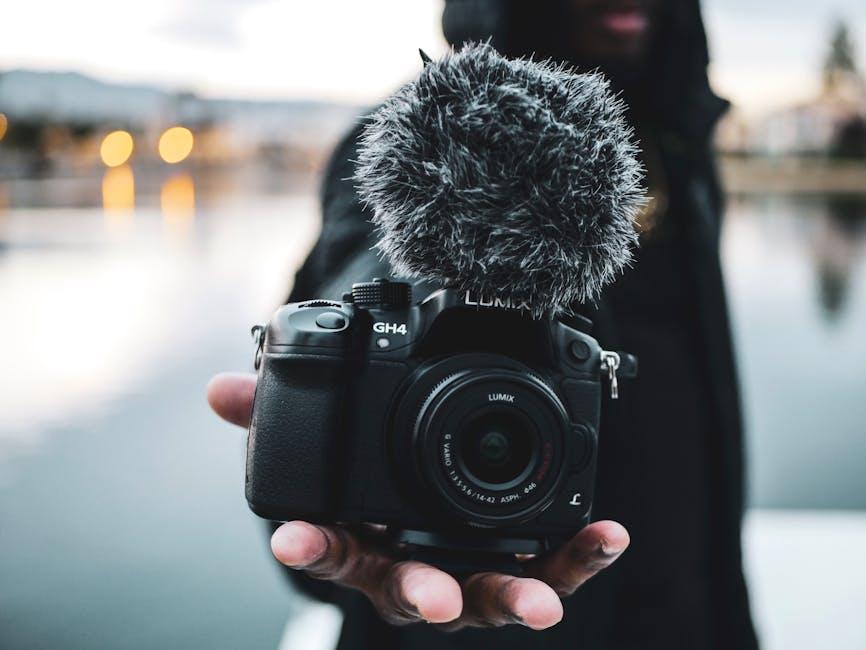
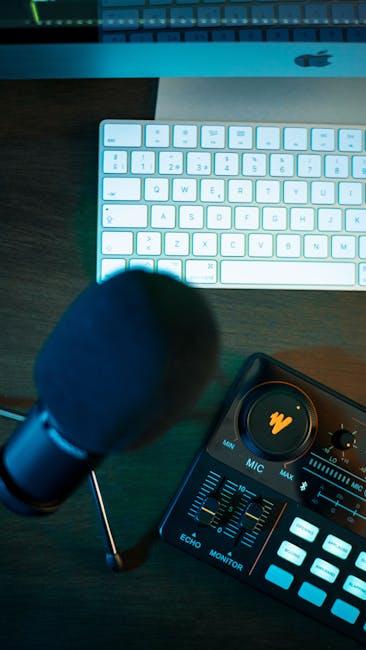
When it comes to making your videos pop, sound quality is the unsung hero. A killer soundtrack or a crisp voiceover can transform a good video into a great one. Think of your audio as the seasoning in a dish; too little and it’s bland, too much and you overpower the main ingredients. To achieve that perfect balance, consider investing in a decent microphone, as it can significantly elevate your audio game. Don’t forget to pay attention to background noise, too! It can sneak into your recordings like an uninvited guest—softening your message and distracting your viewers.
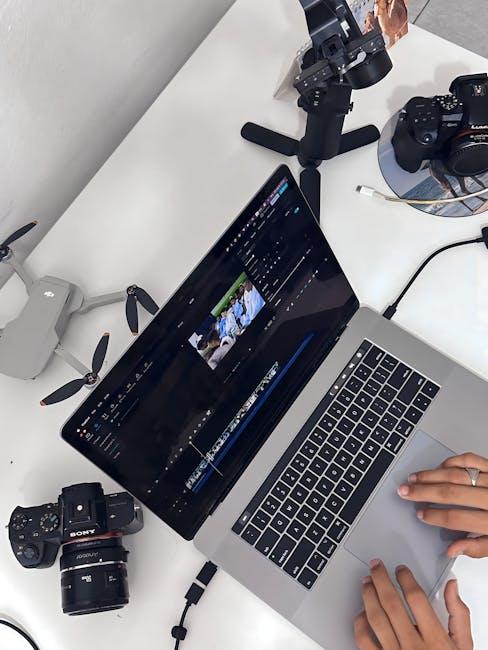
After you’ve recorded your audio, it’s time to tidy things up. Audio editing software can be your best friend here. Start by removing unnecessary silences and any audio hiccups. You can even add effects like compression to smooth out the volume levels, making everything sound cohesive. If you’re feeling adventurous, layering in sound effects or background music can create an immersive environment, pulling viewers deeper into your content. Just remember to keep the volume levels balanced; you want your music and effects to enhance, not overshadow, your main audio.
Creating Captivating Visuals: Harnessing Effects and Graphics Like a Pro
When it comes to dazzling your viewers, think of visuals as the flavor in a dish; the right combo can make or break the whole experience. To spice things up, consider using custom transitions that align with your video’s tone—an energetic cut for a high-octane vlog, or a smooth dissolve for a more serene mood. You can also play around with motion graphics that bounce and swirl, adding a dynamic feel that keeps the viewer glued to the screen. Using text overlays with contrasting colors can help emphasize critical points, guiding the audience’s attention just like a spotlight on a stage.
Another nifty trick is layering effects for depth; it’s like building a cake where each layer adds intrigue. For example, adding a subtle blur to the background can make your subject pop right out like a daisy in a field. Don’t shy away from using tables to present data—it’s a clean way to organize content and helps your audience digest information quickly. Here’s how you can format a quick comparison for your viewers:
| Effect | Purpose |
| Transitions | Set the tone of your video |
| Text Overlays | Emphasize key points |
| Motion Graphics | Add dynamic movement |
| Layering Effects | Enhance depth and focus |
Mastering Thumbnails and Titles: Crafting Click-Worthy Elements to Draw Viewers In
When it comes to grabbing attention on YouTube, you need to make your thumbnails and titles sing! Think of your thumbnail as the cover of a book; it needs to be enticing and memorable. Use bold colors, dynamic images, and legible text to make it pop. People are scrolling through endless videos, so your thumbnail should be like a neon sign in a dimly lit room. Consider incorporating these tips:
- Use high-quality images: Blurry or pixelated images can turn viewers away.
- Keep text minimal: A few well-placed words can create intrigue without overwhelming.
- Consistent branding: Use similar styles across your thumbnails for a cohesive look.
Your title is the hook that reals them in; it’s like a catchy song that gets stuck in your head. Use keywords that resonate with your target audience while keeping it intriguing. Avoid clickbait tactics that might ruin your credibility. Instead, try these strategies for crafting irresistible titles:
- Be descriptive: Clearly convey what the video is about.
- Create urgency: Phrases like ”Don’t miss out!” or “Limited time!” spark curiosity.
- Pose a question: Engaging the viewer with a thought-provoking question can significantly increase clicks.

Wrapping Up
And there you have it—your toolkit for mastering YouTube editing is fully loaded! With these tips in your back pocket, you’re ready to take on the editing world like it’s a piece of cake. Remember, editing isn’t just about cutting and trimming; it’s the magic wand that turns raw footage into that jaw-dropping content your viewers can’t resist. So, whether you’re splicing clips like a pro, adding some snazzy transitions, or throwing in the perfect soundtrack, keep experimenting and tweaking until you find your unique style.
Don’t forget, every great editor started from scratch, fumbling their way through mistakes and learning as they went. So, get out there, start editing, and let your creativity shine! Got some tips of your own? We’d love to hear what tricks you’ve picked up along the way. Happy editing, and may your videos make waves in the vast ocean of YouTube!