Ever found yourself pouring hours into editing your YouTube videos, only to realize that the background footage just doesn’t hit the mark? You’re not alone! It’s like baking a cake and forgetting the frosting – it just doesn’t feel complete. The right background footage can take your content from good to jaw-dropping, setting the perfect mood and elevating your storytelling. Whether you’re crafting a serene travel vlog or an electrifying tutorial, the visuals behind your words matter more than you might think. Let’s dive into how to track down that flawless background footage, ensuring your videos not only engage but also resonate with your audience like a catchy tune stuck in their heads. Ready to transform your video game? Let’s get started!
Unlocking the Magic of Stock Footage Libraries for Stunning Visuals
Imagine diving into a treasure trove of visuals that could elevate your YouTube videos to new heights. Stock footage libraries are like a magical toolbox full of dazzling clips just waiting for you to unlock their potential. With endless categories to choose from, you can find anything from serene nature scenes to bustling city vibes. Think of it as your personal film crew, ready to shoot any sequence you dream of, but without the hefty price tag or logistical headaches. Whether you’re looking to spice up a tutorial, craft an immersive travel vlog, or add that cinematic flair to a product review, you’ll find the clip that perfectly complements your narrative.
When selecting the right background footage, focus on a few key elements to make your visuals shine: relevance, quality, and emotional impact. Here are some tips to guide your search:
- Relevance: Ensure the footage aligns with your video’s theme.
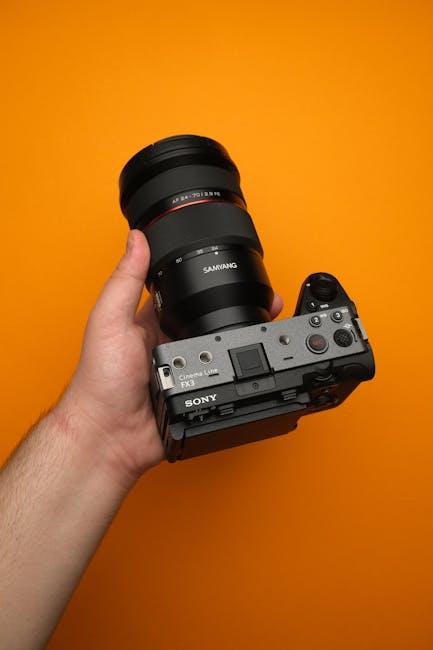
- Quality: Opt for high-resolution clips for a professional feel.
- Emotional Impact: Choose visuals that evoke feelings—happy, suspenseful, or serene—depending on your message.
For a more structured approach, you might consider a simple table to weigh your options:
| Type of Footage | Use Case | Notes |
|---|---|---|
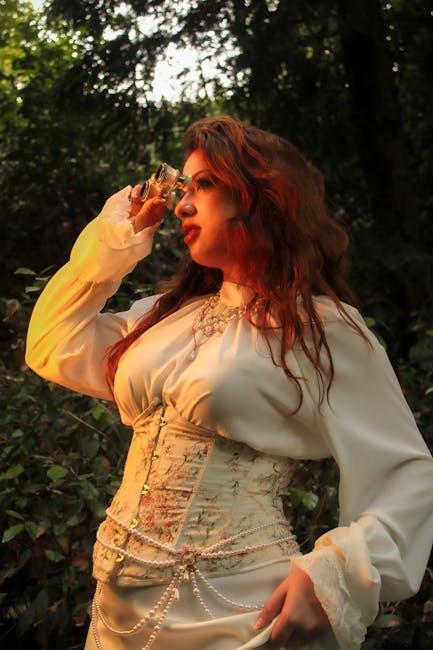
| Nature | Travel Vlogs | Soothing and stunning. |
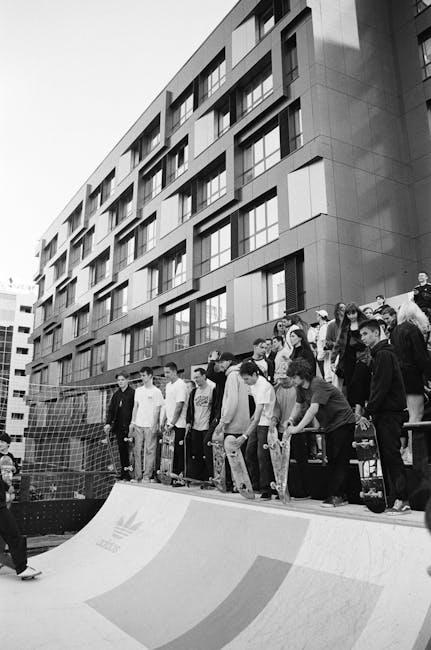
| City Life | Urban Guides | Vibrant and dynamic. |
| Office Scenes | Business Videos | Professional and relatable. |
By tapping into these magic reservoirs of creativity, the right background footage can transform your storytelling and keep your viewers engaged, making your vision come alive on screen.
Crafting Emotion with Background Footage: The Power of Atmosphere
Background footage is like the secret sauce in a recipe; it enhances the flavors and transforms the dish into something memorable. When you’re crafting a YouTube video, the right backdrop can elevate the emotional stakes, making viewers not just watch, but *feel*. Think about it: a serene sunset can create a sense of peace, while bustling city clips might inject excitement and urgency. The visuals you choose don’t just fill space—they communicate mood and tone, offering a visual narrative that complements your message. Ideally, you want to select clips that resonate with your audience on a deeper level. These clips should evoke a visceral response, enhancing the storytelling rather than distracting from it. Here’s how you can do it:
- Match the Mood: Choose footage that aligns with your content’s emotional tone.
- Stay Consistent: Make sure your background visuals maintain a consistent style throughout the video.
- Use Symbolism: Subtle background clips can symbolize themes and deeper meanings.
- Test with Sound: Pair your footage with appropriate music to see how it influences emotions.
Consider this: you wouldn’t serve a rich chocolate cake with a side of pickles, right? In the same vein, your background footage should harmonize with your narrative to create a seamless experience. A well-thought-out combination of visuals and themes can guide the viewer’s emotional journey from one point to another. To help you visualize the impact of different backgrounds, here’s a simple table showing the emotional triggers of various types of footage:
| Type of Footage | Emotion Evoked |
|---|---|
| Nature Scenes | Calmness |
| Urban Footage | Excitement |
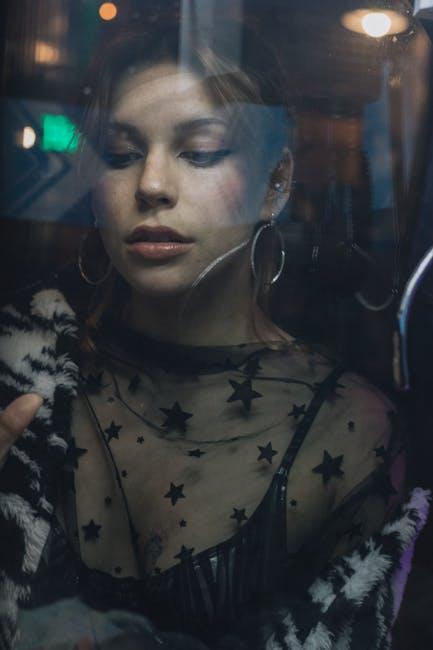
| People Interacting | Connection |
| Abstract Designs | Intrigue |

Budget-Friendly Tips for Scoring Quality Clips Without Breaking the Bank
Scoring high-quality clips for your YouTube videos doesn’t have to drain your wallet. There are plenty of ways to snag great footage without going broke. Start by exploring free stock video websites. Sites like blank”>Pexels and
Navigating Copyright: Your Guide to Safe and Legal Footage Use
When hunting for that perfect background footage, it’s crucial to steer clear of any legal hiccups. Familiarizing yourself with copyright rules can feel like navigating a maze, but once you know your way around, it’s smooth sailing. Think of copyright as a protective shield for creators; it ensures that the original work remains under the creator’s control. So, when you’re on the prowl for footage, consider these sources that keep you in the clear:
- Royalty-Free Libraries: Sites like Pixabay and Pexels offer a treasure trove of free footage that you can use without breaking the bank.
- Creative Commons: Look for clips labeled with Creative Commons licenses; just double-check the permissions for commercial use.
- Stock Footage Sites: Investing in stock footage platforms like Shutterstock or Adobe Stock can pay off—think of it as paying for peace of mind.
Now, it’s not just about finding footage; it’s equally important to track its licensing terms and give credit where credit’s due. If you’re using Creative Commons content, some licenses require you to attribute the original creator—kind of like a shout-out that keeps the good vibes flowing! To help you keep everything organized, here’s a quick reference table:
| Source | License Type | Attribution Required? |
|---|---|---|
| Pixabay | Public Domain | No |
| Pexels | Free to use | No |
| Creative Commons | Varies | Yes, sometimes |
| Shutterstock | Paid License | No |
Insights and Conclusions
So, there you have it! Finding the perfect background footage for your YouTube videos doesn’t have to feel like searching for a needle in a haystack. With a bit of creativity, some handy resources, and a clear vision of what you want, you can transform your content into something visually captivating. Remember, the right footage can set the mood, enhance the message, and keep your viewers glued to the screen.
Just think of background footage as the soundtrack to a movie—without it, even the best story can fall flat. So don’t skimp on those visuals! Dive into stock libraries, explore free options, and let your imagination run wild. Whether you’re looking for serene landscapes or bustling cityscapes, your perfect backdrop is out there waiting for you to discover it. Go ahead, enrich your videos, and don’t forget to have a little fun along the way! Happy filming!