First off, let’s be real: YouTube can feel like a giant ocean, and navigating it with your 540 videos might seem daunting at times. But don’t sweat it! Mastering your YouTube content is more about fine-tuning than reinventing the wheel. It’s all about sprucing things up with simple, yet powerful tweaks that can elevate your video from “meh” to “wow!” So, whether you’re looking to boost engagement, keep viewers glued to their screens, or jazz up your overall presentation, you’re in the right place. Grab your notepad, because we’re diving into straightforward, actionable tips that’ll have you mastering those 540s like a pro in no time! Ready to turn those views into loyal fans? Let’s get started!
Crafting Captivating Thumbnails That Stop the Scroll
Ever scrolled through YouTube and been instantly hooked by a stunning thumbnail? That’s the magic we’re aiming for! To create thumbnails that stand out and practically scream, “Click me!” consider using vibrant colors and bold text. Keep it simple yet striking; you want viewers to grasp the essence of your video at a glance, almost like a movie poster. Highlight key elements, like facial expressions or key phrases that summarize your content. Think of your thumbnail as your video’s front door—make it inviting, so people feel compelled to step inside!
Here are a few tips to boost your thumbnail game:
- Consistent Branding: Use the same colors and fonts across your thumbnails to build a recognizable brand.
- Clarity is Key: Avoid clutter. A confused viewer will scroll past, so less is often more.
- Use Faces: Thumbnails with expressive faces draw more clicks—people connect with emotions!
| Thumbnail Element | Effectiveness |
|---|---|
| Bright Colors | High – catches the eye! |
| Clear Text | Medium – important but must be readable! |
| Complex Images | Low – can confuse viewers! |

Engaging Your Audience with Irresistible Intros
Think of your intro as the first impression at a party. You wouldn’t just mumble your name and stand awkwardly in the corner, right? You’d want to grab attention, maybe with a funny story or a surprising fact about yourself. The same goes for your videos. Start with something that hooks your audience immediately. Ask them a question that resonates, throw in a jaw-dropping statistic, or share a brief but captivating anecdote. The goal is to spark curiosity—those first few seconds are precious, and if you can make them think, “Whoa, I need to see more of this,” you’ve already won half the battle!
To create that irresistible allure, keep your tone conversational. Use vivid language and emotional triggers. Here are some tips to elevate your opener:
- Use humor: A good laugh is a great icebreaker.
- Create suspense: Give your viewers a reason to stick around for the big reveal.
- Be relatable: Share struggles or experiences that your audience can connect with.
- Visual catch: Incorporate eye-catching visuals right away to captivate the viewer’s attention.
Want to stand out even more? Consider using a catchy tagline or phrase that encapsulates your channel’s vibe—something that’s uniquely you! This sets the tone and makes your content memorable.

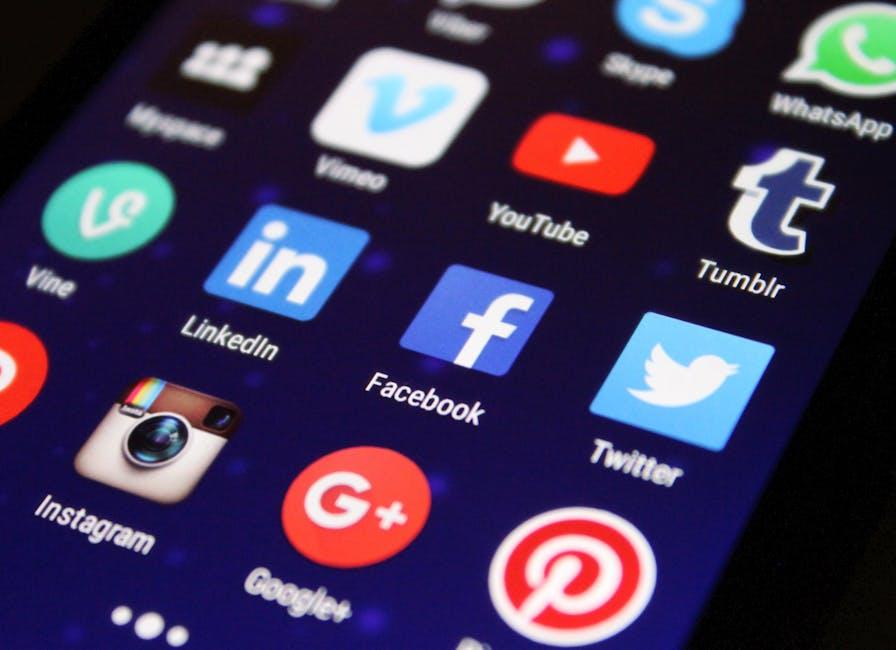
Mastering Video SEO for Maximum Reach
When it comes to boosting the visibility of your YouTube videos, think of video SEO as your digital megaphone. You want to make sure your message not only reaches the right audience but resonates with them. Start with keyword optimization; research terms that align with your content. Use tools like Google Trends or Keyword Planner for insights. Place your primary keywords in strategic locations—title, description, and tags. Think of these spots as the front porch of your video. If you don’t spruce it up, who will come knocking to watch? Also, creating an engaging thumbnail can be like putting a cherry on top—it’s that eye-catcher that brings viewers in from the cold!
Next, focus on crafting an enticing video description. It shouldn’t just play the role of a summary; it’s a golden opportunity to expand live search features. Include relevant links, a call-to-action, and maybe even a sneak peek of what viewers can expect. Don’t forget to utilize closed captions! They’re like a secret sauce, making your content accessible to a bigger audience. consider interlinking your videos. Just as you’d guide friends to explore different rooms in your home, connect viewers to your other content through end screens and cards. This not only keeps people watching but helps YouTube understand what your channel is all about. Here’s a quick look at some crucial elements for video optimization:
| SEO Element | Why It Matters |
|---|---|
| Keywords | Boosts discoverability and relevance. |
| Thumbnails | Increases click-through rates. |
| Description | Provides context and promotes engagement. |
| Closed Captions | Makes content accessible to a wider audience. |
| End Screens/Cards | Keeps viewers on your channel longer. |

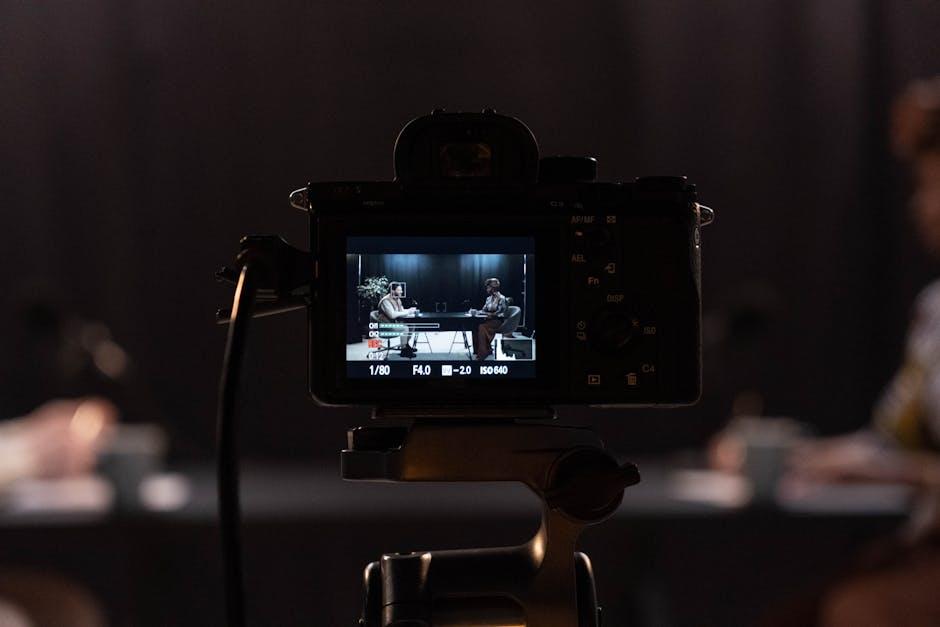
Editing Like a Pro: Essential Tools and Tips for Polished Content
Editing isn’t just about cutting and pasting; it’s an art form that can elevate your video from “meh” to magnificent. Dive into your editing software—be it Adobe Premiere Pro, Final Cut Pro, or a user-friendly option like iMovie—and get familiar with its interface. Start by organizing your assets: create folders for different elements like audio, clips, and graphics. This will save you time and sanity later on. As you’re sifting through your footage, don’t hesitate to trim down those longer scenes. Think of it like pruning a tree: cut away the excess to let your story blossom. Always remember to add text overlays and transitions for smoother storytelling; they’re like the cherry on top of your creative sundae.
Now, let’s talk about sound—it’s a game-changer! If your audio is off, everything else falls flat. Use tools like Audacity to clear up any noise or uneven levels. You wouldn’t serve a soggy burger, right? The same goes for your audio; it needs to be crisp and clear. While you’re at it, consider adding royalty-free music that fits the mood of your video. Here’s a simple table to guide you through essential tips for audio:
| Tip | Description |
|---|---|
| Normalize Audio | Ensure consistent volume across all clips. |
| Use Headphones | Listen closely to detect flaws you might miss. |
| Layer Sounds | Create depth with background music and sound effects. |
Lastly, don’t underestimate the power of feedback. Share your draft with a trusted friend or fellow creator to gain fresh perspective. Sometimes, a second pair of eyes can spot the blunders you’ve become blind to. Embrace those critiques and don’t take them personally; they’re your golden tickets to improvement. Remember, your video should shine like a beacon—a true reflection of your creativity and passion!

Concluding Remarks
So there you have it! Mastering your 540 YouTube video doesn’t have to feel like navigating a maze blindfolded. With just a few tweaks and a sprinkle of creativity, you can elevate your content from ordinary to extraordinary. Remember, it’s all about connecting with your audience and giving them something valuable to take away. Think of your video as a conversation – the more genuine and engaging you are, the more likely your viewers will stick around and come back for more.
Keep experimenting, keep learning, and don’t be afraid to let your personality shine through. Your unique voice is what sets you apart in the vast sea of content. So, grab those tips, roll up your sleeves, and dive into the editing process! You’ve got this. Here’s to putting the ‘master’ in mastering your video and crafting content that resonates. Until next time, keep creating, keep sharing, and most importantly, keep having fun!