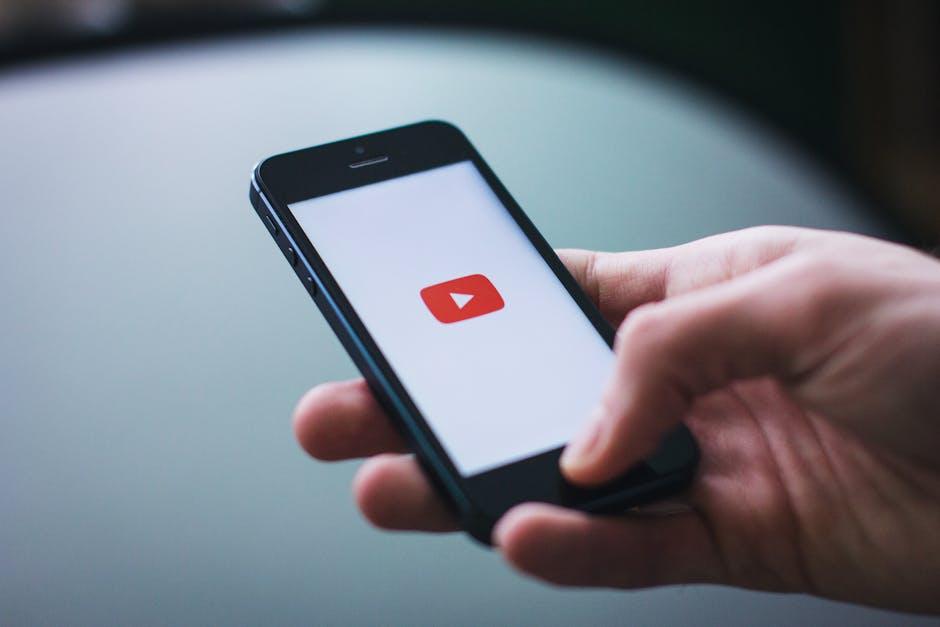
Ever found yourself diving into a YouTube rabbit hole, only to stumble upon a video that changes everything for your channel or favorite creator? Well, strap in because we’re about to unpack the world of AMP—Accelerated Mobile Pages—and what it means for YouTube creators and fans alike. Imagine a turbocharger for your videos, speeding them up and making them more engaging. Whether you’re a creator trying to capture the attention of your audience or a fan wanting the best viewing experience, AMP has something to offer. This article is your backstage pass to understanding how AMP can revolutionize the platform, enhance discoverability, and make streaming smoother than ever. Let’s get into it!
The Power of AMP: Elevating Your YouTube Experience
Imagine a world where your favorite YouTube videos load instantly, regardless of your internet speed. That’s the magic of AMP! This slick technology enhances the experience for creators and fans alike, making sure that videos display seamlessly on mobile devices. Think about how frustrating it is to sit and wait for a video to buffer—AMP swoops in like a superhero, cutting down those agonizing seconds. With an accelerated loading time, viewers are more likely to stick around to watch that captivating content you’ve poured your heart into. It means a happier audience and, ultimately, a boost in views and engagement for creators.
But it doesn’t stop there! The beauty of AMP extends beyond speed. Here’s what it brings to the table for both creators and viewers:
- Mobile-First Optimization: Your content looks stunning on any screen.
- Increased Visibility: AMP pages can perform better in search results, making it easier for fans to discover your work.
- Lower Bounce Rates: Faster videos keep viewers glued to the screen—no more clicking away!
This means you, as a creator, can focus on what truly matters—making great content, while AMP takes care of delivering it in style!

How AMP Transforms Content Creation for Artists and Influencers
AMP is like a turbocharger for content creation, making everything faster and more engaging. Imagine being able to load your video or post at lightning speed—your audience won’t be twiddling their thumbs waiting. With AMP, artists and influencers can upgrade their games by presenting content that not only looks sleek but also performs like a dream. Think of it as creating a captivating stage for your most stunning performance; in today’s fast-paced world, mesmerizing visuals and instant access can make a world of difference in keeping your followers glued to the screen.
Plus, the benefits extend beyond just the speed. By using AMP, creators gain the ability to seamlessly integrate interactive elements that can boost engagement and foster a loyal community. Here’s what you can count on:
- Higher Reach: Search engines favor quick-loading pages, enhancing discoverability.
- Better Mobile Experience: Most viewers are on their phones, and AMP ensures your content shines there.
- Analytics Insights: Understand your audience better with real-time data on performance.
Managing content becomes simpler too. Check out this comparison of traditional versus AMP-optimized content:
| Aspect | Traditional Content | AMP Content |
|---|---|---|
| Load Time | Often slow | Instant |
| Mobile Optimization | Sometimes lacking | Fully enhanced |
| User Engagement | Variable | Increased |
Ultimately, adopting AMP can be the secret weapon for artists and influencers, helping them rise above the noise and truly connect with their audience.

Navigating the Benefits of AMP for Viewers and Subscribers
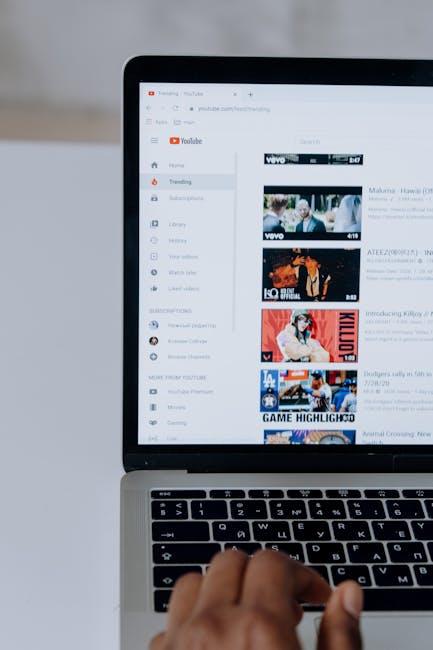
When it comes to AMP, or Accelerated Mobile Pages, viewers and subscribers have a lot to gain. Imagine cruising down the highway in a sleek sports car—fast, efficient, and exhilarating. That’s what AMP is all about for your YouTube experience. It ensures that videos load lightning-fast, reducing those pesky buffering moments that can turn your binge-watching marathon into a frustrating test of patience. Faster loading times mean you can dive right into the action, keep up with your favorite creators, and never miss a beat of the latest trends.
But that’s not all! AMP isn’t just about speed; it also delivers a more consistent and seamless viewing experience. Think about it: have you ever closed a tab because the video took forever to load? Well, with AMP, you can say goodbye to those annoying delays. It optimizes the viewing layout to make it more user-friendly, so you can enjoy high-quality visuals without those distracting ads popping up all over the place. Here’s what you can expect:
- Instant access to content: Jump from video to video without waiting.
- Reduced data usage: Watch more without worrying about your data plan.
- Smoother navigation: Easily find and interact with your favorite channels.
| Feature | Benefit |
|---|---|
| Speed | Quicker load times for uninterrupted viewing |
| Efficiency | Less data consumed, more content accessible |
| User Experience | Cleaner interface for focused enjoyment |

Maximizing Your Reach: Tips for Creators to Leverage AMP Effectively
Leveraging AMP effectively is all about optimizing your content for speed and engagement. Think of it as giving your videos a turbo boost; viewers can access your content instantly, which is crucial in today’s fast-paced digital environment. To maximize your reach, consider the following strategies:
- Prioritize Quality Over Quantity: Focus on producing fewer high-quality, AMP-enabled videos that captivate your audience rather than flooding them with average content.
- Optimize Thumbnails: An eye-catching thumbnail can make or break a click. Use visually appealing designs that pop and accurately represent your video.
- Embed Calls to Action: Don’t be shy! Encourage subscribers to engage by incorporating clear calls to action within your AMP content, leading them to like, comment, or share.
Another essential aspect is making sure that your AMP pages are mobile-friendly. With most of your audience likely viewing your content on smartphones, ensuring that everything looks great on a smaller screen is super important. Here’s how to keep your mobile audience engaged:
- Test Your Load Times: Use tools to analyze how quickly your AMP pages load. Ideally, you want them to be near-instantaneous.
- Streamline Navigation: Simplify your menu options so viewers can easily find what they’re looking for without unnecessary hassle.
- Track Engagement Metrics: Use analytics to see how viewers are interacting with your AMP content. Are they watching to the end? Are you getting those likes? Adjust your strategy based on real-time insights.
| Strategies | Benefits |
|---|---|
| Optimize Thumbnails | Increases click-through rates |
| Streamline Navigation | Enhances user experience |
Closing Remarks
As we wrap up our deep dive into AMP and its ripple effects on the YouTube community, it’s clear that this is just the beginning of a new chapter for creators and fans alike. Imagine a world where your favorite videos load in an instant, allowing for seamless binge-watching without those pesky buffering screens. For creators, the potential to engage with audiences in more dynamic ways opens up a treasure trove of possibilities.
It’s an exciting time to be on YouTube—whether you’re crafting content on the front lines or soaking it all in as a fan. As AMP continues to evolve, let’s keep the conversation going. How will it shape your viewing habits or the content you choose to create? Remember, the future of YouTube is a canvas waiting for all of us to paint our stories upon. So, stay curious, stay creative, and let’s see where this wild ride takes us next!