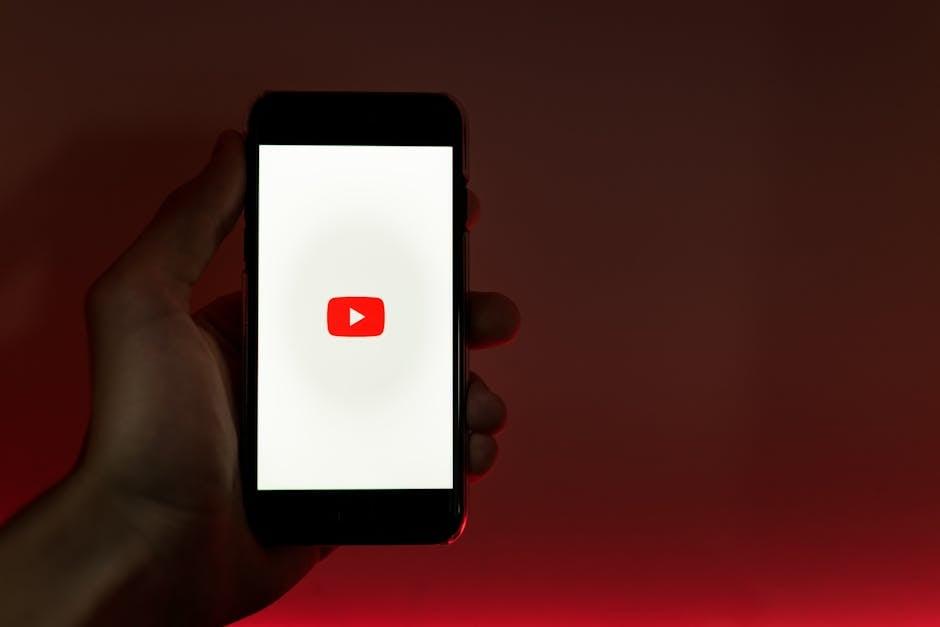
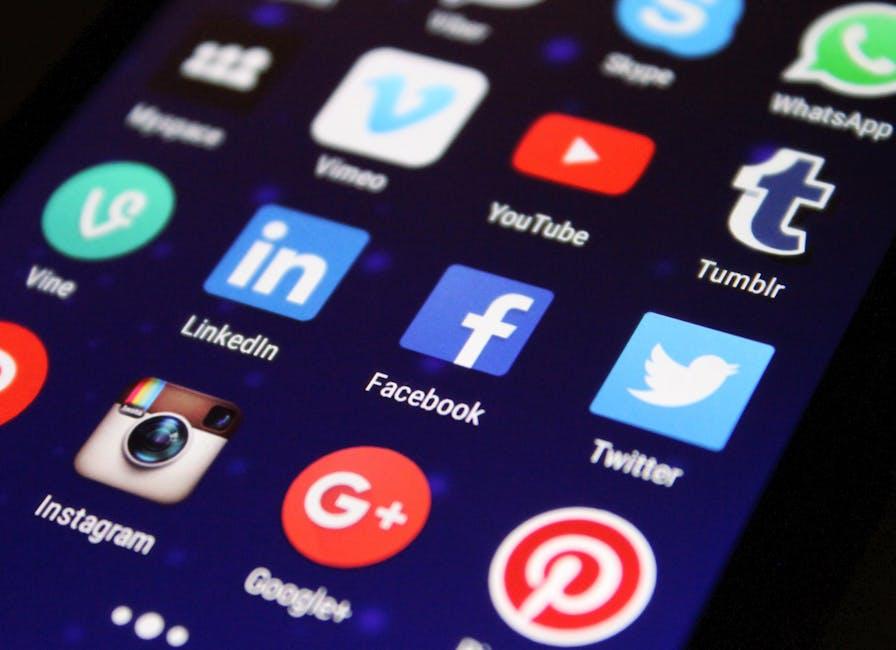
Ever found yourself scrolling through YouTube, only to stumble upon a channel that just doesn’t vibe with your interests? Maybe it’s that quirky content creator who endlessly rambles about their cat’s sock collection or a news site that’s more about clickbait than actual news. You know the type! Well, fret not! Blocking channels on YouTube is like having a custom playlist of only the best tunes—where all the noise fades away and you’re left with only what you love. So, grab your virtual toolkit, and let’s dive in! In this friendly guide, we’ll explore how to masterfully block those pesky channels, ensuring your YouTube experience is as tailored to your tastes as your favorite pair of jeans. Say goodbye to distractions and hello to content that truly sparks joy!
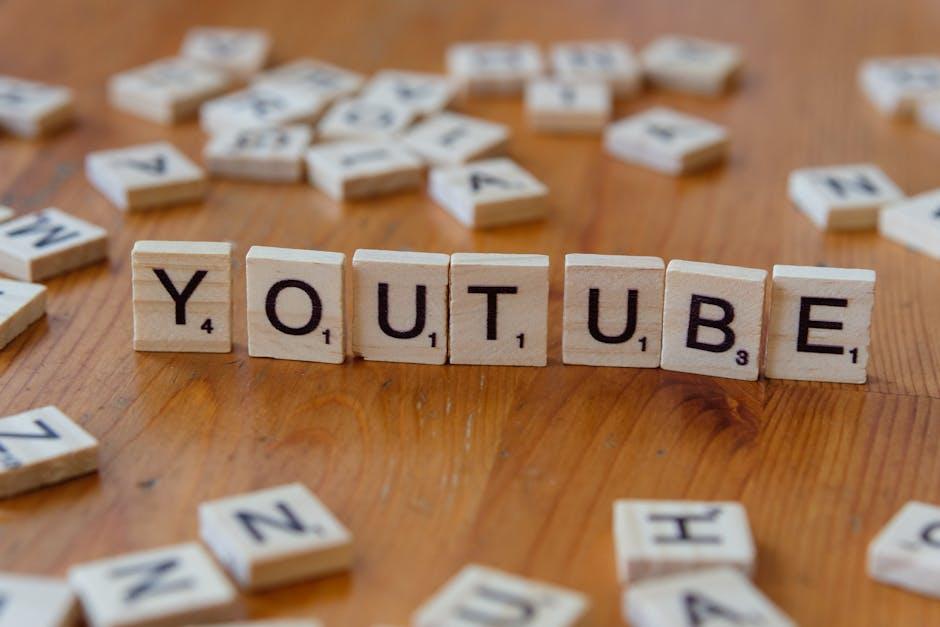
Discovering Your YouTube Sanctuary: How Blocking Channels Can Enhance Your Viewing Experience

When you’re diving deep into the vast ocean of YouTube, it’s easy to get swept away by the tides of content. Ever clicked on a video only to find yourself yawning after a minute? Say goodbye to those cringe-worthy moments! Blocking channels you simply don’t vibe with is like building the perfect moat around your personal castle. By cutting out unwanted noise and clutter, you’re free to discover golden nuggets of wisdom and entertainment tailored just for you. Think of it as curating your own playlist, where every track resonates, and every beat makes your heart dance!
Here’s the beauty: blocking channels isn’t just about eliminating the bad. It’s about optimizing your watch time and enhancing your experience. A customized feed is your magic wand for uncovering hidden gems. Imagine scrolling through only the content that sparks joy or curiosity! Here are some benefits of a refined channel roster:
- Less Clutter: A cleaner interface means you can focus more on what you love.
- More Recommendations: YouTube learns your preferences, suggesting channels that genuinely interest you.
- Better Mood: Enjoy content that makes you laugh, learn, or feel good every time you log on.
Navigating Your Preferences: Steps to Block Channels Effortlessly
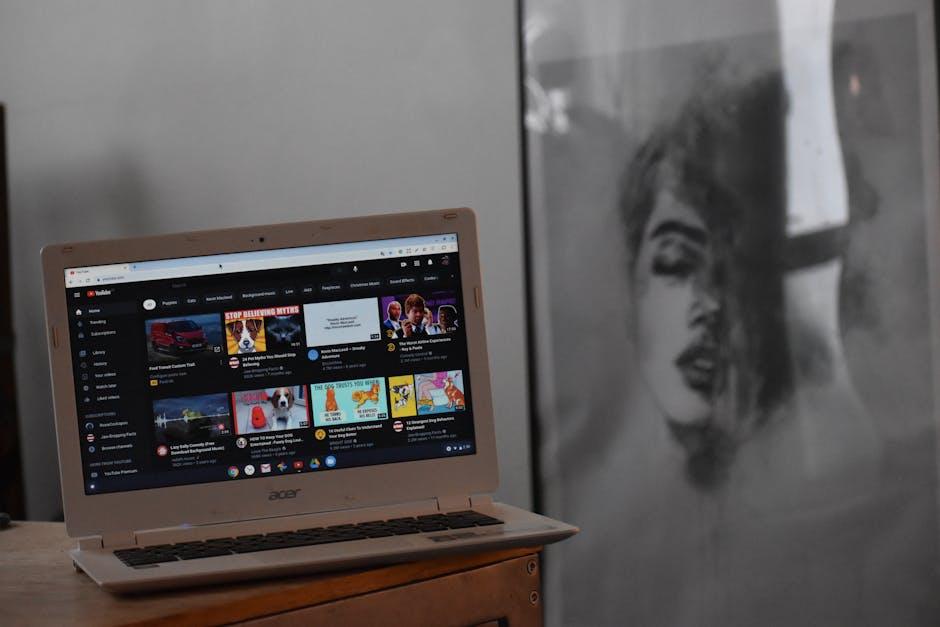
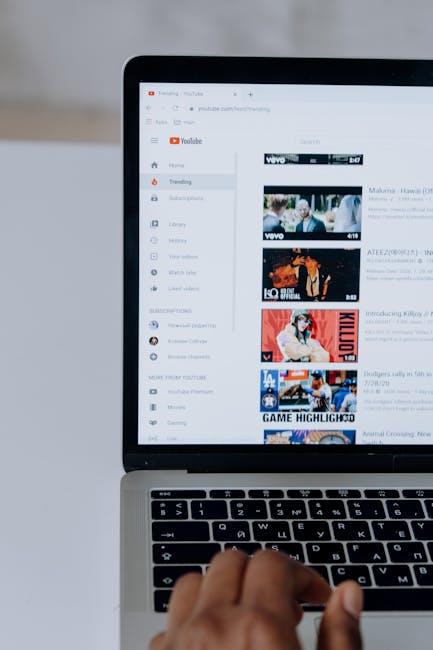
Blocking channels on YouTube can feel like navigating a maze, but don’t worry—it’s as simple as pie. First, hop onto the channel page of the creator you want to silence. You’ll spot the “About” section like a lighthouse guiding you through the fog. Click on it, and look for the “Report” button. But wait, we’re not actually reporting this channel; that’s just our secret pathway! Once you click it, choose “Block user,” and voila! You’ve sent that channel sailing into the great beyond of your feed.
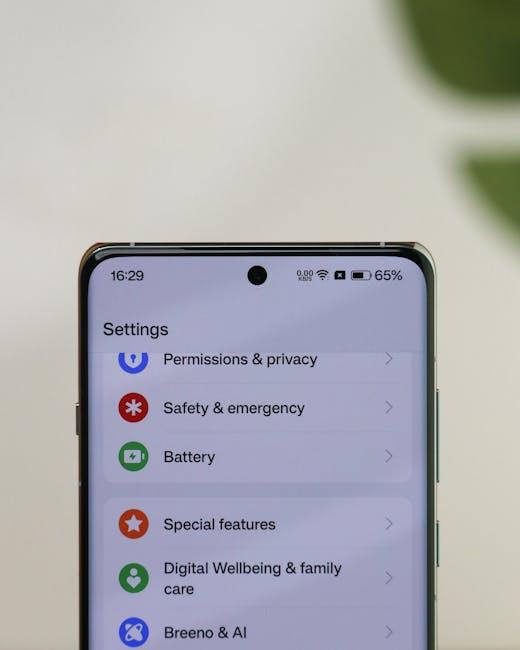
If you’re looking for a smoother ride, you can also tame your feed directly from your settings. Just head to your account icon, and journey over to “Settings.” From there, choose “Privacy,” and get ready to customize your experience. You’ll find the option to “Manage your block list.” This is your personal blacklist—the VIP section of channels you never want to see again. Just type in the names, and bask in the satisfaction of a clutter-free YouTube. Easy, right?
The Art of Filtering Content: Tailoring Your YouTube Feed Just for You

Let’s be real: navigating YouTube can feel like wandering through a never-ending maze of content. Some videos are pure gold, while others are, well… let’s just say they leave a little to be desired. To keep your feed fresh and enjoyable, take control by blocking channels that just don’t vibe with you. It’s as easy as pie! Just head over to the channel page of that pesky content creator, click on the three dots next to the subscribe button, and choose “Block user.” Voilà! You’ve just carved out a little corner of YouTube that reflects your personal tastes.
But hold on, there’s more! Not every content creator deserves the axe; sometimes, it’s all about fine-tuning what you see. Consider using these tips to further customize your experience:
- Engage with what you love: Like, comment, and subscribe to channels that spark joy.
- Use the feedback options: Tell YouTube when a video isn’t your cup of tea by clicking “Not interested.”
- Create playlists: Curate your own spaces for different moods — educational, entertainment, or just plain weird.
With these tools at your disposal, you can shape YouTube into your ultimate entertainment hub, ensuring every scroll serves up something worth your attention!
Unblocking the Traps: What to Do When Youre Ready to Revisit Blocked Channels

Feeling stuck because of those channels you once blocked? It’s totally normal to want to explore the possibilities of what’s out there again. Life changes, perspectives shift, and sometimes you just want to dive back into videos you were previously annoyed by. When you’re ready to revisit those blocked channels, it’s all about taking a little stroll down memory lane. Easy peasy! Just hop into your YouTube settings, navigate to the “Blocked Users” section, and start unblocking. But hold on, take a second to think about why you blocked them in the first place. If their content was simply too loud for your taste or maybe a bit repetitive, might it work for your current mood? It’s like deciding whether to open that old book on your shelf—you never know if it’ll spark a fresh idea!
Once you’ve unlocked those doors, consider creating a list or even a custom playlist for the channels you’re exploring again. This way, you can keep track of what resonates with you now. Think of it like curating your own unique gallery of content. Here are some tips to maximize your unblocking adventure:
- Set Aside Time: Pick a time when you can focus on diving back into the content without distractions.
- Explore with an Open Mind: You might find some hidden gems you overlooked before.
- Engage with the Community: Interacting with comments can lead to discovering even more creators you’ll love.
Insights and Conclusions
And there you have it! With a few simple clicks, you can take control of your YouTube experience and create a viewing environment that suits your vibe. Blocking unwanted channels is like cleaning out your closet — it might feel like a chore at first, but once you’re done, you’ll be so much happier with what you have left. Whether it’s to cut down on distractions or just enjoy content that resonates with you, making these adjustments is totally within your reach. So, why not dive in and make your YouTube feed work for you? Happy watching, and remember, your channel, your rules!