Alright, friends, so you’ve decided to take the plunge into the vibrant world of YouTube—exciting stuff, right? But before you turn that camera on and start rolling with your epic content ideas, let’s talk about something just as crucial: the apps that’ll be your trusty sidekicks in this journey. Picture this: you’re like a chef whipping up a gourmet dish, and these essential apps are your knives, pots, and pans. Whether you’re editing videos, managing your channel, or keeping your audience engaged, having the right tools can make all the difference. So, grab your favorite cup of coffee, settle in, and let’s explore the top essential apps every YouTuber needs on their PC. Trust me; you’ll want these gems in your digital toolbox!
Essential Editing Tools to Elevate Your Content Game
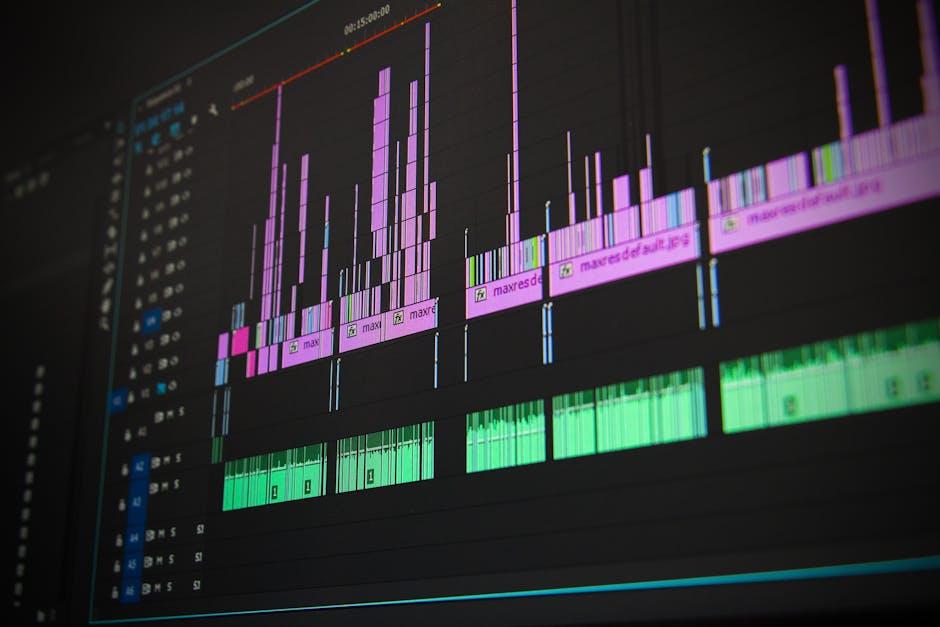
When it comes to taking your content to the next level, having the right editing tools can make all the difference. These apps act like your trusty sidekick, swooping in to polish your videos until they gleam. Adobe Premiere Pro is a powerhouse of an editor, offering a plethora of features that allow you to slice and dice your footage with precision. If you’re looking for something more beginner-friendly, Filmora is a fantastic option, boasting an intuitive interface that doesn’t skimp on creativity. And don’t underestimate the magic of Canva for creating eye-catching thumbnails—after all, you eat with your eyes first. Who hasn’t clicked on a video because of an irresistible thumbnail?
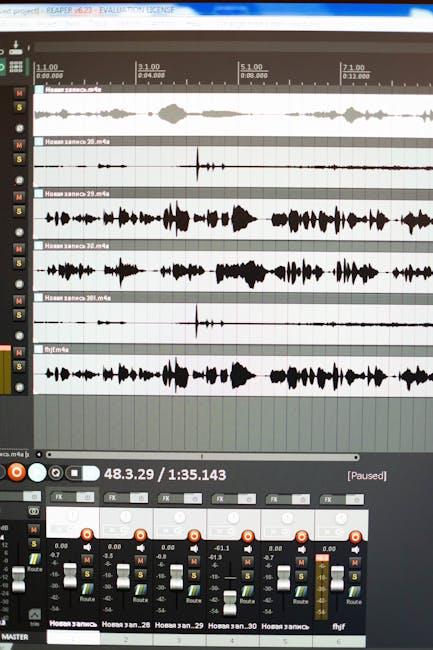
Let’s also not forget the importance of good audio! Audacity is an open-source gem, perfect for enhancing your sound quality without breaking the bank. If collaboration is your vibe, try Frame.io for seamless feedback and sharing with your team. Additionally, using a project management tool like Trello can help keep your video ideas sorted and on track. Here’s a table of these tools with their features to help you choose what suits you best:
| Editing Tool | Best For | Key Feature |
|---|---|---|
| Adobe Premiere Pro | Advanced Editing | Professional-grade editing tools |
| Filmora | Beginners | User-friendly interface |
| Canva | Thumbnails | Drag-and-drop design |
| Audacity | Audio editing | Multi-track editing |
| Frame.io | Team Collaboration | Instant feedback sharing |
| Trello | Project Management | Organizational boards |

Streamlined Workflow Solutions for Hassle-Free Uploading
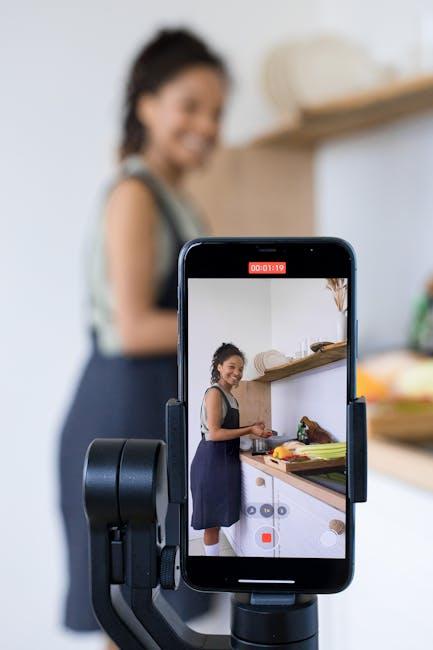
When it comes to uploading content, you want it to feel as smooth as butter, right? Imagine a world where you’re not staring at the screen, waiting for files to transfer, but instead sipping your coffee while everything uploads seamlessly in the background. That’s exactly what essential apps deliver! Programs like OBS Studio or Camtasia can help you record high-quality video effortlessly, but they also integrate perfectly with Dropbox or Google Drive for a quick turnaround on sharing files. No more dragging and dropping from one folder to another; just link, upload, and move on with your creative process.
Additionally, keeping your workspace organized is a game-changer. Apps like Trello and Notion aren’t just for project management—they’re like your personal assistant, reminding you when to upload, what to edit next, and even keeping track of your video ideas. Think of them as digital sticky notes that bring all your tasks into one neat little package. Combine this with a streamlined connection to your video editing software like Adobe Premiere Pro, and you’ve got a powerhouse of productivity right at your fingertips.
| App | Purpose | Key Feature |
|---|---|---|
| OBS Studio | Video Recording | High-Quality Streaming |
| Dropbox | File Storage | Seamless Sharing |
| Trello | Task Management | Visual Workflow |
| Adobe Premiere Pro | Video Editing | Advanced Editing Tools |
Smart Analytics Apps to Supercharge Your Channel Growth
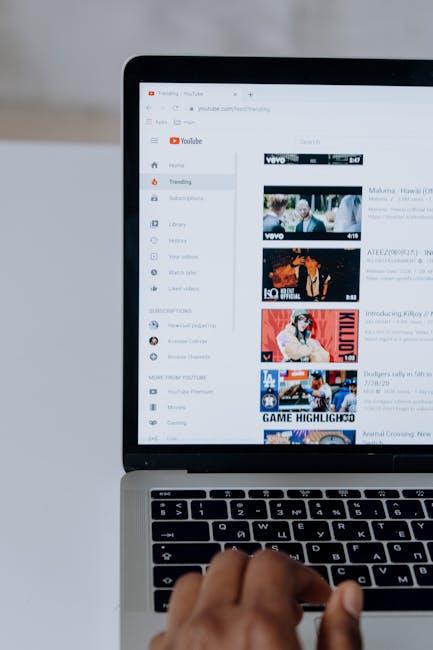
If you’re serious about leveling up your YouTube channel, smart analytics apps are like having a personal trainer for your content strategy. They provide insights that help you understand what’s working and what’s not, enabling you to tailor your approach. Imagine having a bird’s-eye view of your data, breaking down the nitty-gritty details of viewer demographics, watch time, and engagement rates. With the right tools, you can track performance metrics that matter, identify trending topics, and even discover the best times to post. Think of these apps as your secret weapon in a crowded digital landscape—they help you fine-tune your strategy and keep you one step ahead of the competition.
Some of the top contenders in this arena include TubeBuddy, which offers an array of features ranging from tag optimization to thumbnail generators, and VidIQ, perfect for in-depth keyword research and competitor analysis. Additionally, Social Blade gives you a comprehensive look at channel growth and trends, while Google Analytics provides robust insights into viewer behavior. Ready to unleash your channel’s potential? Here’s a quick comparison of these apps to help you choose the right fit:
| App | Key Feature | Best For |
|---|---|---|
| TubeBuddy | Tag optimization & thumbnail generation | New and growing channels |
| VidIQ | Keyword research & competitor analysis | Data-driven creators |
| Social Blade | Channel growth insight | Trend watchers |
| Google Analytics | Viewership behavior tracking | Comprehensive analysis |
Innovative Design Software to Enhance Your Thumbnails and Branding
Creating eye-catching thumbnails and cohesive branding can be a game-changer for any YouTuber looking to stand out in the crowded digital landscape. Thankfully, innovative design software has stepped in to simplify the creative process. Tools like Canva, Adobe Spark, and Fotor let you customize templates or start from scratch, ensuring your thumbnails pack a punch. Not only can these apps help you whip up stunning visuals, but they also provide easy access to a plethora of images, fonts, and drag-and-drop functionalities. Imagine being able to create that perfect thumbnail in just a few clicks, without needing a degree in graphic design!
But why stop there? Leveraging software like Snappa and Crello allows you to maintain a consistent aesthetic across your channel, aiding in brand recognition. You can schedule your graphics, adjust sizes for different platforms, and even collaborate with team members seamlessly. Think of these design tools as your digital toolbox, filled with everything you need to mold your YouTube brand into something visually irresistible. Here’s a quick look at some features offered by these powerhouse applications:
| Software | Key Features |
|---|---|
| Canva | Custom templates, Extensive image library, Easy drag-and-drop |
| Adobe Spark | Branding tools, Animation options, Collaboration features |
| Fotor | Photo editing, Design templates, Social media sizing |
| Snappa | Pre-made templates, Font combinations, Color palettes |
| Crello | Animation tools, Video content creation, Versatile formats |
The Conclusion
And there you have it—the ultimate toolkit every aspiring YouTuber should have ready at their fingertips! From content creation to analytics, these apps can supercharge your channel and help you carve out your niche in the crowded world of video creation. Remember, it’s not just about having the right tools; it’s about using them to turn your vision into a reality.
So, what are you waiting for? Dive into these apps, experiment a little, and see what works best for you. As you refine your craft, don’t forget to have fun along the way! You’re not just building a channel; you’re crafting a community and sharing your passions. And that, my friends, is what truly makes the journey worthwhile. If you found this guide helpful, spread the word and share it with fellow creators! Happy filming, editing, and, most importantly, sharing your unique voice with the world! 🚀