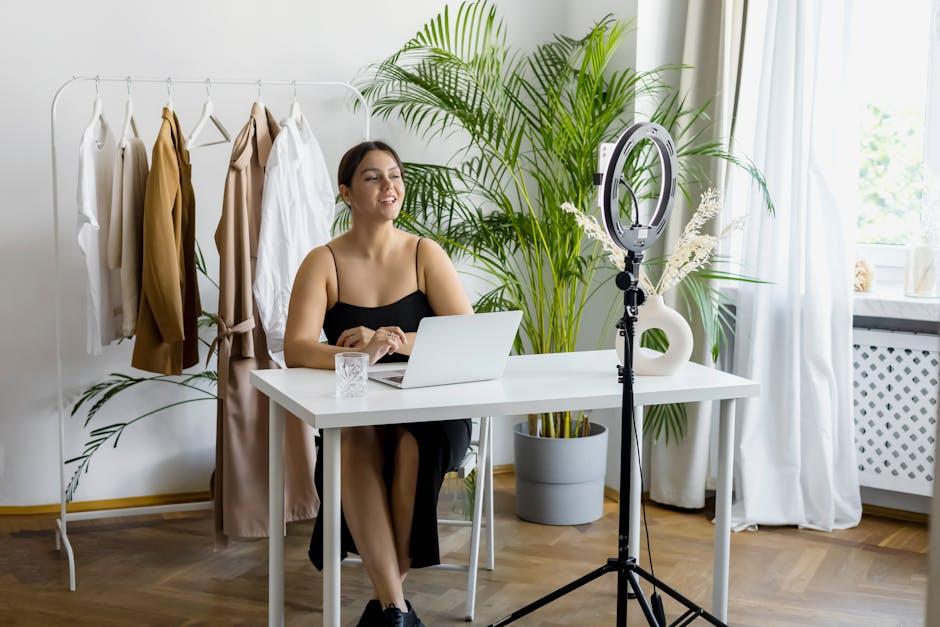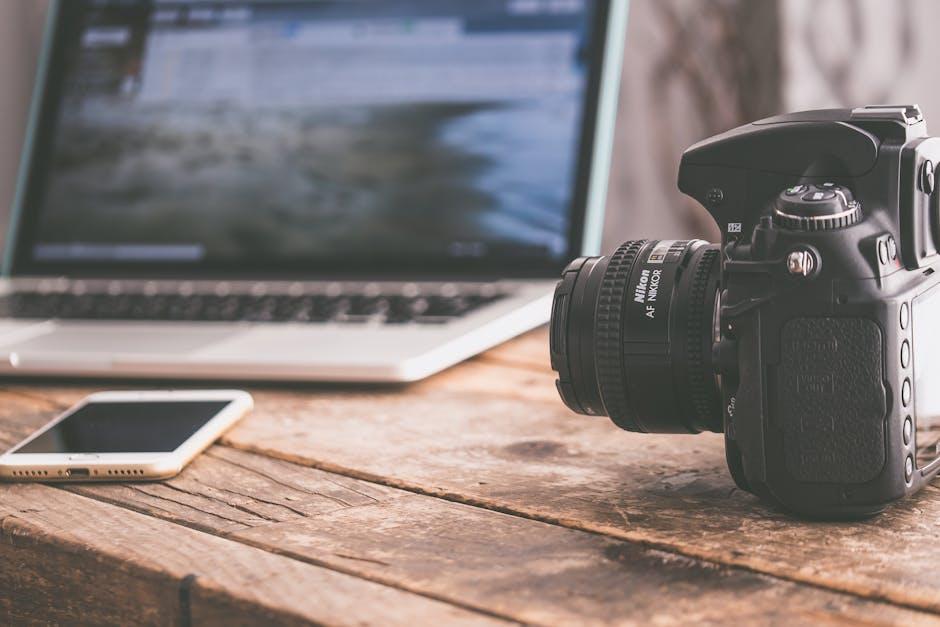
Ever scrolled through a sea of video content and wondered how some folks manage to find the perfect clip in record time? Welcome to the world of Storyblocks! It’s like a treasure chest packed with all sorts of visual goodies just waiting to be explored. If you’re curious about how many channels are packed into this platform, you’re in for a treat. From breathtaking stock footage to mesmerizing audio tracks, Storyblocks has something for everyone—whether you’re a budding filmmaker, a seasoned content creator, or just someone looking to add a touch of flair to your next project. So, let’s dive into this digital wonderland and unravel the mystery of how many channels Storyblocks really has to offer!
Exploring the Hidden Gems in Storyblocks Channels

When you dive into Storyblocks, it’s like stepping into a treasure chest overflowing with creative possibilities. You might be surprised to learn about the variety of channels packed with unique content just waiting to be explored. Each channel acts as its own mini universe, offering various styles that can elevate your projects. Imagine finding the perfect sound effect or a breathtaking video clip that resonates with your vision; it’s all about tapping into these hidden gems that are in plain sight! Here are some channels to keep your eye on:
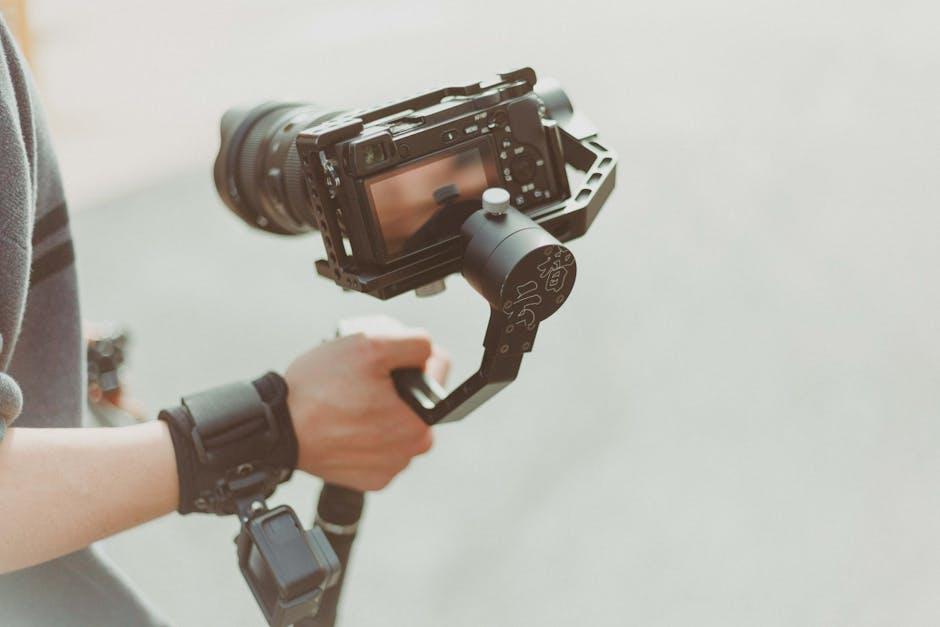
- Video: From cinematic quality to bite-sized clips, there’s something for every storyteller.
- Audio: Need a background score? This channel has everything from soothing tunes to upbeat tracks.
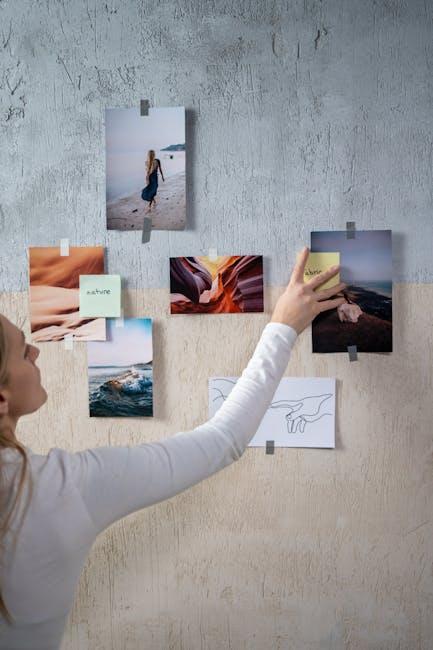
- Images: High-quality photos that can complement any narrative, perfect for that visual touch.
Diving deeper into these channels is like peeling back layers of an onion—each layer reveals more inspiration and resourceful tools to add to your creative toolkit. You may stumble across user-generated content that showcases fresh perspectives or even themes that stir your creativity in unexpected ways. To give you a glimpse, check out this quick overview of what’s out there:
| Channel | Description |
|---|---|
| Documentary Footage | Captivating real-life stories that bring authenticity to your projects. |
| Animation | Dynamic animations that can tell your story in the most engaging way. |
| Templates | Ready-to-use video templates that save you time while looking professional. |
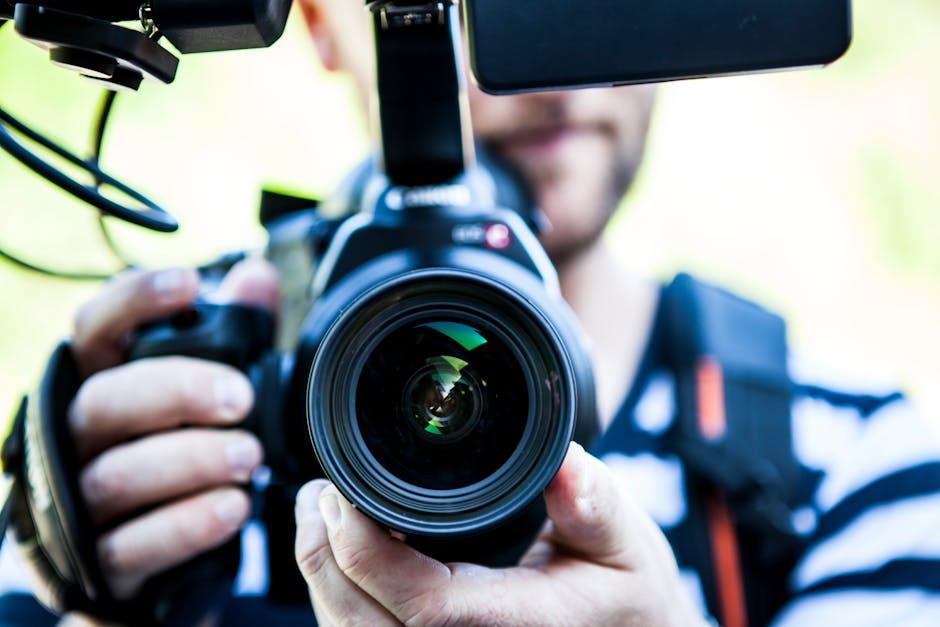
Diving Into the Variety: What Types of Content Can You Find?

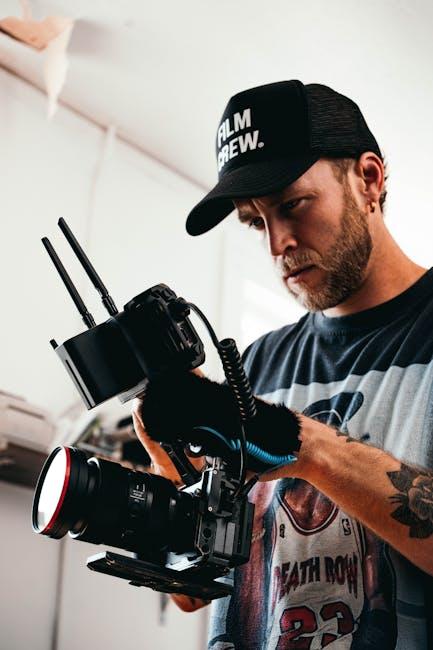
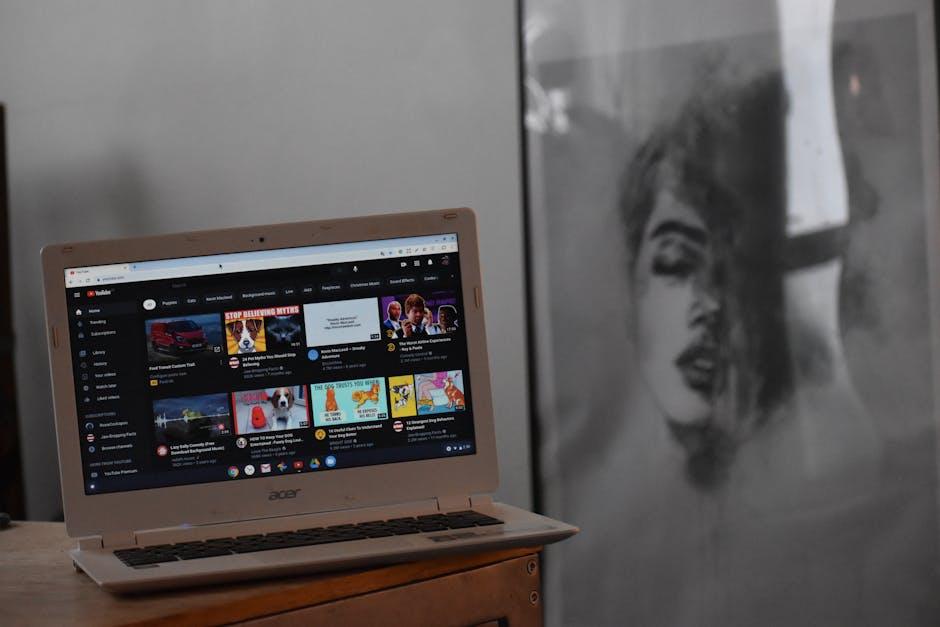
When you dive into Storyblocks, you’re not just dipping your toes in; you’re taking the plunge into a vast ocean of content types that can cater to every creator’s needs. Whether you’re whipping up a home video or producing a cinematic masterpiece, there’s something for everyone. You can explore a variety of stunning stock videos, including breathtaking nature clips and urban time-lapses. But that’s not all! Add a layer of engagement with dynamic audio tracks that can elevate your project and give it that professional polish. You’ll also find countless images and graphics to spice up your storytelling—imagine them as the colorful sprinkles on top of your creative cake!
As you explore further, you’ll uncover niche categories that really help you stand out. Here’s a snapshot of the diverse offerings:
| Content Type | Examples |
|---|---|
| Stock Videos | Nature Clips, Business Footage |
| Audio Tracks | Royalty-Free Music, Sound Effects |
| Images | Backgrounds, Illustrations |
| Motion Graphics | Intros, Transitions |
With these options at your fingertips, it’s like being a kid in a candy store—plenty to choose from, so you can whip up something truly unique and engaging. Why settle for ordinary when you can bring your ideas to life in extraordinary ways? The variety available ensures that every creator finds what they need to tell their story beautifully!
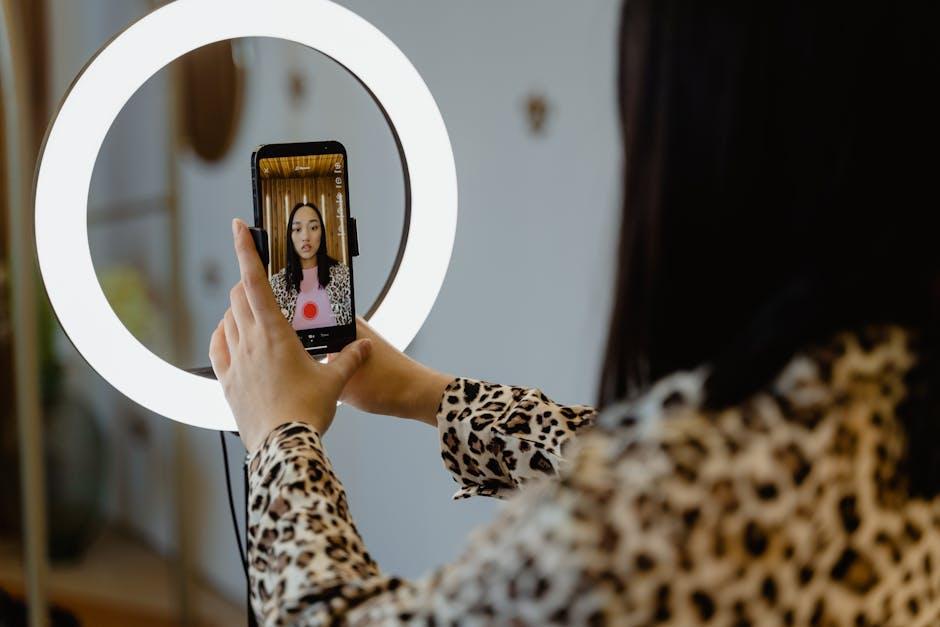
Maximizing Your Experience: Tips for Navigating Storyblocks Channels

To get the most out of Storyblocks, it’s all about figuring out how to navigate their channels like a pro. First off, explore different genres! Each channel has its unique vibe, whether it’s breathtaking nature clips or upbeat music tracks. Don’t limit yourself to just one; diving into multiple channels can open you up to fresh ideas and inspiration. Think of it as visiting different worlds—each with its own stories and visuals waiting for you to discover. Also, use the search filters to narrow down your options. You can find exactly what you need without having to sift through endless material, which saves you precious time.
In addition to that, don’t forget to check out the curated collections that Storyblocks offers. These collections spotlight trending content that’s been handpicked to elevate your projects. If you’re unsure where to start, take a peek at these; they can be a goldmine for grabbing that perfect clip you might not have thought to search for. And don’t miss the reviews and ratings—they’re like having a friend guide you through the maze. Pay attention to what others loved, which can guide you to high-quality assets and streamline your creative process. Embrace the platform fully, and you might just find it becomes your go-to hub for all things creative!
Choosing the Right Channels for Your Creative Projects

When diving into your creative projects, selecting the right channels can feel like navigating a labyrinth. Each platform carries its own unique flair, catering to different audiences and types of content. For instance, if you’re a fan of motion graphics and need a quick turnaround, platforms rich in stock footage or simple animations might just be your golden ticket. Think of it as choosing the perfect outfit for that big event—different occasions call for different styles. You wouldn’t wear beachwear to a cocktail party, right? Similarly, knowing which channels resonate with your creative vision can make all the difference.
Here’s a quick cheat sheet to help you out:
- Visual Content: Websites like Instagram and Pinterest are fantastic for showcasing stunning visuals.
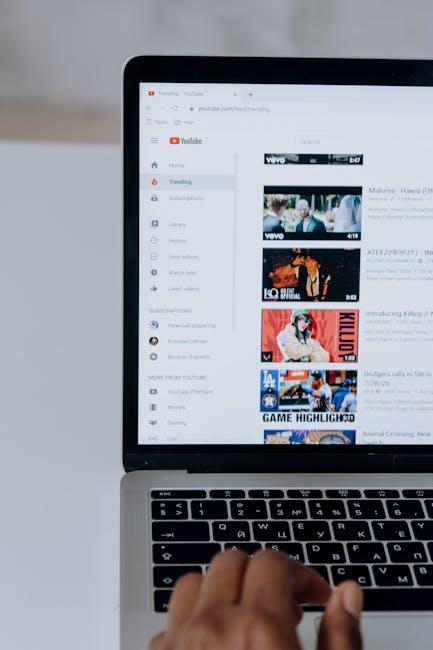
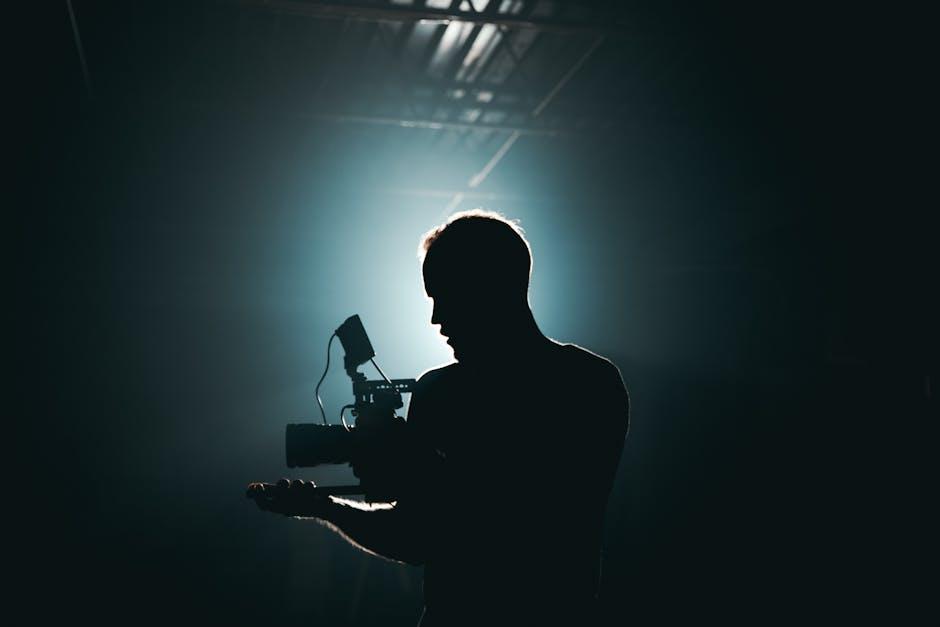
- Video Projects: YouTube and Vimeo are tried-and-true channels to share your cinematic masterpieces.
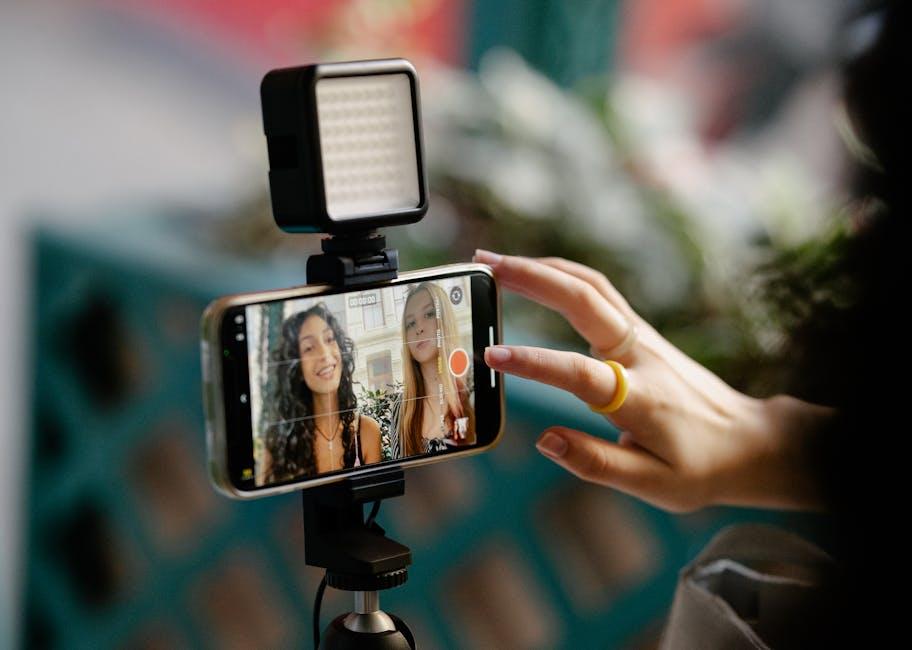
- Interactive Media: Consider platforms like TikTok or interactive infographics for engaging storytelling.
- Writing: Medium or your own blog is perfect for articles, essays, or thought leadership pieces.
Choosing wisely means not just looking at what tools are available, but understanding which ones align with your creative flow. Here’s a simple table to visualize how different channels cater to various content types:
| Channel | Best For | Audience |
|---|---|---|
| Photo & Video Content | Visual Creatives | |
| YouTube | Long-Form Video | Film Enthusiasts |
| Medium | Writing & Articles | Readers & Writers |
| TikTok | Short Clips | Youthful Audience |
With a clear idea of which channels match your intentions, jump in and let your creativity soar!
In Summary
As we wrap up this exploration into the vibrant universe of Storyblocks, it’s clear that the platform isn’t just a treasure trove of creative assets but also a dynamic space brimming with numerous channels tailored to elevate your projects. Whether you’re hunting for killer stock footage, catchy audio, or stunning images, there’s an avenue for every creator—like a buffet where you can load your plate with everything your heart desires.
So, how many channels are we talking about? Well, the answer isn’t just a number; it’s a gateway to inspiration, innovation, and limitless possibilities. By tapping into this diverse selection, you’re equipped to unleash your imagination and bring your ideas to life like never before.
If you’re feeling a spark of curiosity or inspiration, why not dive in and explore? After all, every project has the potential to shine with the right tools. Happy creating, and may the channels of Storyblocks guide you to your next big masterpiece!