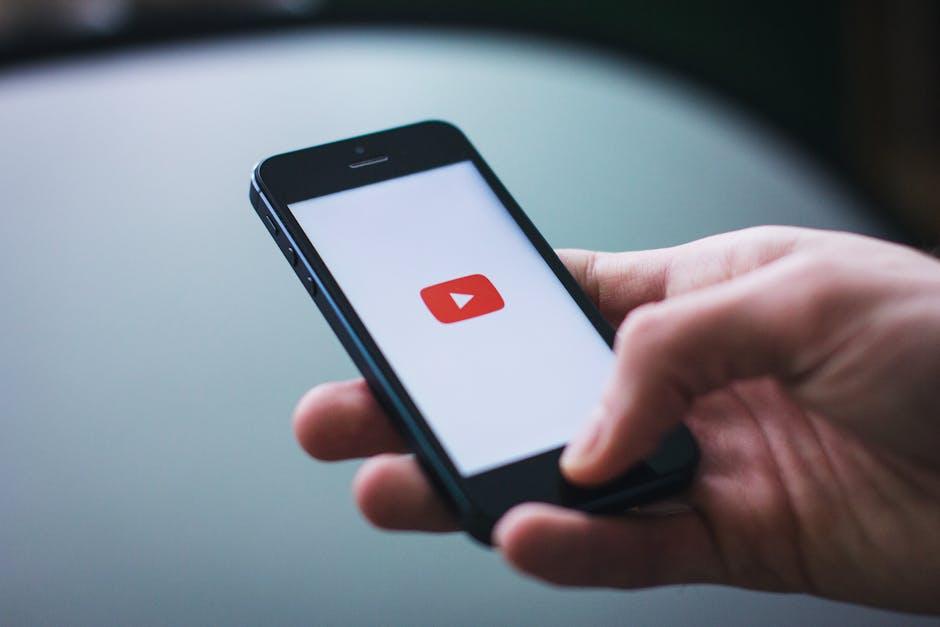
Ever find yourself scrolling through YouTube, discovering a gem of a video that has the perfect quote, a hilarious moment, or an insightful snippet you just have to share? But then, the thought of having to guide your friends to that exact moment feels like a hassle. Enter “Snip It!”—your go-to guide for whipping up quick and easy clips right from your iPhone. Whether for a social media post, a group chat, or just to keep a personal stash of favorites, creating clips has never been simpler. So grab your phone, and let’s dive into these easy steps that’ll turn your favorite YouTube moments into shareable clips faster than you can say, “Did you see that part?”
Mastering the Art of Snipping with Your iPhone

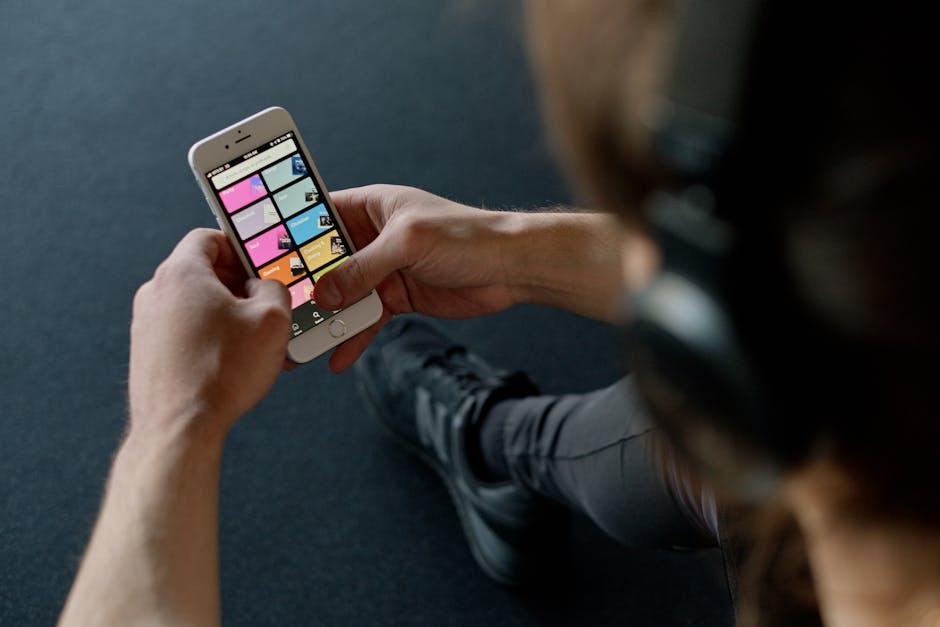
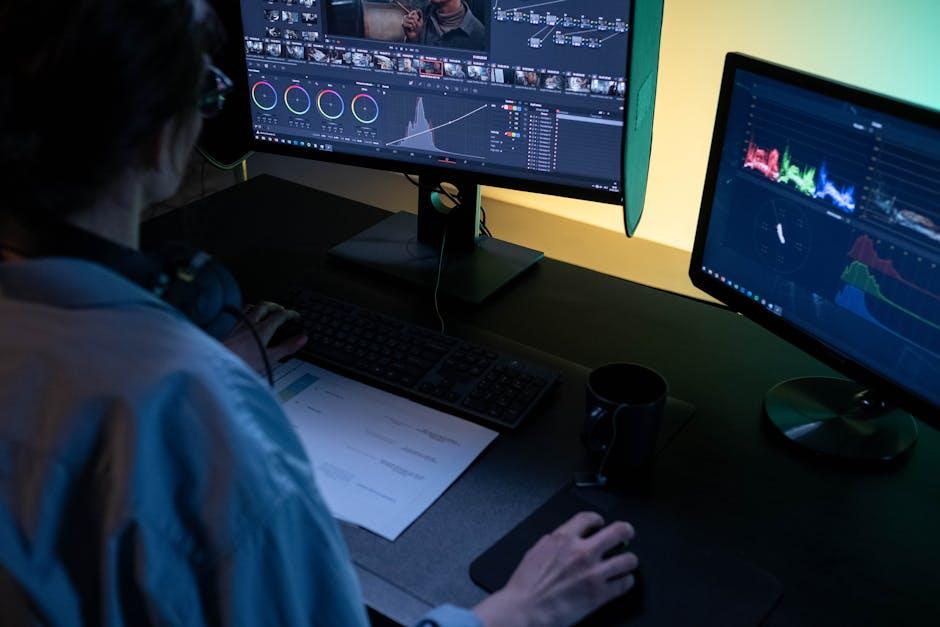
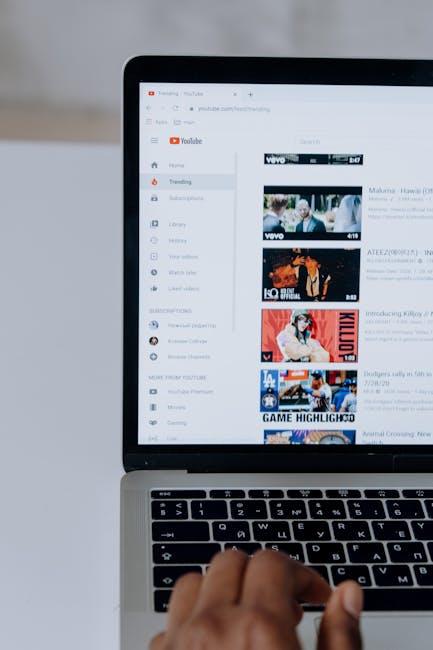
Creating snips from YouTube on your iPhone is as easy as pie, and trust me, it’s a game-changer! Imagine being able to capture the funniest moments from vlogs or the most insightful tips from tutorials with just a few taps. All you need to do is open your YouTube app, find that marvelous video you can’t get enough of, and take a screenshot of the frame you want. But hold on, it doesn’t stop there. To really get those clips rolling, you can use the built-in editing features on your photos. Just select your screenshot, hit “Edit,” and trim down those unwanted edges. Voilà, you’re left with a perfect mini-moment! Pro tip: Don’t forget to save it to your albums for easy access later.
If you’re looking to up your snipping game, consider using some nifty third-party apps. There are several out there that specialize in downloading videos and letting you snip out exactly what you want. Just keep in mind that while these apps can be super handy, you’ll want to make sure they respect copyright and terms of service. Here’s a quick table of popular apps to consider:
| App Name | Features | Price |
|---|---|---|
| ClipGrab | Easy downloads and editing options | Free |
| Documents by Readdle | Multi-functional file manager that downloads videos | Free |
| iOS Video Downloader | Simple interface and quick snipping | $2.99 |
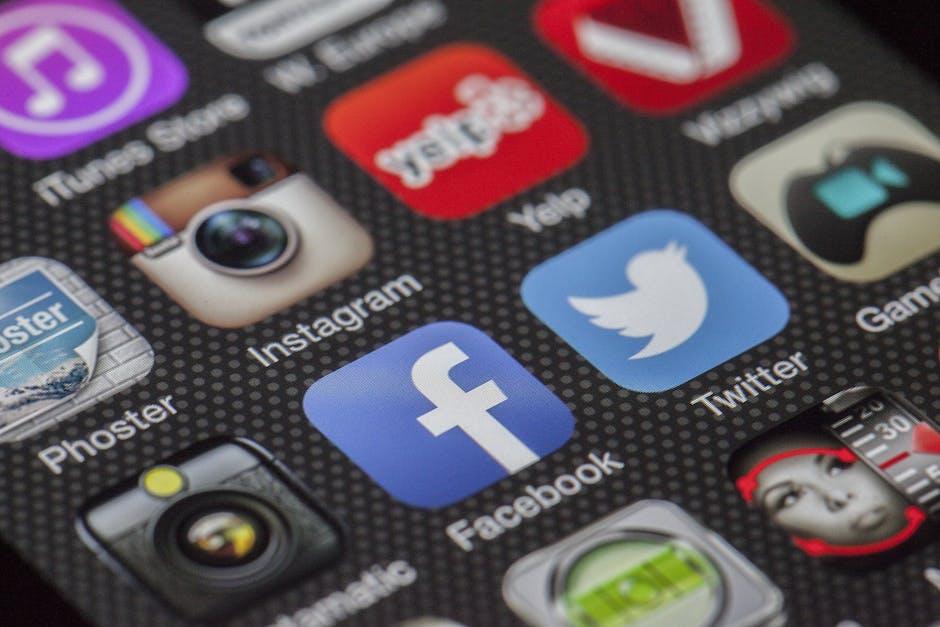
Essential Apps to Transform Your YouTube Experience
Ready to level up your YouTube game? There’s a treasure trove of apps that can elevate your viewing experience into something utterly extraordinary. For starters, apps like YouTube Clips allow you to slice and dice your favorite videos right on your iPhone. Imagine capturing that hilarious moment or brilliant quote and instantly sharing it with friends! It’s like having a pocket-sized video editor that fits right in your palm. With just a few swipes, you’re curating a collection of clips that highlight the best bits, ensuring you never lose track of those golden nuggets again.
Then there’s InShot, a fantastic companion that provides editing features to spice things up even further. You can trim, add music, or even throw in fun filters to your clips, turning simple highlights into mesmerizing mini-movies. When you share these clips on social media, they are bound to grab attention! Plus, don’t forget other handy apps like KineMaster and Clips that make the process seamless—and fun! Here’s a quick glimpse into their unique features:
| App Name | Main Features | Best For |
|---|---|---|
| YouTube Clips | Easy video slicing and sharing | Highlighting favorite moments |
| InShot | Music, filters, and themes | Creative edits and social media sharing |
| KineMaster | Multi-layer editing | Professional-looking clips |
| Clips | Fun effects and text overlays | Quick and playful edits |
Snip Like a Pro: Tips for Perfect Clips Every Time

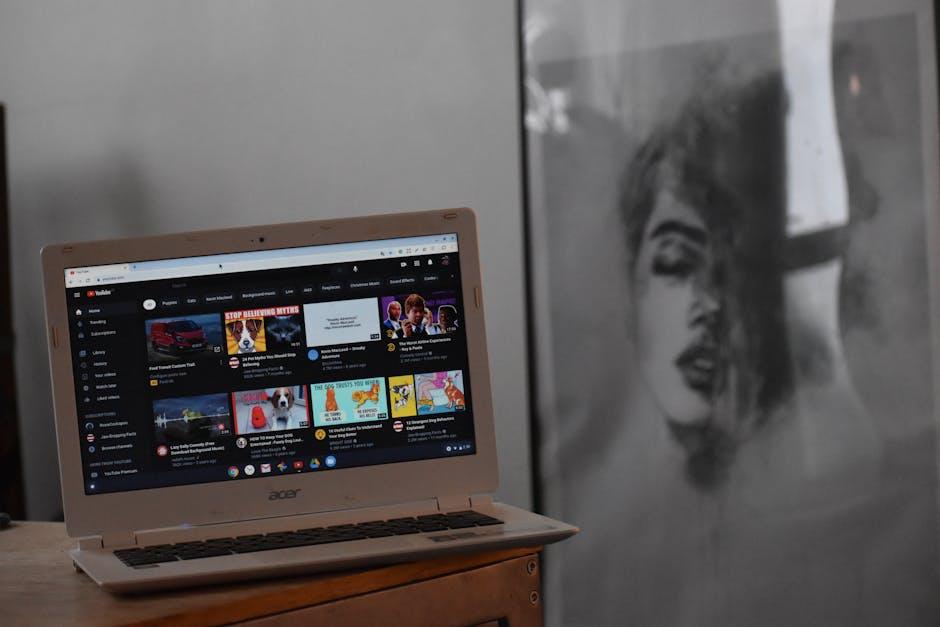
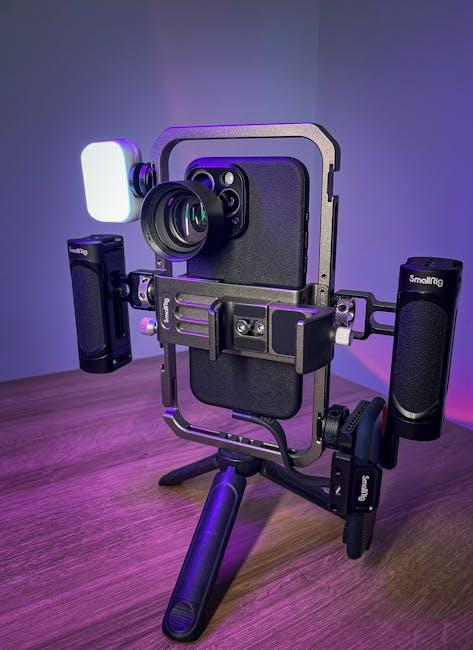
Creating perfect clips from YouTube on your iPhone doesn’t have to be a daunting task. With some simple techniques, you can snip like a pro in no time! First off, make sure you have the right tools—apps like iMovie or Clips are game changers. They make it super easy to edit your clips. Start by locating your desired video, and take note of the exact timestamps you want to cut. It’s like being a sculptor, chiseling away unnecessary bits to get that beautiful masterpiece! Remember, the key is to be precise. Aim for clean cuts that capture just the good stuff. A well-timed cut can elevate your clip from mundane to magical.
Once you’ve got your clips lined up, experiment with adding a personal touch. You can incorporate text overlays or fun filters to make your snippets pop! Think of your clip as a canvas; the more creativity you pour into it, the better the outcome. Here’s a quick checklist to guide your editing process:
- Choose your best moments: Focus on the highlights.
- Trim wisely: Less is often more.
- Add flair: Consider music or sounds for engagement.
- Preview before sharing: Always double-check your edits.
Keep the audience in mind—what do they want to see? Engage them right from the start! Check out the table below for some common clip lengths and their potential uses:
| Clip Length | Best For |
|---|---|
| 0:15 – 0:30 | Quick highlights, teasers |
| 0:30 - 1:00 | Short tutorials, reviews |
| 1:00 - 2:00 | Detailed explanations, vlogs |
So, get ready to let your creativity flow and turn those lengthy videos into snappy clips that are sure to entertain and inform!
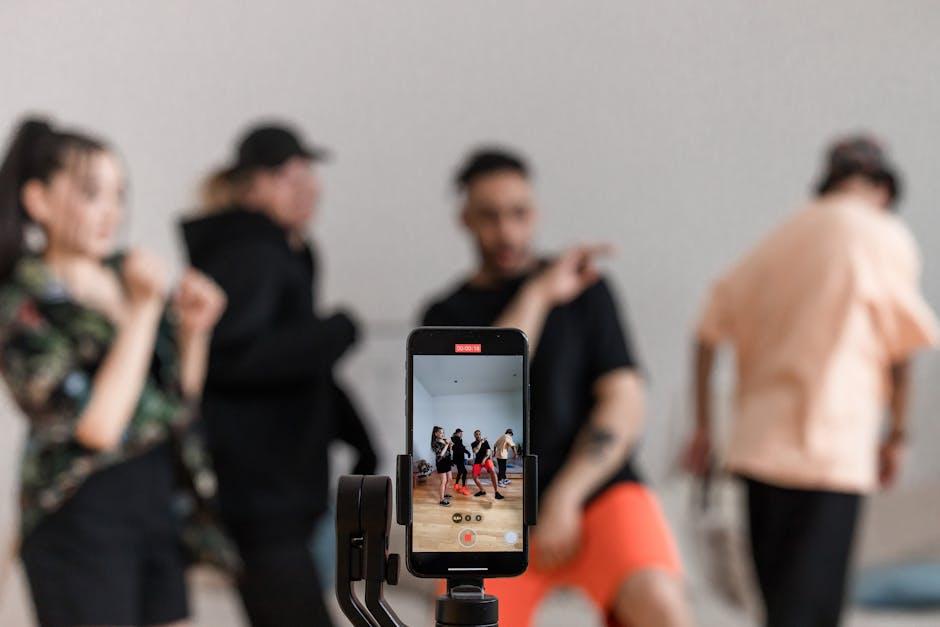
Sharing Your Snips: Engaging Your Audience Effortlessly
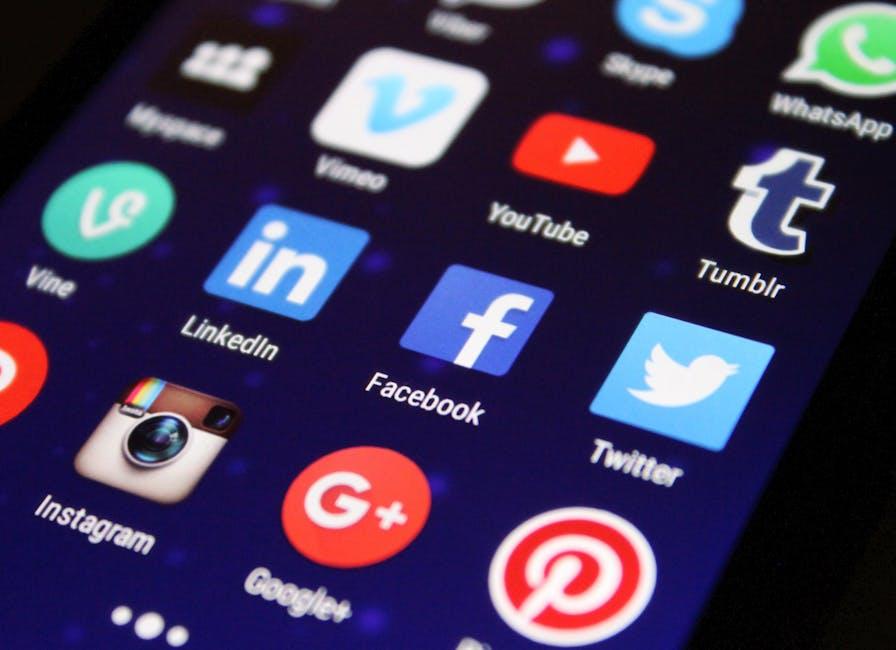
Once you’ve created your snips, it’s time to share them and watch your audience engage! Whether you’re sharing on social media or directly with friends, keep the conversation flowing. Tagging people in your posts can boost visibility, and remember to use engaging captions that draw them in. Ask questions or use fun emojis to make your content feel inviting. Try sharing your clips on platforms like Instagram, Twitter, or even TikTok, where a snippet can spark interest and curiosity. You might find that a well-placed snip can lead to in-depth conversations or lively debates. What better way to spark discussions than with the content people are already passionate about?
Consider creating a schedule for sharing your clips. Posting consistently can keep your audience’s interest piqued. Here’s a quick table to help you visualize your sharing plan:
| Day | Platform | Content Type |
|---|---|---|
| Monday | Clip with Question | |
| Wednesday | Clip with Poll | |
| Friday | Clip Highlight |
By mapping it out, you can ensure that your audience consistently gets fresh content from you. So, go ahead and snip away, then let those sharp clips do the heavy lifting in building your digital community!
In Conclusion
And there you have it! Snipping clips from YouTube on your iPhone is as easy as pie. With just a few taps, you can capture those golden moments and share them with friends or keep them for your own entertainment. Whether you’re snagging snippets for a project, a social post, or just to relive the best parts of your favorite videos, you’re now armed with the know-how to make it happen seamlessly.
So, what are you waiting for? Dive onto your iPhone, find that perfect video, and start snipping away! It’s your content—make it shine. And who knows, you might discover a hidden talent for editing along the way. If you run into any hiccups or have tips of your own, drop a comment and let us know! Happy clipping!