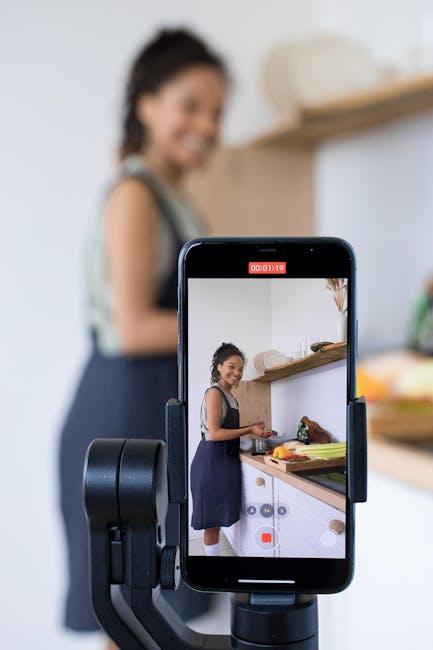
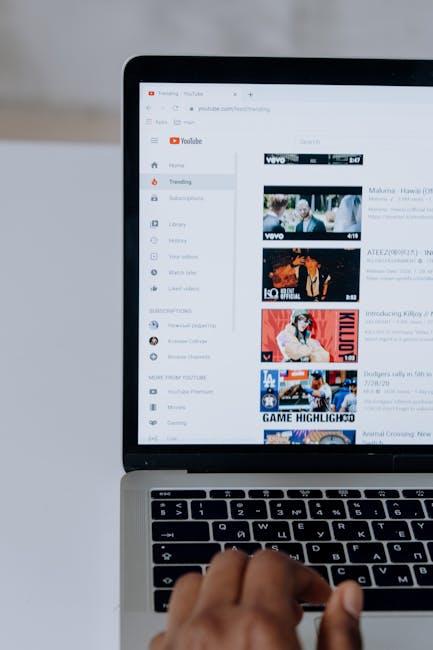
We’ve all been there—sinking into the couch, headphones on, totally engrossed in a favorite YouTube video. Just when you think it couldn’t get any better, it ends, and you’re left longing for more. What if there was a way to keep that sweet moment rolling? Picture this: your viewers are not just passively watching; they’re hooked, replaying your content because they can’t get enough. In the digital jungle of YouTube, keeping your audience engaged means knowing how to make your videos repeat like that favorite song on a road trip. So, let’s dive into the art of crafting irresistible content that invites viewers to hit that replay button over and over again. Ready to become the maestro of the YouTube repeat? Let’s unlock the secrets together!
Mastering The Loop: Unlocking YouTubes Hidden Features for Endless Play
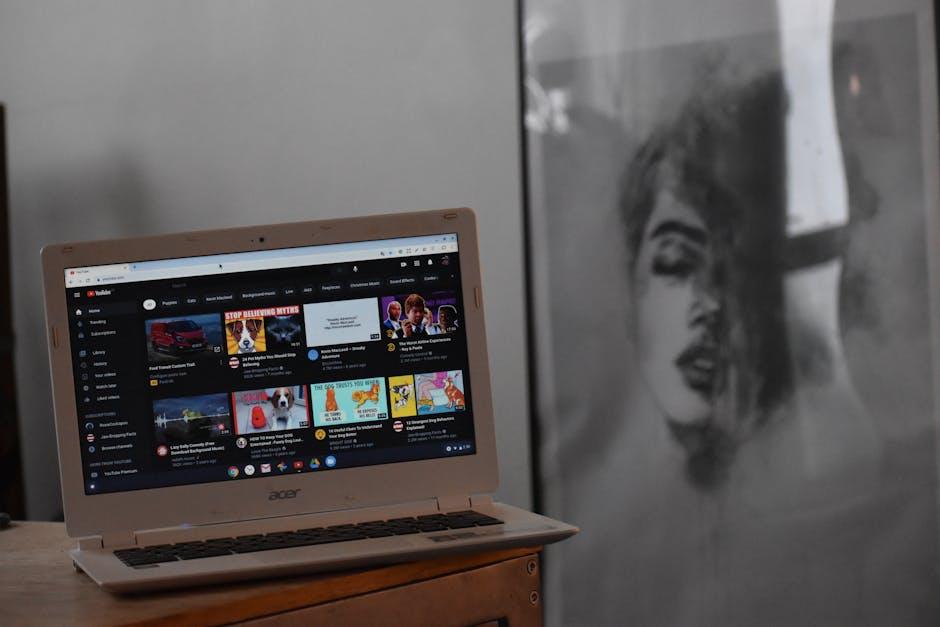
Ready to dive deeper into YouTube? Let’s talk about making those videos play on repeat without lifting a finger! The beauty of YouTube is that it offers some nifty tricks hidden just below the surface. One of the simplest ways to loop a video is by adding “&loop=1” to the end of the URL. Sounds too easy, right? Just grab the link, slap that on, and voilà—your favorite jam or tutorial will play over and over. Plus, if you’re sharing the link with friends or posting it on your socials, they can also enjoy the endless fun without any extra hassle!
But wait, there’s more! If you’re not into the URL trick, creating a playlist is another super effective option. You can add the same video multiple times, letting it spin like a record at a party. Here’s how you can do it:
- Go to your YouTube Library and click on “Playlists.”
- Hit the “New Playlist” button and give it a catchy name.
- Add your favorite video, but do it again as many times as you like!
Now just hit play, and you’ll have your very own endless autoplay party going on. Enjoy the vibes without interruption!

The Art of Repetition: Crafting Your Content to Keep Viewers Coming Back
Creating content that pulls people in and keeps them coming back is like building a cozy coffee shop that becomes a local favorite. To achieve this, consider repetition as your secret sauce. It’s not about boring your audience; rather, it’s about familiarizing them with your brand. When viewers see consistent themes, styles, or catchphrases in your videos, they form an emotional connection. For instance, you could end each video with a signature sign-off or recurring joke. This “inside joke” creates a sense of community, making viewers feel like they’re part of something special every time they hit play.
Visual elements also play a crucial role in this dance of repetition. Think about using specific colors, logos, or even catchy sound bites in each video. This visual branding engrains your content in the mind of the viewer, making it as memorable as the smell of fresh coffee. You might even consider crafting a table to showcase your recurring themes:
| Element | Description |
|---|---|
| Catchphrase | Phrase you use at the end of every video to create familiarity. |
| Visuals | Consistent colors and styles that reflect your brand. |
| Sound Bites | Memorable sounds or music clips that evoke emotion. |
By weaving these elements into your content tapestry, you not only grab attention but also forge loyalty among your viewers. They won’t just watch one video; they’ll eagerly await the next, anticipating that familiar feel mixed with new, engaging content. When executed well, repetition becomes less about redundancy and more about building a loyal fanbase that loves to hit the replay button!

Audience Engagement: Strategies to Encourage Repeat Views and Interaction
Creating content that resonates with your audience is the secret sauce for building engagement and encouraging repeat views. A great way to keep viewers coming back is by incorporating interactive elements into your videos. Think about using polls or questions that encourage your audience to share their thoughts in the comments. You could even sprinkle in behind-the-scenes snippets or sneak peeks of upcoming content to create anticipation. When your viewers feel like they’re part of the journey, they’re more likely to hit that replay button! Imagine your audience as a club; the more you involve them in your activities, the more they’ll want to be a part of what you’re doing.
Another effective approach is storytelling. People love stories; they grab our attention and keep us hooked. Craft your videos around a narrative arc, whether it’s sharing a personal experience, a compelling case study, or even a humorous anecdote related to your topic. Engaging visuals, paired with a cliffhanger at the end, can skyrocket those replays. Consider creating a consistency calendar: this could map out your upload schedule while hinting at themes or plot lines for upcoming videos. Here’s a simple table to visualize this strategy:
| Week | Theme | Engagement Strategy |
|---|---|---|
| 1 | Personal Journey | Invite comments on similar experiences |
| 2 | Tips & Tricks | Ask viewers for their favorites |
| 3 | Q&A Session | Encourage questions for next video |
| 4 | Viewer Showcase | Feature viewer-generated content |

Building Your Brand: How Replays Enhance Recognition and Loyalty
Consistency is the name of the game when it comes to building your brand on YouTube. By incorporating replays into your video strategy, you not only engage your audience but also create a sense of familiarity that breeds trust. Think about it: when viewers see your content popping up on repeat, it reinforces your brand’s identity, making your channel a go-to source for their entertainment or education. Imagine engagement levels skyrocketing as regular viewers return for their favorite moments, while newcomers are drawn in by the buzz around your video clips. Engagement tactics like replays keep your brand in the forefront of viewers’ minds!
Plus, replays can significantly enhance viewer loyalty. When your audience knows they can revisit exciting or informative content anytime, they’re more likely to subscribe and stick around for more. It’s like offering an encore performance at a concert—people love knowing they can experience it again! Here’s how you can maximize the impact of replays:
| Replay Format | Viewer Response |
| Highlight Reels | Increased shares |
| Tutorial Loops | Boosted comments |
| Live Stream Replays | Higher subscriptions |
By thoughtfully leveraging replays, you’re creating a cycle of recognition and loyalty that becomes almost magnetic. This repetition isn’t just about numbers; it’s about nurturing a community around your content. Your viewers won’t just remember your brand; they’ll celebrate it! And who wouldn’t want that kind of fan base cheering for them from the sidelines?

To Wrap It Up
And there you have it! With these tips, you’re all set to keep your viewers hooked and coming back for more. Imagine your audience, glued to their screens, just itching to hit that replay button after every video. By mastering the art of repetition, you’re not just making your content more engaging; you’re building a community that craves what you have to offer. So, whether it’s catchy hooks, thrilling cliffhangers, or memorable call-to-actions, remember: the more you entice them to stick around, the more you’ll grow your channel. Dive in, experiment, and don’t be afraid to have some fun with it! Happy creating, and here’s to never missing a beat on your YouTube journey!