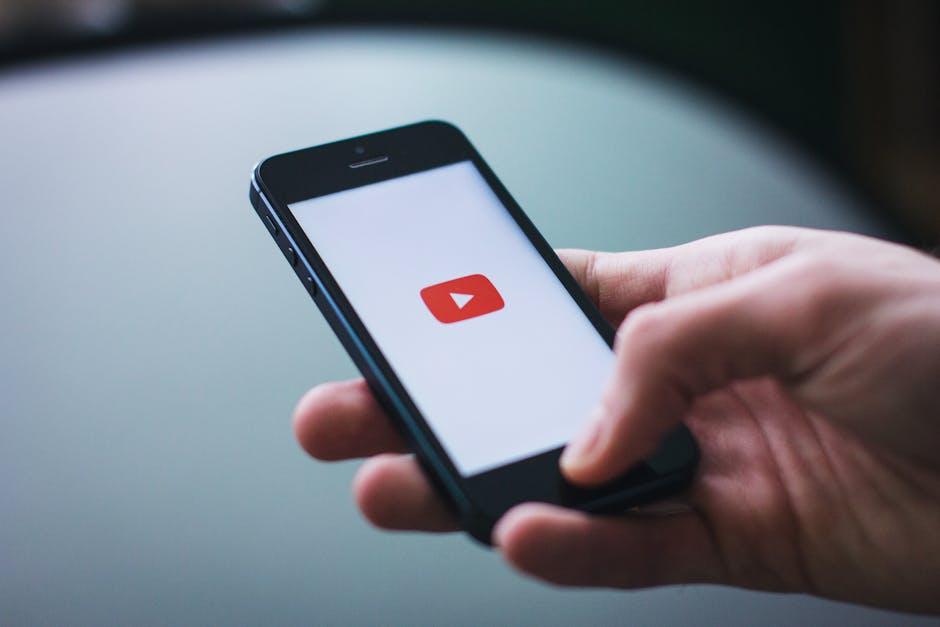
Are you tired of jumping through hoops just to share your favorite YouTube videos with Google Drive? You’re not alone! Connecting these two platforms can feel like trying to solve a Rubik’s Cube—frustrating and confusing. But what if I told you it doesn’t have to be that way? In this guide, we’ll unravel the mystery of linking YouTube to Google Drive, making it as smooth as butter on warm toast. Get ready for a straightforward, step-by-step journey that’ll have you seamlessly transferring videos in no time. Let’s dive in and make tech feel like a walk in the park!
Unlocking the Power of YouTube and Google Drive Integration
Imagine effortlessly sharing your favorite YouTube videos with friends and family or storing all your video projects in one convenient place. Integrating YouTube with Google Drive opens up a world of possibilities! By marrying these two platforms, you can create an organized hub for all your visual content. Here’s what you can do with this integration:
- Store Videos Easily: Save your uploaded YouTube videos straight to Google Drive.
- Share with a Click: Send video links directly from Drive—no more hunting through bookmarks.
- Organized Playlists: Create folders for different themes, genres, or projects.
To kick things off, you’ll just need to enable the connection between your YouTube account and Google Drive. Head to your YouTube settings and authorize Drive to have access. Once you’ve done that, the real magic happens! It’s like opening a treasure chest of content at your fingertips. Check out this simple table that highlights the steps you’ll follow:
| Step | Action |
|---|---|
| 1 | Go to YouTube settings |
| 2 | Select “Link with Google Drive” |
| 3 | Authorize access |
| 4 | Start uploading and sharing! |
With these straightforward steps, you’re not just saving time; you’re enhancing your workflow and elevating your content-sharing game. So, why wait? Jump in and explore the ease of blending YouTube with Google Drive!

Streamlining Your Workflow: Why Syncing Matters
When it comes to getting things done, organization is key. Imagine trying to find that perfect video you uploaded months ago on YouTube, only to realize it’s buried under a mountain of unrelated files. Syncing your YouTube account with Google Drive (GD) eliminates that headache. With everything in one place, you can easily retrieve, share, and collaborate without the hassle. Think of it like having a digital filing cabinet, where all your prized videos are neatly categorized and just a click away. No more digging through endless folders or risking losing your important content!
Not only does syncing save you time, but it also enhances productivity. You’ll find that your workflow becomes smoother, and sharing with others becomes a breeze. Here are some key benefits:
- Easy Access: Your files are always available, regardless of your device.
- Streamlined Collaboration: Work with team members in real-time, keeping everyone on the same page.
- Storage Efficiency: Manage storage limits by backing up essential files to GD.
making the leap to sync your YouTube and GD accounts isn’t just an upgrade; it’s a game-changer for streamlining your workflow. You’ll be amazed at how much simpler life becomes when everything is connected!

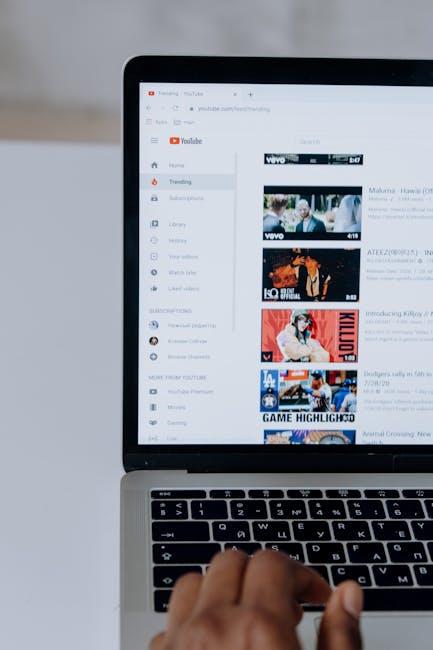
Step-by-Step Setup for Effortless Video Management
Ready to dive into the world of seamless video management? Start by logging into your YouTube account and navigate to the settings menu. Here, you’ll want to look for the API section. It’s like the secret doorway for developers and integrations. Once you’re there, you’ll need to create new credentials by selecting the Create Credentials option. A pop-up will guide you through generating an OAuth 2.0 client ID. This step is crucial; think of it as the key that unlocks the vault of your YouTube videos so you can share them with Google Drive effortlessly!
Now, let’s get those videos flowing into Google Drive. Head over to your Google Drive account and locate the Google Apps button in the upper right corner. You’ll want to select Connect more apps to find the YouTube integration tool that’ll help link your accounts. Once you find it, click on Install. You’ll need to grant the necessary permissions, so everything can sync smoothly. Just like a well-oiled machine, this setup will ensure your videos are easily accessible and organized. To keep things tidy, consider creating a dedicated folder in Google Drive for all your YouTube uploads. This way, you won’t have to rummage through a sea of files—it’s all right there at your fingertips!

Tips and Tricks for Optimizing Your YouTube to GD Connection
To get the most out of your YouTube to Google Drive (GD) connection, start by keeping it organized. Make specific folders in your Google Drive for all your videos and related content. This way, when you use the connection to save videos directly, everything is nicely compartmentalized. Consider making a dedicated folder for uploads, another for favorites, and maybe even a collabs folder if you’re all about that team work! The easier you make it to find things later, the less time you’ll waste hunting through disorganized files. Plus, it’s like having a tidy closet; everything has its place, and you can quickly grab whatever you need. Also, don’t forget to enable automatic backups to ensure that your favorite YouTube videos never disappear into the void!
Another tip is to leverage playlists to streamline your management process. When you save videos to Google Drive, tagging playlists that categorize your content can drastically speed up retrievals and keep similar themes grouped together. Think of it as organizing your Netflix queue: it’s a lot easier to find a rom-com if it’s under the right label! Furthermore, when downloading videos, always check the file formats to ensure they’re compatible with your needs. Preferred formats like MP4 or AVI are usually the most versatile. If you’re working with a lot of video content, using a table like the one below can help you keep track of what you’ve uploaded and what still needs attention:
| Video Title | Status | Format |
|---|---|---|
| My First Vlog | Uploaded | MP4 |
| Cooking with Mom | Pending | AVI |
| Travel Diaries | Uploaded | MP4 |
In Retrospect
And there you have it! You’re now all set to seamlessly connect your YouTube account to Google Drive like a pro. Just picture it: your favorite videos stored safely and soundly, ready to access anytime you need a dose of inspiration, laughter, or just a good ol’ binge-watch. It really doesn’t get easier than this, right?
By following these simple steps, you’ve unlocked a whole new level of convenience. Think of it as having a digital assistant that helps you keep everything organized, whether it’s for work, study, or just for those moments when you want to reminisce over your cherished video memories.
So, dive in, explore, and make the most of your newly integrated platforms! If you’ve got any questions or run into any hiccups, don’t hesitate to reach out. Good luck, and happy viewing!