Hey there, fellow time-travelers of the digital realm! 🎥 If you’re anything like me, the world of YouTube can feel like a swirling vortex of endless content, where one video leads to another, and suddenly, you’ve lost an afternoon (not that it’s ever happened to me… right?). But amidst this delightful chaos lies a powerful tool called Schedule X that can transform how you share your own videos. Imagine being the captain of your ship, navigating through the seas of subscribers with ease, setting sail at precisely the right moments to hook your audience and keep them coming back for more. Sounds pretty great, doesn’t it?
In this simple guide, we’ll break down the ins and outs of mastering Schedule X, making it accessible for creators of all skill levels. Whether you’re a seasoned content creator or just dipping your toes into the YouTube waters, you’ll find tips and tricks that will help you harness this scheduling powerhouse. So grab your favorite snack, kick back, and let’s dive into the magical world of YouTube scheduling together! 🚀
Unlocking the Secrets of Schedule X: What You Need to Know
When it comes to navigating Schedule X, there’s a lot to unpack, but don’t worry! Imagine it like piecing together a puzzle—each section connects to form a complete picture. First off, familiarize yourself with the key components. You’ll need to pay attention to things like financial disclosures, asset classifications, and liabilities. Each part serves a unique role in presenting your overall financial health. Here’s a quick list of what to keep in mind:
- Accuracy is Key: Double-check every number you enter.
- Documentation Rules: Keep your supporting documents organized and ready.
- Update Regularly: Schedule X is not a “set it and forget it” deal.
Next, think of Schedule X as your financial résumé. It showcases where you stand and opens doors for potential opportunities. Make sure to understand how the different sections impact each other—for example, how your assets might influence your liabilities and overall net worth. A simple way to visualize this is through a comparison table:
| Asset Category | Estimated Value | Liability Category | Estimated Amount |
|---|---|---|---|
| Cash & Equivalents | $10,000 | Credit Card Debt | $2,000 |
| Real Estate | $300,000 | Mortgage | $200,000 |
| Stocks & Bonds | $50,000 | Student Loans | $15,000 |
By mapping it all out, you not only clarify your situation for yourself but also enhance your credibility when sharing with others. So roll up your sleeves and start exploring—once you crack the code, tackling Schedule X becomes a breeze!

Crafting Irresistible Content: Tips for Killer Engagement
To truly captivate your audience, you need to think of your content as a glowing bonfire, inviting viewers to gather around and share stories. Start by tapping into emotional triggers that resonate with your audience’s experiences and aspirations. Ask yourself what keeps them up at night or what makes them jump for joy. Sprinkle in some relatable humor, and don’t shy away from personal anecdotes—these nuggets of authenticity can create a deeper connection. Consider incorporating visual elements like eye-catching thumbnails and engaging editing techniques that pull people in right from the start. Remember, visuals and text work hand in hand to create a magical experience!
Next, don’t underestimate the power of calls to action—they’re the breadcrumbs that guide your audience through the content forest. Simple prompts like, “Have you ever tried this?” or “What are your thoughts on this?” can ignite a spark of interaction, transforming passive viewers into active participants. Also, use polls or questions during your videos to keep engagement high. Imagine your content as a dinner party; you want guests mingling, sharing their own stories, and connecting over shared interests. This fosters a sense of community, encouraging viewers not just to watch, but to stick around and be a part of something bigger!

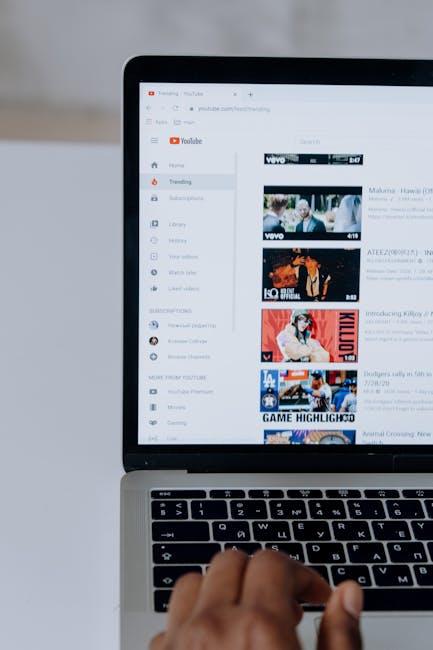
Timing is Everything: Mastering Your Upload Schedule
When it comes to conquering the YouTube landscape, timing truly plays a pivotal role. Think of your upload schedule as the rhythm of a catchy song—get it right, and your audience will groove along with you. But how do you find that perfect beat? Start by analyzing your audience’s viewing habits. You can use YouTube Analytics to pinpoint when your fans are most active. Focus on these key elements:
- Days of the Week: Certain days see higher engagement. You might find that weekends or mid-week are golden.
- Time of Day: Look for those peak viewing hours—maybe it’s early evenings or lunch breaks.
- Experiment: Don’t be afraid to test different times. Sometimes, a little unpredictability can bring in fresh viewers!
Now, let’s chat about consistency. Just like a favorite TV show that drops new episodes at the same time each week, your subscribers are likely to appreciate a reliable upload schedule. If they know exactly when to expect your content, they’re more inclined to tune in regularly. To help with planning, consider using a simple weekly calendar. Here’s a quick overview of potential time slots that can work for many creators:
| Day | Optimal Time (EST) |
|---|---|
| Monday | 6 PM |
| Wednesday | 3 PM |
| Friday | 7 PM |
| Sunday | 12 PM |
By merging this data with your creative flair, you’ll be well on your way to mastering your YouTube journey. Timing isn’t just an art; it’s a science that can transform casual viewers into loyal fans.

Maximizing Reach and Impact: Strategies to Boost Your Channel
To really amp up your YouTube channel and make your videos pop, you need to grab your audience’s attention and keep them coming back for more. Consistency is key here—think of it like a favorite TV show coming back every week at the same time. Make sure you’re setting a solid upload schedule that your viewers can count on. Utilize analytics to find out when your audience is most engaged and try to publish during those peak times. This way, you’re not just tossing your content out into the void; you’re strategically placing it where your audience is already hanging out.
Another essential tactic is to cultivate your community. Engage with your viewers in the comments, ask them questions, and encourage them to share their thoughts and ideas. Hosting live Q&A sessions or using polls can add a personal touch that makes your audience feel valued. Consider leveraging social media platforms to cross-promote your channel. Share snippets of your content on platforms like Instagram and Twitter, and use eye-catching visuals to draw people in. Here are some quick tips to enhance your outreach:
- Utilize eye-catching thumbnails
- Collaborate with other creators
- Incorporate trending topics into your content

The Way Forward
Well, there you have it! Mastering Schedule X on YouTube doesn’t have to be as daunting as it seems. With the tips and tricks we’ve covered, you’re now equipped to take full control of your content strategy. It’s like having a roadmap for a road trip—you know where you’re headed, and you can avoid those pesky detours along the way!
Embrace the power of scheduling; it not only saves you time but also helps you connect with your audience when they’re most likely to tune in. So, roll up your sleeves, apply what you’ve learned, and watch your channel thrive!
If you found this guide helpful, don’t forget to share it with your fellow creators. After all, we’re all in this together, right? And hey, what would you like to learn about next? Drop your thoughts in the comments below—I’d love to hear from you! Until next time, keep creating and stay awesome! 🎥✨