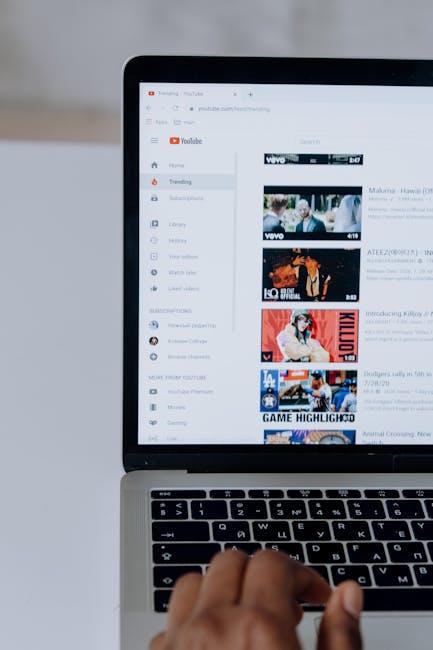
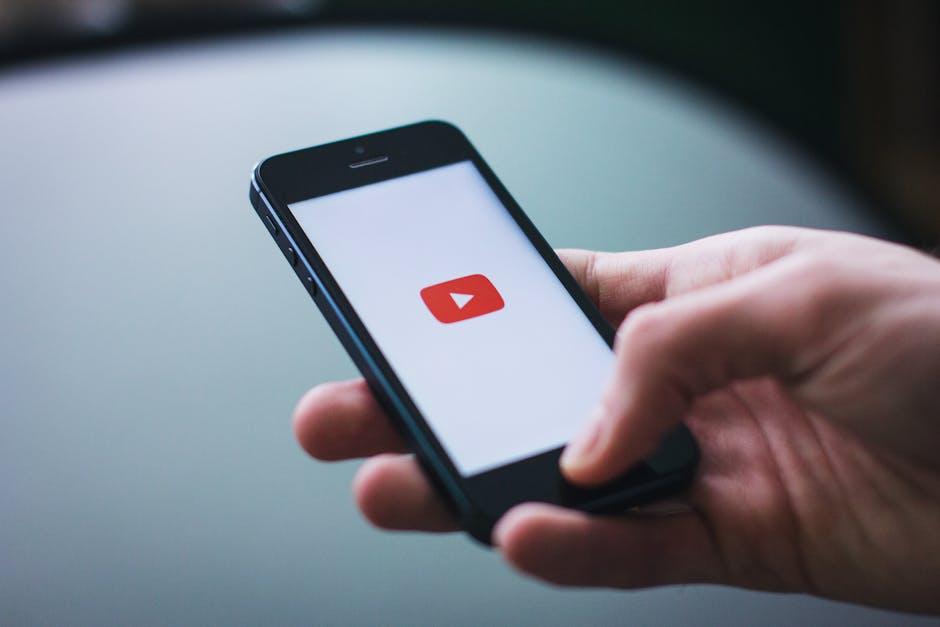
You ever sat down, excited to binge your favorite show on YouTube TV, only to be met with one of those pesky licensing errors? Ugh, what a buzzkill! It’s like going to a concert, only to find out the band canceled at the last minute. But fear not! We’ve all been there, and today, we’re diving into some straightforward, no-nonsense solutions to kick those frustrating licensing errors to the curb. Whether it’s a quick tweak in your settings or a simple restart, you’ll be back to streaming your favorite content faster than you can say “buffering.” Let’s get rolling and turn that frown upside down!
Understanding the Root Causes of YouTube TV Licensing Errors
Licensing errors on YouTube TV can be a real buzzkill, and they often stem from a few common culprits. First off, regional restrictions can throw a wrench into your plans, especially if you’re traveling or using a VPN that doesn’t align with your account settings. You might think you’re snug in your own digital bubble, but the service may see things differently. It’s kind of like showing up to a party you weren’t invited to—awkward, right? Second, account issues can also lead to these pesky errors. If you’ve recently changed your payment method or if your billing isn’t current, it might just be YouTube TV’s way of saying “Make sure you’re good to go!”
Another layer to this frustration could be the platform’s licensing agreements with content providers, which can vary widely. In essence, these agreements dictate what you can watch based on your location, and they sometimes feel more like a maze than a simple path. And let’s not overlook the technical hiccups! Glitches or outdated apps can plague the experience—like trying to drive with a flat tire. So, if you’re stuck in the licensing error limbo, it’s worth checking the following:
- Location settings (are you really where you think you are?)
- Account status (is everything up to date?)
- App updates (do you have the latest version?)

Quick Fixes to Get You Streaming Again
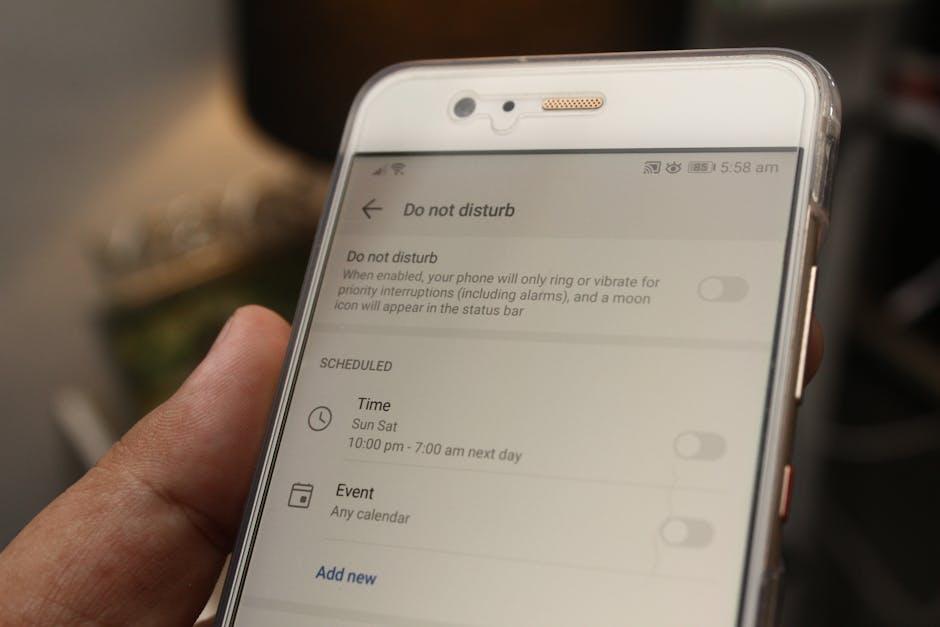
Frustrated with those pesky licensing errors? Don’t sweat it! Start by refreshing your connection. Sometimes, merely turning your device off and back on can clear up any confusion in the software, kind of like giving your brain a reset after too much screen time. Also, try switching your Wi-Fi off and then back on—it’s akin to giving your internet connection a little nudge, helping it find its footing again. You’d be surprised at how often these simple adjustments can get you right back into your binge-watching groove.
If that doesn’t do the trick, consider clearing your cache and cookies. Think of it like spring cleaning for your device: getting rid of old stuff that just takes up space and creates clutter. Head over to your browser settings and find that magical option to clear what’s slowing you down. If you’re using the app, uninstalling and reinstalling can also do wonders. It’s like hitting a refresh button—sometimes, apps just need a fresh start! Here’s a handy checklist for quick fixes:
- Restart your device
- Reconnect to your Wi-Fi
- Clear cache and cookies
- Uninstall and reinstall the app

Troubleshooting Tips for Common Licensing Issues
When you run into licensing errors on YouTube TV, it’s like trying to watch your favorite show with a buffering screen—it’s frustrating! First things first, try refreshing your app or website. Sometimes, clearing the cache can do wonders. If you’re on a mobile device, check if you need to update the app. Just like your phone, apps need to stay in shape to run smoothly! Here’s what you should check:
- Sign out and back in: A simple reset can often clear up any glitches.
- Check your subscription: Sometimes, your payment method might need an update.
- Test your internet connection: Think of it as ensuring your Wi-Fi is giving you the best signal—like having good coffee for an early morning meeting!
If you’ve tried these steps and the issue persists, you might want to dig a little deeper. Check if any regional restrictions are affecting your access. Think of it like trying to enter an exclusive club—you need the right credentials! Additionally, sometimes the service may simply be down for maintenance. Here’s a handy tip list you can keep in mind:
| Action | Expected Outcome |
|---|---|
| Reset your router | Boosts internet connection reliability |
| Try a different device | Determines if the issue is device-specific |
| Contact customer support | Gets professional assistance from YouTube TV |
By following these tips, you’ll be back binge-watching your favorite shows before you know it!
Preventing Future Licensing Frustrations with Simple Strategies
When dealing with YouTube TV licensing errors, a little foresight can save a ton of headaches later. Start by ensuring that your device is always updated. Whether you’re watching on a smart TV, a tablet, or something else, having the latest software version keeps everything running smoothly. It’s sort of like maintaining a car; you wouldn’t want to drive around with outdated oil, right? Along with that, you should regularly check and update your subscription details. Sometimes, payment info can go stale, leading to unexpected glitches. Nobody likes a surprise, especially when it means missing out on their favorite show!
Another great strategy is to familiarize yourself with the various licensing restrictions for the content you love. Not all shows have the same rules, and that might affect your viewing experience depending on your location. Consider using a reliable VPN service to broaden your options. You can compare available shows across different regions like how you’d compare fruit at the market—some are just a little sweeter, after all. Also, maintain a list of troubleshooting tips specific to YouTube TV so when errors creep in, you’re not scrambling around. Here’s a quick reference table with common errors and their fixes:
| Error Code | Quick Fix |
|---|---|
| W012 | Log out and back in |
| W004 | Check your internet connection |
| W093 | Verify subscription status |
To Conclude
And there you have it! Fixing those pesky YouTube TV licensing errors doesn’t have to feel like climbing a mountain. With a few simple tweaks and adjustments, you can get back to binge-watching your favorite shows in no time. Just remember, tech can be quirky sometimes—like that friend who always shows up late but still manages to bring the best snacks!
So, next time you hit a snag, don’t panic. Use the solutions we’ve laid out, and you’ll be streaming smooth as butter before you know it. And hey, if you have your own handy tips or tricks, feel free to share them! We’re all in this together, navigating the maze of misinformation and tech woes. Happy watching, and may your screen be ever bright!