We’ve all been there—sitting in the quiet comfort of our homes when suddenly, a persistent drip, drip, drip echoes from the bathroom. It’s like a tiny, annoying metronome keeping time with your sanity! But hey, before you pick up the phone to call a plumber and watch your wallet get lighter, let’s take a detour through the digital jungle of YouTube. This treasure trove of DIY wisdom has transformed ordinary folks into toilet repair pros, armed with nothing more than a few tools and a can-do attitude. So grab your toolbox (and maybe your phone for a quick tutorial), because we’re diving into some straightforward, no-nonsense fixes that’ll have you confidently tackling that pesky leak in no time. Ready to stop the drip and reclaim your peace? Let’s roll up those sleeves and get started!
Uncovering the Sneaky Culprits Behind Your Toilet Leak
When it comes to mysterious toilet leaks, it’s like uncovering a plot twist in a thriller novel. Sometimes it’s easy to blame the aging fixtures, but the real culprits can be sneakier than you think! First, check the flapper valve. This little guy is essential in keeping the water where it belongs, so if it’s warped or not seating properly, it might be allowing water to sneak into the bowl. Second, don’t forget about the fill valve! If you notice that your tank is refilling repeatedly, it could be the signal that the fill valve is misbehaving, letting excess water trickle out. You might be surprised to discover that these two are the usual suspects behind most toilet leaks!
Another major player in the game of leaks? The tank-to-bowl gasket. This donut-shaped seal sits between the tank and the bowl, and if it’s worn out, it’s just waiting for a chance to cause a puddle on your floor. Plus, let’s not overlook the supply line connections; a loose nut can turn a quiet bathroom into a mini waterfall! Take a look at this handy table for a quick reference on how to identify these sneaky culprits:
| Leak Source | Symptoms | Fix |
|---|---|---|
| Flapper Valve | Constant running water | Replace or adjust |
| Fill Valve | Tank refills frequently | Replace valve |
| Tank-to-Bowl Gasket | Water pooling at the base | Replace gasket |
| Supply Line Connections | Wet spots around fittings | Tighten or replace connections |
Essential Tools You Need for Your DIY Plumbing Adventure
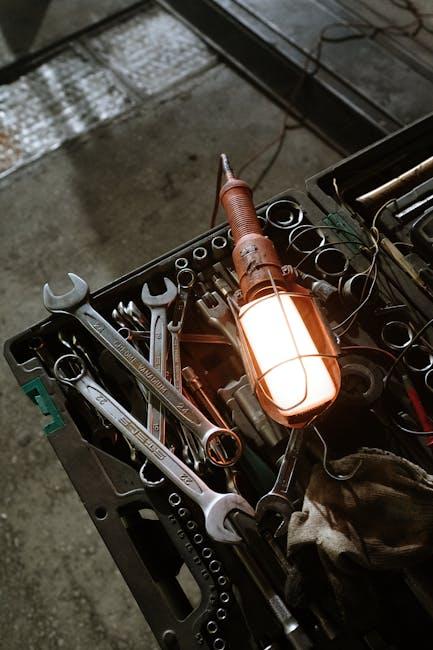
Before you dive into the mysterious world of DIY plumbing, make sure you’ve stocked up on the right tools. Think of them as your trusty sidekicks, ready to tackle the chaos of leaks and clogs. Here’s a quick rundown of the essentials that every home plumber should have in their toolkit:
- Plunger: The superhero of the bathroom, perfect for battling stubborn clogs.
- Pipe Wrench: Necessary for gripping and turning those stubborn pipes.
- Adjustable Wrench: A versatile tool for different pipe sizes.
- Plumber’s Tape: To seal up connections tightly and keep leaks at bay.
- Drain Snake: Your go-to for clearing those pesky blockages deep in the drain.
While gathering your tools, don’t forget to grab a few other handy items that might save your day. Keeping a clean workspace isn’t just about aesthetics; it also helps you work efficiently and avoid mishaps. Here are a couple more items that would be wise to have on hand:
- Bucket: For catching any surprise water while you’re working.
- Towel: For quick cleanup or to dry your hands.
- Gloves: Keep your hands clean and protected from harsh chemicals.
Step-by-Step Solutions to Tackle Common Toilet Drips

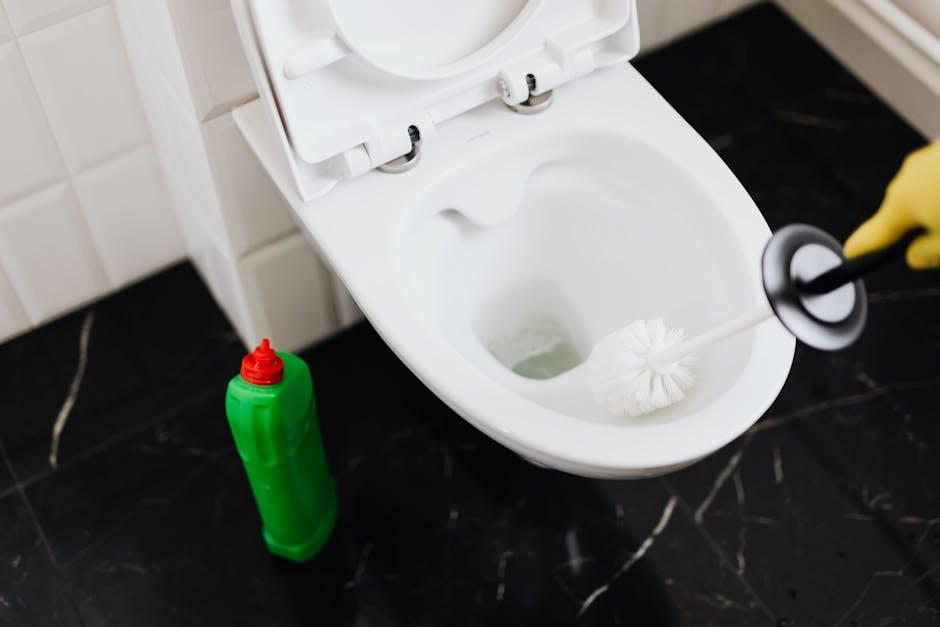
Is your toilet making that annoying drip-drip sound? First things first, let’s get to the root of the issue. Most often, it’s a leaky flapper. To start, turn off the water supply to the toilet by twisting the shutoff valve, usually found behind the toilet. Next, remove the tank lid and flush, letting the toilet drain completely. Once empty, take out the flapper by disconnecting the chain and unhooking it from the pegs. Slip in a new flapper—these are cheap and can be found at any hardware store. Make sure it seals tightly, then reconnect the chain so it’s adjusted correctly. Don’t forget to turn the water supply back on and test for leaks. Like magic, that pesky drip should be gone!
If the flapper isn’t the problem, it could be the fill valve. Here’s where your wrench comes in handy! After shutting off the water supply again, detach the fill valve from the tank by loosening the nut under the tank. Pull it out, and you’ll see the diaphragm gasket—this little guy can wear out over time. Replacing this gasket is often all it takes to stop that annoying drip. Once you’ve swapped it out, reassemble everything, turn the water back on, and flush. Voila! Your toilet should be drip-free, and you can now enjoy the sweet sound of silence.
Transforming Your Flush: Tips for Smart Maintenance and Prevention
Keeping your toilet in tip-top shape is way easier than you might think. Start with a routine check for those sneaky leaks. Grab some food coloring and a few drops in the toilet tank. If your bowl turns a shade of your favorite hue in 30 minutes, you’ve got a leak that needs attention. Another smart move is to check for moisture around the base—if you spot any, it could signal a wax ring that’s seen better days. A little elbow grease and a few tools can save you from those dreaded high water bills!
Now, let’s talk maintenance tips to keep everything flowing smoothly:
- Regular Cleaning: Keep that bowl bright with vinegar and baking soda—it’s like a spa day for your toilet.
- Flapper Check: The flapper is the unsung hero of your toilet, so make sure it’s sealing properly to avoid those annoying phantom flushes.
- Water Level: Set the water level in the tank just below the overflow tube; this balances functionality and conservation.
Here’s a quick comparison table for DIY repair essentials that you might find helpful:
| Item | Purpose |
|---|---|
| Plumber’s Tape | Seals joints and prevents leaks. |
| Adjustable Wrench | Tightens or loosens nuts and bolts. |
| Toilet Auger | Clears stubborn clogs. |
| Replacement Flapper | Fixes leaks and saves water. |
Key Takeaways
And there you have it—your ultimate guide to turning those annoying toilet leaks into a distant memory! Thanks to the wonders of YouTube, we’ve unearthed some pretty straightforward DIY fixes that anyone can tackle. Whether you’re a seasoned handyman or a total newbie, these tips can save you a headache (and a bit of cash). Remember, tackling those leaks today not only gives your toilet a new lease on life but also helps you avoid bigger plumbing disasters down the road. So, roll up those sleeves, grab your toolbox, and show that toilet who’s boss! And hey, the next time a friend complains about a leak, you’ll have the DIY magic to back you up. Share your plumbing victories with us—after all, we all love a good toilet tale! 🛠️🚽