Thinking of ditching the barber and taking matters into your own hands? You’re not alone! With TikTok and YouTube overflowing with DIY haircut tutorials, it’s become trendy to snip and style right from the comfort of your bathroom. Whether you’re looking to save some cash or simply want to explore your creative side, mastering the art of DIY haircuts can be a game changer. It’s not just about the fresh look; it’s about the satisfaction of crafting your own unique style. So grab your clippers and scissors, roll up your sleeves, and let’s dive into the step-by-step guide that’ll help you achieve that salon-quality cut, without spending a dime!
Mastering the Basics: Essential Tools for Your DIY Haircut Journey
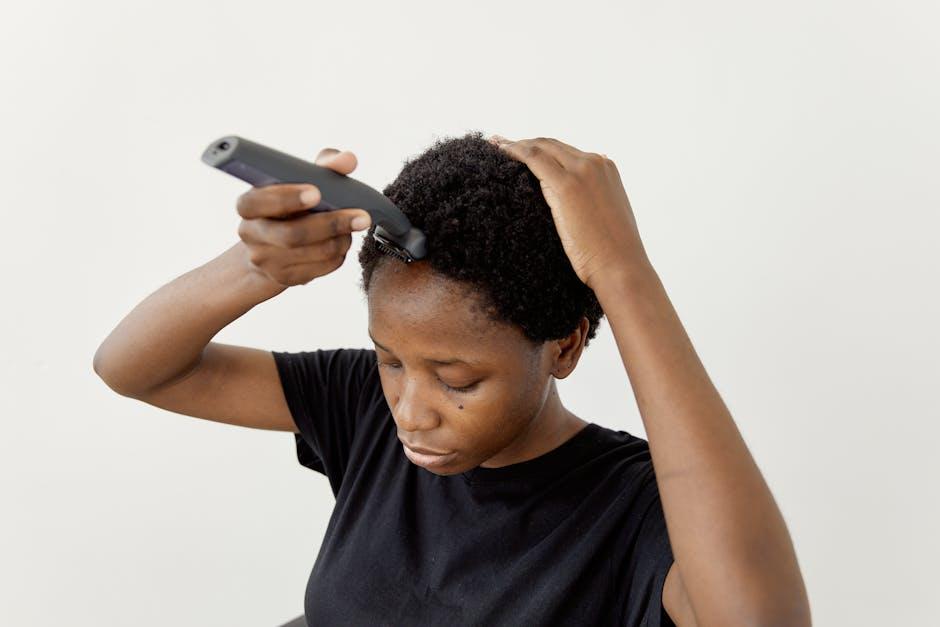
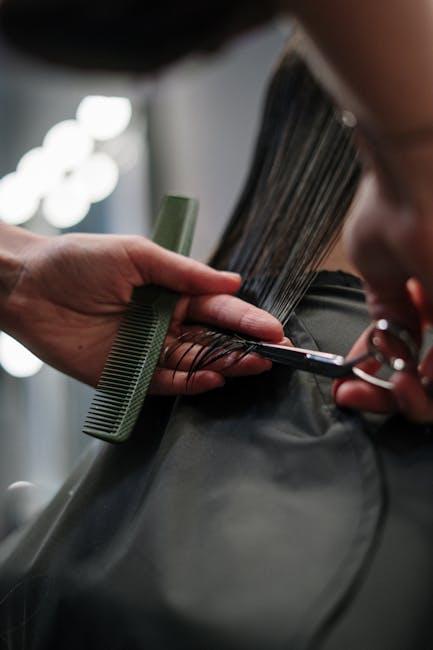
Getting ready to dive into the world of DIY haircuts? The right tools can make all the difference between a stylish trim and a haircut nightmare. Think of your tools as your trusty sidekicks in this adventure—without them, you’re just a hero with no power! First on your list should be sharp scissors; you want those things to slice through hair like butter. Next, grab a hair clipper for those blended, faded looks. Don’t forget a fine-tooth comb, which is essential for sectioning— it’s like your GPS guiding you through this haircutting journey. Lastly, a spray bottle filled with water is an absolute must to keep your hair damp and manageable. Trust me, you’ll thank yourself later when your hair isn’t doing some wild dance-off on you!
The setup is key. Setting up a well-lit, clutter-free space can significantly boost your confidence and prevent mistakes. Here’s a nifty little checklist to keep you organized:
| Tool | Purpose |
| Sharp Scissors | Precise cutting |
| Hair Clipper | Fading and blending |
| Fine-Tooth Comb | Sectioning hair |
| Spray Bottle | Keeping hair damp |
Once you have all your tools ready, it’s showtime! A confident approach with the right gear will have you feeling like a pro in no time. Remember, practice makes perfect, so don’t sweat it if your first few cuts aren’t Instagram-worthy. Think of every snip as a step closer to mastering your own personal barber skills!
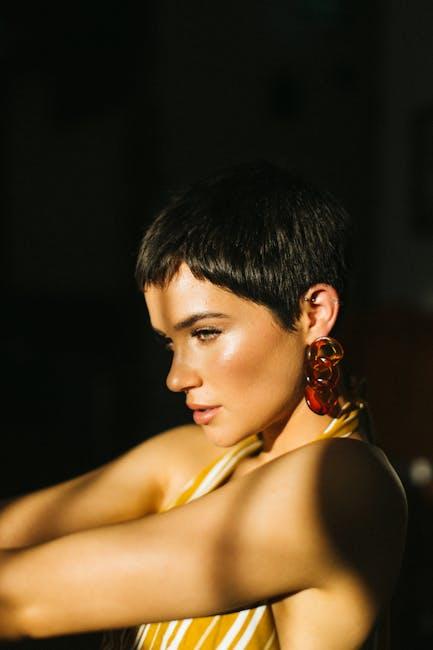
Finding Your Style: How to Choose a Haircut That Suits You Best
When it comes to choosing the right haircut, think of it as picking an outfit that reflects who you are. Your style should resonate with your personality and lifestyle, so consider face shape, hair texture, and maintenance level before you grab those scissors. Not every haircut will suit every individual, much like not every shirt fits every body type. A round face might shine with styles that offer height on top, while an oval face can rock a wider variety, including fades and textured cuts. Check out these key factors:
- Face Shape: Square, round, oval, or heart-shaped?
- Hair Type: Curly, straight, or wavy?
- Maintenance: How much time do you want to spend styling?
Once you’ve nailed down the basics, it’s all about confidence. Just like you wouldn’t throw on an ill-fitting hat, don’t settle for a haircut that doesn’t speak to you. Imagine the difference between a sleek undercut and a scruffy mop; the right style can make you feel ten feet tall. Don’t be afraid to experiment—try to visualize how each type will fit into your day-to-day routine. You can also keep this simple hair guide handy for quick reference:
| Face Shape | Recommended Haircuts |
|---|---|
| Round | High Volume, Angular Cuts |
| Square | Soft Layers, Textured Styles |
| Oval | Versatile Styles, Short Crops |
| Heart | Side Swept Bangs, Longer Lengths |
Step-by-Step Tutorial: Follow Along for a Flawless Cut Every Time
Let’s dive right into the action with some quick tips to ensure you’re equipped for a perfect DIY haircut. Start by gathering your essentials: sharp scissors, hair clippers, a good comb, and maybe some hair clips to section off your mane. It’s like assembling your toolkit for a new project; you wouldn’t start building without the right tools, would you? Once you’re set, head to a place with enough natural light, as good lighting is like a cheat code for precision. It helps you see every strand and makes sure you don’t miss any spots!
Now, onto the method! Begin by washing and lightly towel-drying your hair to make it more manageable. Not too wet—think of it as a happy medium; you want just enough moisture to prevent split ends but not so much that your hair turns into a slippery mess. Section your hair and decide on the length. For a classic look, consider going for a trim of about an inch or two. After hitting your desired length, slowly work through each section, using the comb to lift the hair and then cutting straight across for that crisp finish. Remember, slow and steady wins the race—no need to rush through this. Keep checking in the mirror to ensure everything looks balanced; it’s just like adjusting your game plan mid-match!
Finishing Touches: Expert Tips to Perfect Your Look and Shine

To truly nail that DIY haircut and elevate your style game, it’s essential to focus on the *finishing touches*. After you’ve snipped away with confidence, take a moment to refine your masterpiece. Here’s how you can ensure every detail is on point:
- Edge Up Wisely: Use clippers to clean up the neckline and around the ears. It’s like giving your cut that polished, professional vibe. Just a little trim can make a world of difference!
- Texturizing Is Key: If your hair’s feeling too bulky post-cut, grab some scissors and snip away a few strands from the ends. Texturizing gives it movement and avoids that ‘blocky’ look.
- Styling Products: A bit of product goes a long way in showcasing your handiwork. Whether it’s pomade, wax, or a simple styling cream, apply a small amount to define those layers and hold your style in place.
- Regular Maintenance: Don’t forget to schedule your next cut! Keeping it fresh is as essential as the cut itself. A regular schedule ensures you maintain that just-styled look without the hassle of too much length.
And while you’re at it, don’t forget the *final polish*! Here are some quick tips to add a little flair:
| Tip | Benefit |
|---|---|
| Use a Mirror | Ensures evenness and symmetry. |
| Moisturize Your Scalp | Promotes healthy hair growth and shine. |
| Experiment with Styles | Discover what truly suits your vibes. |
By incorporating these expert tips, you’ll add that extra layer of finesse to your new look, making heads turn wherever you go! Remember, the art of a great haircut is all in the details.
In Summary
And there you have it! Armed with these tips, tricks, and a touch of creativity, you’re ready to tackle your hair like a pro. YouTube and TikTok are brimming with inspiration, and now you can join the ranks of DIY haircutters who’ve turned a simple trim into a work of art. Remember, every haircut is a chance to express yourself, so don’t be afraid to experiment and have fun with it!
Whether you’re looking to nail that casual fade or trying out a daring new look, practice makes perfect. So grab those clippers, put on a tutorial, and embrace the journey. Who knows? You might just discover your hidden talent for hairdos. And hey, don’t forget to share your creations! The more we support each other in this hair adventure, the better we all look. Happy cutting!