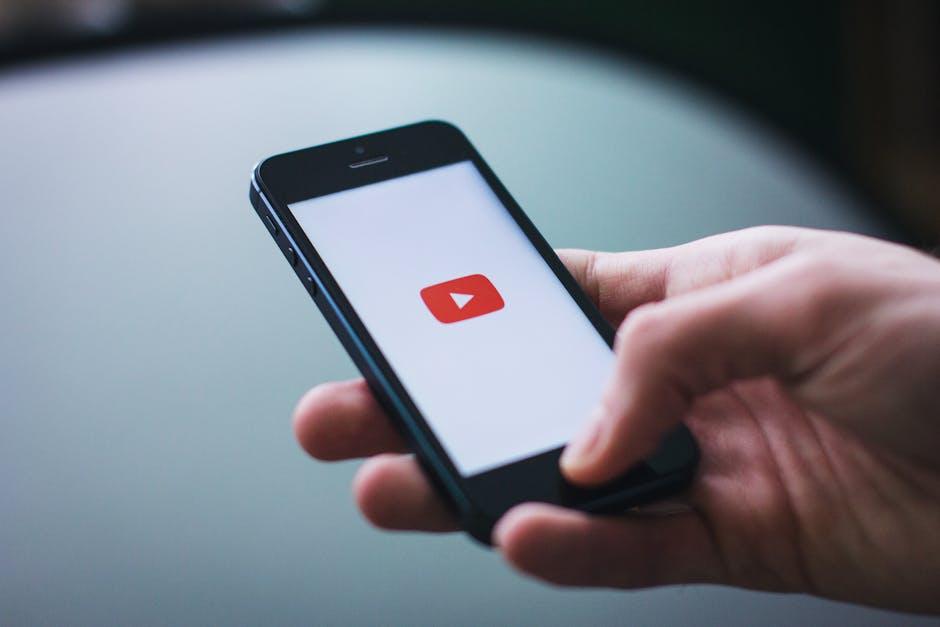
Have you noticed that YouTube has gone through a bit of a makeover lately? If you’ve found yourself scratching your head at the new interface and wondering how to navigate through the changes, you’re not alone. Imagine walking into your favorite local coffee shop only to find it rearranged—same favorite brews, but where’s the cozy couch? That’s how many of us feel about the revamped YouTube UI! But don’t worry; we’re here to help you get cozy with the new layout. In this simple guide, we’ll walk you through all the ins and outs of the updated design, making sure you feel right at home again. Let’s dive into the fresh features and vibes of YouTube’s new look so you can get back to binging your favorite content without missing a beat!
Navigating the Fresh Layout and Features of YouTube
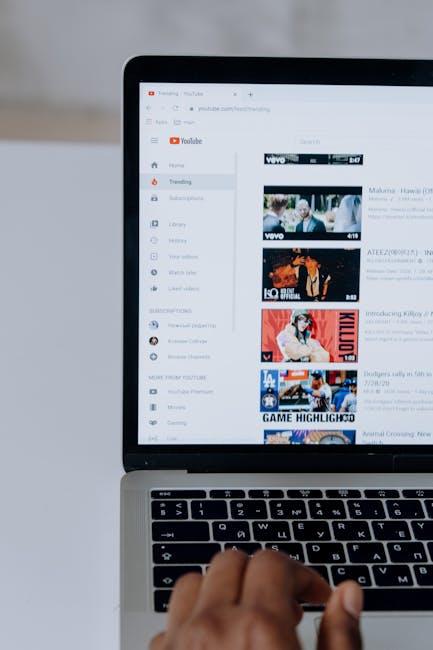
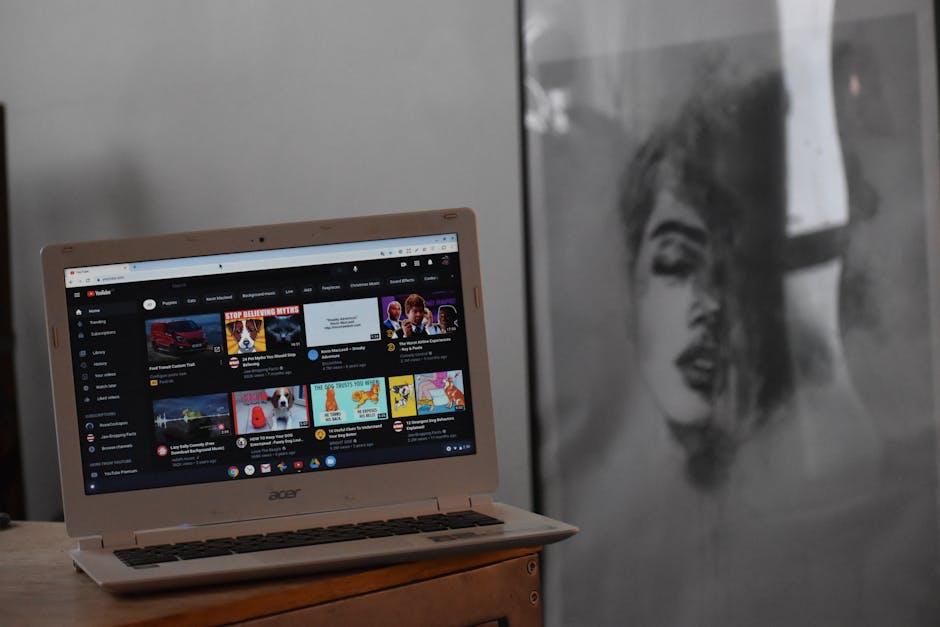
With YouTube’s fresh layout, finding your way around might feel like entering a new café with a slightly different menu. Everything’s still there, but the arrangement has changed. The first thing you’ll notice is the cleaner interface and how much smoother it is to navigate. The left sidebar now houses essential shortcuts like Home, Trending, and Subscriptions, while your account details sit neatly perched at the top right. Got favorites you want to keep close? All you have to do is tap on the ‘Customize’ button to add or remove items. It’s like rearranging your living room to make space for something new — it just feels more personal!
But wait, there’s more! The new features take interaction to the next level. Instead of just scrolling through endless videos, you can utilize the new “Shorts” section, dedicated to bite-sized content that’ll have you laughing or learning in no time. Plus, you’ll find the video player now includes some snazzy new buttons. Want to dive deeper into a topic? There’s an added “Chapters” feature that makes it easy to jump to specific sections of videos, so you won’t waste time looking for that golden nugget of information. No need to sift through a long video when you can hit play directly on the parts that matter to you.
Crafting Your Perfect Home Screen: Personalization Made Easy
Personalizing your home screen on YouTube isn’t just about fancy backgrounds or flashy thumbnails; it’s about creating a space that reflects your unique tastes. Start by curating the channels and playlists you love most. This is your playground! Consider these steps to help tailor your experience:
- Pin Your Favorites: Find channels that inspire you and pin them to the top of your feed.
- Craft Custom Playlists: Organize videos by themes—whether it’s travel vlogs, DIY projects, or cooking tips.
- Engage with Content: The more you like and comment, the smarter YouTube gets at recommending things you’ll adore.
Don’t forget to check out the ‘Explore’ tab where you can dive into trending topics that might catch your eye. This is like a treasure map leading you to hidden gems! YouTube’s algorithm learns your preferences, evolving your recommendations into something even more tailored. Here’s a quick look at how you can optimize your viewing experience:
| Action | Benefit |
|---|---|
| Unsubscribe from Irrelevant Channels | Clears your feed for content you’ll actually want to watch. |
| Utilize the ‘Not Interested’ Option | Prevents similar videos from cluttering your space. |
| Adjust Notification Settings | Stay updated on the content you care about, without the overload. |

Mastering the New Search and Discovery Tools
The new YouTube interface is all about making your viewing experience smoother and more enjoyable. With intuitive search features and revamped discovery tools, finding your next binge-watch has never been easier! Instead of scrolling endlessly, users can now dive deep into tailored recommendations based on their preferences. Imagine having a personal curator who knows you so well that they can suggest content that hits all the right notes—how cool is that?
To truly harness the power of these tools, keep an eye out for:
- Advanced Filters: Sort videos by upload date, view count, or relevance to get the freshest content
- Watch Later List: Easily save things you’re interested in for later viewing, kind of like a digital sticky note
- Topic Explorer: Venture into specific themes to discover a treasure trove of related content you might have missed
These features not only streamline your journey but make YouTube feel more personal and engaging. Think of it as a friendly sidekick guiding you through a sea of videos, ensuring you never miss out on what matters most to you!

Optimizing Your Viewing Experience: Tips for the Modern Consumer
In the ever-evolving digital landscape, enhancing your YouTube experience can feel like chasing a moving target. Start by diving into settings and exploring features like subtitles and resolution—this can significantly change how you engage with videos. If you’re a night owl or prefer a more cinematic feel, don’t forget to play around with the Dark Mode; it’s like switching off the overhead lights and dimming the room for a movie marathon. And let’s be real, nothing says ‘I’m ready to binge’ like cranking up the resolution while you sip on your favorite beverage. Beyond that, managing your subscription feed can refine what’s in your line of sight. Have you ever scrolled endlessly trying to find that one interesting video? With personalized playlists, you can group content by mood or genre, making it easier to hop right into what you love without the search hassle.
Consider also the way your device interacts with YouTube. A decent pair of headphones or a quality speaker can elevate your audio experience from mundane to phenomenal, turning any video into a mini-concert! Plus, utilizing the YouTube app‘s download feature for offline viewing is a game-changer for commutes or when you’re away from solid Wi-Fi. You might want to check out the YouTube Premium option for an ad-free experience—because who wants interruptions when you’re about to get to the good part? Ultimately, adjusting these settings and features isn’t just about convenience; it’s about crafting a viewing environment that reflects your unique preferences, making your entertainment time feel personal and tailored just for you.
Insights and Conclusions
And there you have it! Unplugging from the new YouTube UI doesn’t have to feel like deciphering a secret code. Just a few simple clicks can take you right back to where you feel most comfortable, like slipping into your favorite pair of sneakers. Whether you prefer the classic layout or just need a break from the latest design, this guide has got you covered.
So go ahead, give it a shot! Embrace your familiar viewing experience and enjoy those endless cat videos or binge-watch your favorite shows without the distractions of the new interface. Remember, it’s your YouTube experience, so make it work for you. If you have any questions, tips, or just want to share a funny YouTube moment, feel free to jump into the comments below. Happy watching, and may your recommendations always be on point!