Ready to sprinkle some magic on your presentations? Adding YouTube videos to your PowerPoint slides can transform a mundane slide deck into an engaging audiovisual experience. Imagine, instead of staring at bullet points and static images, your audience is captivated by dynamic content that enhances your message. It’s like turning a plain old cake into a delightful masterpiece with just a few sprinkles! In this article, we’ll explore easy, step-by-step methods to seamlessly integrate YouTube videos into your PowerPoint presentations. Whether you’re prepping for a business pitch or just sharing some fun with friends at a gathering, these tricks will have you charming your audience in no time. Let’s dive in and make your presentations unforgettable!
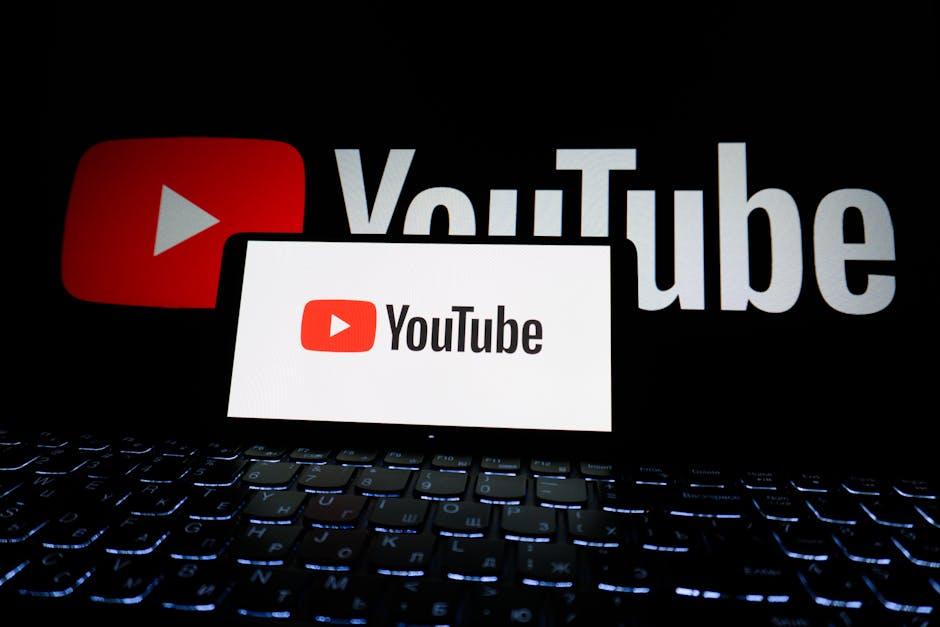
Unlocking the Power of YouTube Integration
Integrating YouTube videos into your PowerPoint presentation can breathe life into an otherwise static display. It’s like switching on the lights in a dim room. Imagine capturing your audience’s attention with a short, punchy clip instead of just text and images! You can easily do this by following a few simple steps. First, find the video you want on YouTube and click the Share button beneath the video. Copy the link or the embed code, depending on how you want to embed it. Next, hop over to your PowerPoint slide, and where you want the video to live, just click on the Insert tab, then choose Video, and select Online Video. Paste the link you copied, and voilà! You’ve added a dynamic element that can enhance your message.
But wait, there’s more to this magic! Once you’ve embedded the video, don’t forget to make it your own. You can resize it, drag it to center stage, or even overlay it with text. Consider making playback settings adjustments so that the video plays automatically or starts on-click, depending on your flow. Optional features like adding a border or effects will help it pop and keep the audience engaged. So, why not spice up your PowerPoint with some interactive flair? Your presentations won’t just be seen, they’ll be experienced! Take that leap, and watch your message resonate like never before.

Seamless Embedding Techniques for Flawless Presentations
Embedding YouTube videos in your PowerPoint presentations is like adding a sprinkle of magic to your storytelling. It captivates your audience, draws them in, and makes the information you’re sharing more engaging. Just think of it as adding a dash of spice to your favorite dish! To kick things off, open up PowerPoint and navigate to the slide where you want the video to appear. With your video at the ready, head over to YouTube to grab the link. You’ll want the video URL as well as the embed code, which you can find by clicking on the “Share” button under the video, then selecting “Embed.” It’s that simple! Copy that code, and you’re halfway there.
Next, head back to your PowerPoint slide. Click on “Insert” from the top menu, then “Video,” and choose “Online Video.” Here’s where you’ll paste the embed code you just copied. Hit “Insert,” and voilà—your video is neatly embedded! It’s crucial to test this out before your big presentation. Make sure your internet connection is rock-solid so that the video plays seamlessly. Imagine presenting and having a video that refuses to load—talk about a party foul! So, ensure everything is in tip-top shape. And for those moments when tech glitches happen, always have a backup plan, like downloading the video. With these steps, your audience will be entertained and engaged, leaving a lasting impression!

Mastering Video Playback Options for Enhanced Engagement
When you’re looking to spice up your PowerPoint presentation, mastering video playback options can be a game changer. Imagine this: instead of a static slide, you have a vibrant video that not only catches the eye but also keeps your audience engaged. To achieve that level of excitement with YouTube videos, take advantage of embed codes. These codes allow your embedded videos to play seamlessly right within your slideshow. Just a heads up, make sure your internet connection is strong during your presentation—nothing kills the vibe faster than a buffering video!
Don’t stop there! Dive into additional settings that enhance your presentation experience. You can personalize how the video plays—whether it starts automatically, loops endlessly, or even plays in the fullscreen mode. Here’s a quick look at some of the options you can tweak:
| Playback Option | Description |
|---|---|
| Start Automatically | Video begins as soon as you reach the slide. |
| Loop Until Stopped | Video continuously plays until you manually stop it. |
| Fullscreen Mode | Maximizes the video display for better visibility. |
By setting these options, you not only manage your audience’s attention better but create an immersive experience that makes your message resonate. With just a few clicks, you’re on your way to unleashing the true potential of your PowerPoint presentations. So gear up for a dynamic delivery that turns heads and captures hearts!

Troubleshooting Tips to Keep Your Presentation Smooth
So, picture this: you’re all set to wow your audience with that awesome YouTube video in your PowerPoint presentation, and then—boom!—your video won’t play. Frustrating, right? To avoid this drama, here are some quick fixes: first, ensure you have a stable internet connection since streaming videos rely heavily on it. Also, check that your video link is correct; even one tiny error can cause chaos. If you’re still facing issues, try embedding the video properly rather than linking it. A quick right-click on the video frame and choosing “Embed” can save you a world of headaches!
It’s also a great idea to rehearse your presentation a day in advance. This gives you a chance to catch any hiccups before showtime. Keep your software updated—both PowerPoint and your browser need to be in tip-top shape to avoid compatibility issues. And don’t forget about file formats! Make sure your video is in a format that PowerPoint can handle. Here’s a handy table to help you remember which formats to use:
| File Type | Compatibility |
|---|---|
| MP4 | ✅ Best for PowerPoint |
| AVI | ✅ Compatible, but might delay |
| WMV | ✅ Works great |
| MOV | ❌ May cause issues |
Closing Remarks
And there you have it! Adding YouTube videos to your PowerPoint presentations doesn’t have to feel like deciphering hieroglyphics. With just a few clicks and some easy adjustments, you can transform a standard slideshow into a dynamic visual experience. Imagine your audience’s eyes lighting up as they watch that engaging video right in the middle of your presentation!
So, next time you’re gearing up for a big pitch, classroom lecture, or family gathering, remember these simple steps. Don’t just tell your story—show it! Embrace the magic of multimedia, and let those videos do the talking. If you hit a snag, don’t sweat it; YouTube and PowerPoint are both friendly companions, ready to help you shine. Happy presenting, and may your slides be ever captivating! 🎉