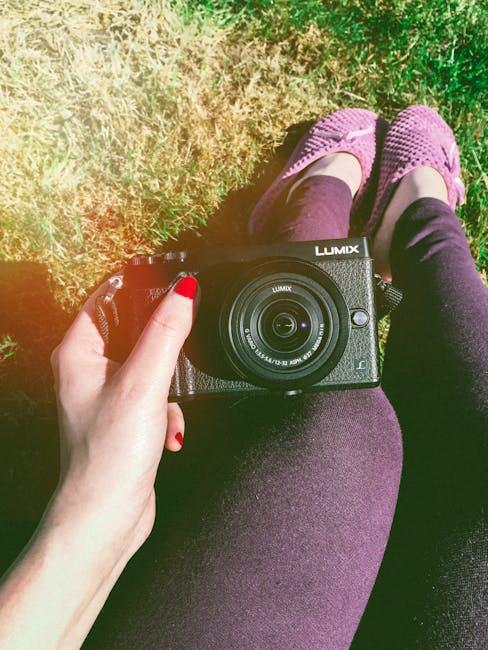
Imagine this: you’ve got a story to tell, a passion to share, or maybe just some epic moments you want to capture and share with the world. Enter the Lumix G7, your trusty sidekick in the adventure of video creation. Whether you’re aiming to wow your subscribers with breathtaking visuals or just want to document your daily life with flair, this camera packs a punch that’s hard to ignore. In this article, we’ll dive into the magic of crafting stunning YouTube videos with your Lumix G7, exploring tips and tricks that will transform your content from bland to grand. So grab your camera, and let’s unlock its potential together—your audience is waiting!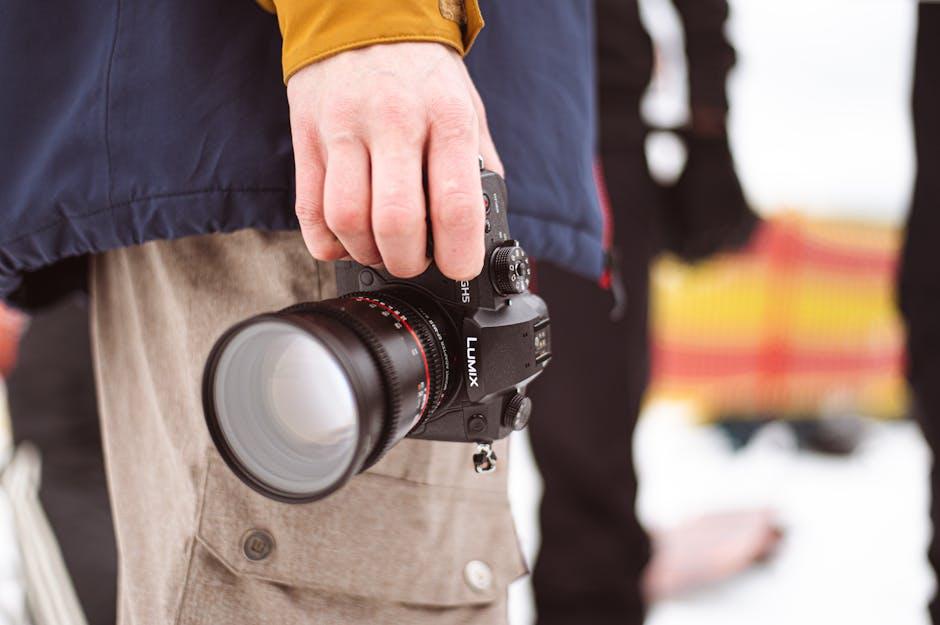
Unleashing the Power of Your Lumix G7: Essential Settings for Jaw-Dropping Footage
To capture mind-blowing videos with your Lumix G7, you need to get acquainted with its treasure trove of settings. Start by locking in the Manual Mode (M). This mode gives you total control over your aperture, shutter speed, and ISO, allowing you to manipulate light like a magician. Want that dreamy background blur? Open up that aperture wide (think f/1.7 or f/2.8). Feel the action? Use a faster shutter speed to freeze those epic moments. Not sure about ISO? Keep it low, like at 100, in bright conditions, and crank it up only when necessary. Balancing these settings is like crafting the perfect cocktail; a bit of this, a splash of that, until you find that perfect recipe.
Next up, don’t underestimate the power of your frame rate. For smooth cinematic magic, set your Lumix G7 to shoot at 24fps—the classic film look that anyone would crave. But if you’re going for some high-energy shots, bump it up to 60fps or even 120fps for that slow-motion wow factor. Additionally, tapping into the 4K video mode can bring your content sharpness that’ll keep viewers glued to their screens. Don’t forget to play with white balance to set the mood—whether you want a warm sunset vibe or cooler tones, this setting can transform your footage. Pair these with a solid tripod or stabilizer, and you’re destined to create breathtaking YouTube videos that are not just watched but felt.

Mastering Composition: Framing Your Shots Like a Pro with the Lumix G7
When it comes to framing your shots, think of your camera as a canvas and the world as your palette. Every angle, every shadow, and every highlight contribute to the picture you’re painting. The Lumix G7 is a powerhouse that allows you to play with composition effortlessly. Utilize the rule of thirds to guide the viewer’s eye towards the subject—imagine dividing your frame into a tic-tac-toe grid and placing your focal point at one of the intersection points. Also, embrace leading lines; they naturally draw attention and create a pathway for the viewer’s gaze. Whether it’s a winding road or a row of trees, these lines can add depth and interest, making even the simplest scenes pop like a hot air balloon on a clear day!
Additionally, don’t underestimate the importance of negative space. This technique involves leaving areas of the frame empty to emphasize your subject and add a sense of balance. With the Lumix G7, you can experiment by positioning your subject off-center or incorporating vast expanses of background. Play with the depth of field to create a dreamy effect; using a wider aperture will blur your background, allowing your subject to shine like a star against a night sky. And let’s not forget about framing within the frame! This involves using elements in your environment, like doorways or branches, to encase your subject and provide context. It’s like giving your video an exquisite picture frame, ensuring your viewers stay entranced!
Lighting Magic: Tips to Illuminate Your Videos and Capture the Perfect Mood
Lighting can transform your videos from mundane to magical, just like a sprinkle of fairy dust. For your Lumix G7, consider soft, diffused lighting that bathes your scene in warmth. Natural light is your best friend—shooting near windows during golden hour can give your footage that dreamy vibe. If natural light isn’t your jam, why not invest in some affordable softbox lights or LED panels? They’re game-changers! Here are some quick tips to keep in mind:
- Use reflectors: Bounce light back onto your subject to soften shadows.
- Adjust your settings: Play with ISO and aperture to balance your exposure.
- Avoid harsh overhead lights: They can create unflattering shadows on your face.
Don’t forget the mood lighting! Color temperature plays a big role. Warmer tones can evoke coziness, while cooler tones might give a more clinical, professional vibe. Experiment with colored gels over your lights for creative effects, or try using practical lights like lamps or fairy lights in your shot to add depth and interest. If you want to get real fancy, creating a light table can help visualize your setups:
| Light Source | Effect |
|---|---|
| Softbox | Even, diffused light |
| LED Panel | Adjustable intensity |
| Window Light | Natural, flattering glow |
| Color Gels | Creative color shifts |

Editing Secrets: Transforming Raw Clips into Cinematic Masterpieces with User-Friendly Tools
Imagine diving into your raw footage, each clip bursting with potential, just waiting for a touch of magic. With user-friendly editing tools like Adobe Premiere Pro, Final Cut Pro, or even DaVinci Resolve, turning those unrefined gems into cinematic gold becomes a joyride. These platforms allow you to trim the fluff and highlight the essence of your story, ensuring your audience is glued to the screen. Color grading tools can elevate your visuals, giving them that Hollywood feel, while smooth transitions keep the rhythm flowing. Why settle for mundane when you can engage your viewers and transport them into a different world with just a few clicks?
Don’t forget about sound—it’s just as pivotal as visuals. Tools like Audacity or GarageBand empower you to enhance audio quality and add sound effects that pull viewers deeper into your narrative. Enhancing your videos doesn’t have to be an intimidating endeavor; think of it as dressing up for a night out. Just as the right outfit turns heads, the right edits can captivate your audience. Here’s a quick cheat sheet to keep you focused:
| Editing Aspect | User-Friendly Tool | Purpose |
|---|---|---|
| Color Grading | Adobe Premiere Pro | Enhances visual appeal |
| Audio Editing | Audacity | Improves sound quality |
| Transitions | Final Cut Pro | Keeps flow dynamic |

Key Takeaways
And there you have it! You’re all set to turn your Lumix G7 into your very own magic wand of creativity, capturing breathtaking videos that your viewers will love. Remember, it’s not just about fancy gear; it’s about your unique vision and the stories you want to tell. Experiment, play around with angles, and don’t be afraid to let your personality shine through.
So grab your camera, step behind the lens, and start crafting those stunning YouTube videos! Who knows? Your next hit could be just a click away. Keep creating, keep sharing, and most importantly, have fun with it. Happy filming!