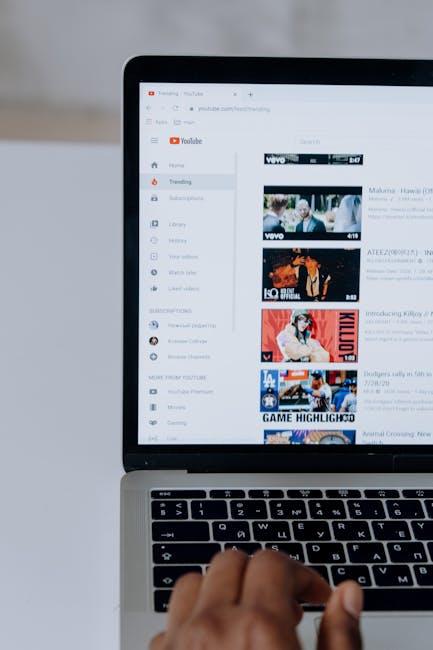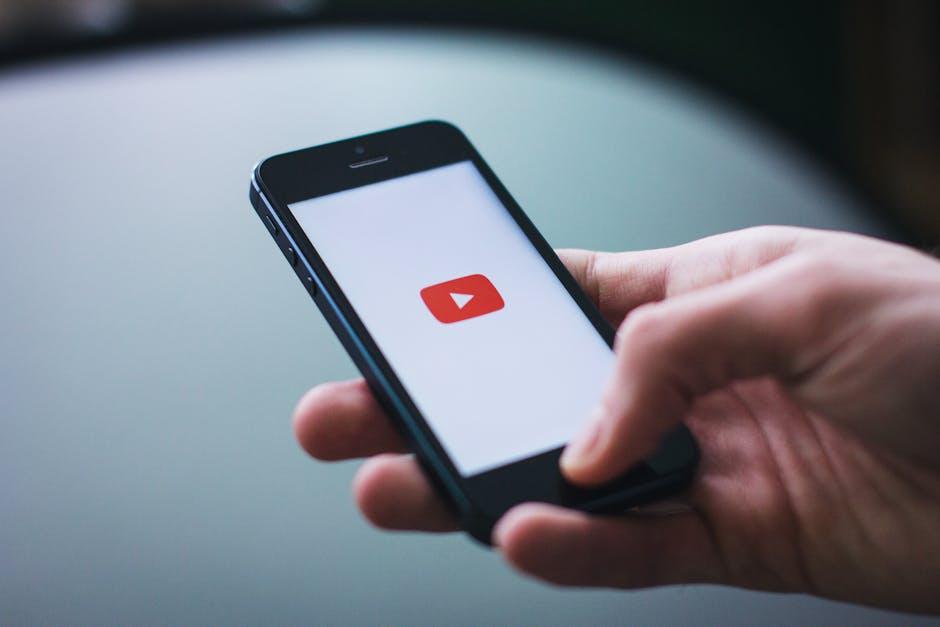
Hey there, fellow video enthusiasts! Welcome to the exciting world of YouTube, where creativity knows no bounds and every frame tells a story. If you’ve ever found yourself endlessly scrolling through videos, marveling at the artistry, the humor, or the sheer talent, then you’re in the right place. This guide, “”, is your golden ticket to not just consuming content but creating it like a pro.
Think of YouTube as a giant canvas—each video a brushstroke in the vibrant picture of online culture. Whether you’re looking to launch your own channel, refine your editing skills, or just want to understand what makes a video pop, we’re here to break it all down for you. So, grab your camera, get comfy, and let’s dive into the nuts and bolts of making captivating videos. Are you ready to unleash your inner filmmaker? Let’s get this party started!
Exploring the Magic of Frame-by-Frame Animation
When it comes to bringing your wildest ideas to life, few things can compare to the sheer joy of frame-by-frame animation. Imagine creating a world where your characters jump, swirl, and strut across the screen, all molded by your creative hands. This technique is like crafting a beautiful tapestry, one thread at a time; it demands patience but rewards you with that unmatched feeling of accomplishment. The process itself is an art form that allows you to transform inanimate drawings into vibrant stories, with each frame acting as a building block. You might find yourself hooked on the rhythm of your own creativity as you linger over each minute movement, achieving a dynamic flow that captivates your audience. So, what makes frame-by-frame so darn special?
- Freedom of Expression: You’re not limited by pre-set animations or rigid structures; you shape it all!
- Uniqueness: Every frame is an opportunity to inject your personality into the project.
- Attention to Detail: The magic lies in the little things; slight variations can evoke genuine emotions.
As you embark on your frame-by-frame journey, consider setting up a structured environment to keep your creative juices flowing. Here’s a simple visual guide to master your workflow:
| Step | Activity | Tip |
|---|---|---|
| 1 | Sketch Your Ideas | Use a light hand for easy corrections! |
| 2 | Plan Your Frames | Break it down into manageable sections. |
| 3 | Animate! | Experiment with timing for dramatic effect. |

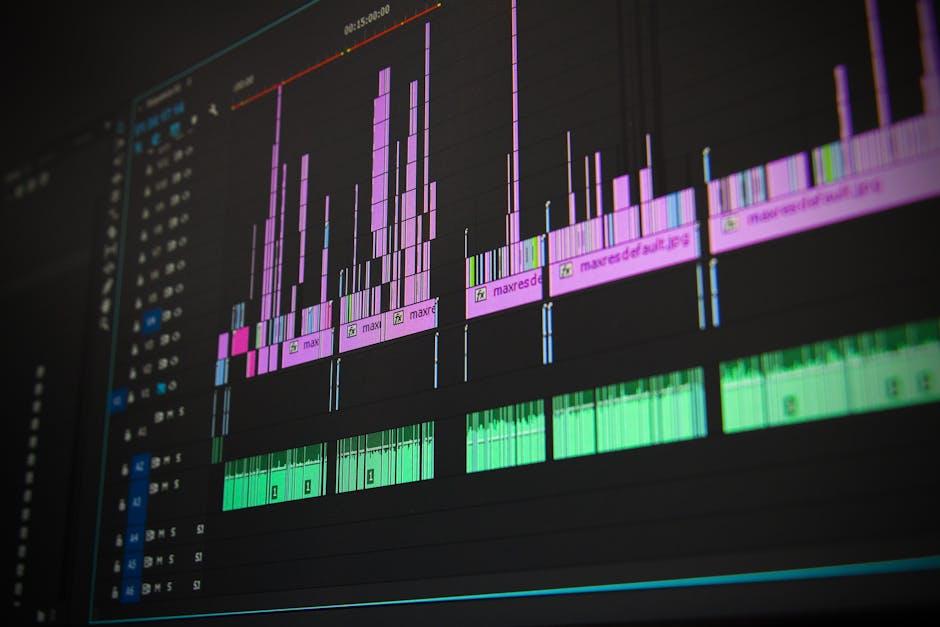
Essential Tools and Techniques for Your YouTube Journey
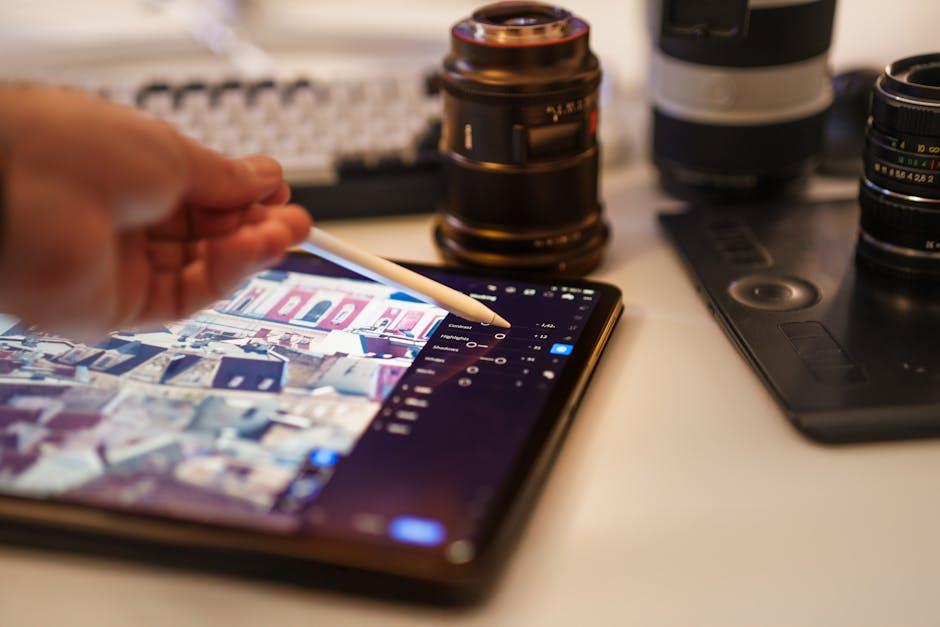
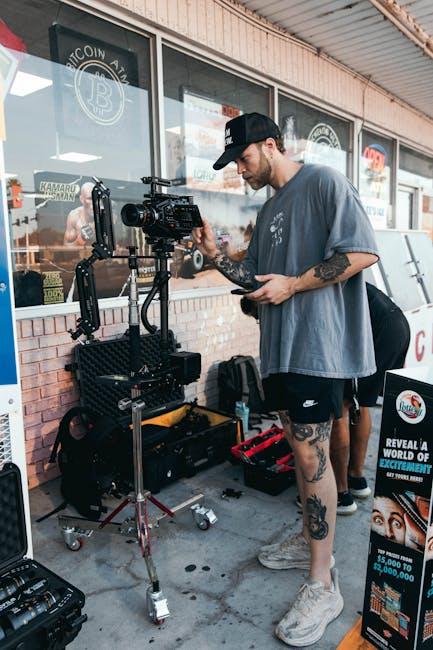
Embarking on your YouTube journey is like setting sail on an ocean of creativity, but you’ll need the right tools to navigate those waves effectively. First up, video editing software is your trusty compass. Whether you choose Adobe Premiere Pro, Final Cut Pro, or the budget-friendly DaVinci Resolve, these programs will help you stitch together your masterpiece with finesse. Don’t forget about thumbnails – they’re like the cover of a book, grabbing attention in a crowded sea of videos. Easy-to-use design tools like Canva or Photoshop can elevate your thumbnail game, making your content irresistible to potential viewers. And hey, a good microphone? That’s your lifeblood; clear audio can make or break a channel, so invest in a reliable USB or shotgun mic for those crisp vocals!
Aside from technical necessities, consider harnessing analytics as your North Star. YouTube Studio provides rich insights into your audience’s behavior, helping you pivot and adjust your content strategy like a skilled sailor adjusting sails based on the wind. Understanding metrics such as watch time, audience retention, and engagement rates can guide you in crafting videos that resonate. Also, don’t underestimate the power of community! Engaging with your subscribers through comments or social media creates a loyal fan base, akin to a crew that’s got your back. So dive into the discussions, ask for feedback, and build that rapport; it’s as valuable as the best tools in your kit!

Crafting Engaging Stories One Frame at a Time
When you’re diving into the world of YouTube, storytelling is where the magic happens. Think of your video as a book, with each frame acting like a page that pulls your viewers deeper into the narrative. To really captivate your audience, consider these key elements that can turn a mundane video into a riveting visual experience:
- Relatable Characters: Create personas that resonate with your audience. The closer they feel to your characters, the more invested they will be.
- Vivid Imagery: Use striking visuals to ignite emotions and set the mood. Remember, a picture is worth a thousand words!
- Dramatic Tension: Introduce challenges and conflicts to keep viewers on the edge of their seats. What’s a good story without a little twist?
As you piece together your narrative, think of each frame as a brushstroke on a canvas. Each one contributes to the overall masterpiece you’re creating. Don’t shy away from experimenting; sometimes the most unexpected combinations yield the best results. Here’s a simple table to summarize essential storytelling techniques:
| Technique | Description |
|---|---|
| Show, Don’t Tell | Use visuals to convey emotions rather than relying solely on dialogue. |
| Clear Structure | A beginning, middle, and end keeps your audience following along effortlessly. |
| Engaging Soundtrack | Complement your visuals with music that enhances the mood and pacing. |

Tips and Tricks to Boost Your Frame-by-Frame Skills
Ready to take your frame-by-frame skills to the next level? Here are some tips to keep in mind while you’re diving into your projects. First off, don’t shy away from experimenting. Think of your frame-by-frame like a dance—sometimes you have to try out a few different moves to find the rhythm that feels right. Use tools like onion skinning to help visualize where your frames have been and where they’re going. And remember, your workflow can make all the difference. Consider breaking down your animations into smaller, manageable chunks instead of overwhelming yourself with a marathon session. Trust me, it’s way easier to tackle one quick sequence than to face a beast of an entire project at once!
Don’t forget about the power of reference material. It’s like having a secret weapon! Whether it’s picking apart your favorite animated films or snapping some quick videos yourself, seeing real-life actions can spark creativity. Try this: create a simple table to track your references and ideas as you go. This way, you can keep tabs on what inspires you most, and ensure you’re supporting your animations with solid foundations. Also, take a moment to share your work with others. Feedback is your best friend in this journey. Engaging with fellow creators not only boosts your skills but also keeps your motivation alive. So, gather your resources, refine your techniques, and let the animation fun begin!
| Technique | Benefit |
|---|---|
| Onion Skinning | Visualize frame transitions |
| Reference Material | Inspires creativity |
| Chunking Projects | Easier management |
| Sharing Work | Gain valuable feedback |
Insights and Conclusions
And there you have it, folks! You’ve just journeyed through the vibrant world of YouTube frame-by-frame fun. Whether you’re a budding creator ready to unleash your inner Spielberg or simply looking to enhance your viewing experience, these tips and tricks are your golden ticket. Remember, just like building a sandcastle, mastering YouTube is all about patience and creativity.
So dive in, experiment, and don’t shy away from making a splash. Your audience is out there, waiting for that unique spark only you can provide. Keep the camera rolling and the ideas flowing, because every frame has a story to tell. Who knows? The next viral sensation could be just a click away!
Thanks for tuning in to this guide—now go out and make YouTube your playground. Happy creating, and may your edits be sharp and your views sky-high! 🎬✨