Picture this: you’ve got a killer concept for a YouTube video, and you know that the right slideshow could really bring it to life. But here’s the catch—how do you make your slideshow not just good, but downright captivating? The secret sauce is all about blending stunning visuals with the perfect soundtrack. It’s like curating a playlist for a road trip; the right tunes can turn a simple drive into a memorable adventure. In this guide, we’ll dive deep into the art of crafting a perfect slideshow, packing it with tips on selecting the ideal images, choosing music that resonates, and creating a smooth flow that keeps viewers engaged from start to finish. So, whether you’re looking to showcase your vacation snapshots or highlight your latest project, let’s make sure your slideshow is not just seen, but felt. Ready to turn those clicks into connections? Let’s get started!
Choosing the Right Visuals to Tell Your Story
When it comes to grabbing your audience’s attention, choosing the right visuals is like picking the perfect outfit for a big date; you want to make a good impression! Think about how images can evoke emotions, set the scene, and enhance your narrative. Instead of throwing random stock photos in your slideshow, aim for visuals that resonate with the message you’re trying to pass. Here are a few tips to keep in mind:
- Consistency is Key: Stick to a color palette or style that aligns with your brand or message. It makes everything feel cohesive.
- Emotion Over Everything: Choose images that spark feelings. A genuine smile or a breathtaking landscape can speak volumes.
- Be Relatable: Use visuals that reflect your audience’s experiences or aspirations, making them feel seen and connected.
Don’t forget the power of movement! Incorporating subtle animations or transitions can create an engaging flow, almost like a heartbeat driving your story. However, moderation is important here to avoid overwhelming your viewers. Consider mixing up your images with some text overlays for impact. Here’s a quick table to help you visualize some combinations:
| Visual Type | Purpose |
|---|---|
| High-Quality Photos | To evoke emotion and set the scene. |
| Infographics | To simplify complex information. |
| Short Clips | To add movement and retain viewer interest. |
| Text Slides | To emphasize key points or quotes. |

Pairing Music with Mood: Setting the Tone for Your Slideshow
Choosing the right music can transform your slideshow from mundane to unforgettable. Think of it this way: music is like the seasoning in a dish; too little, and it falls flat, but too much can overwhelm. Aim for a balance that complements the visuals without stealing the show. Here are a few tips to guide your selection:
- Match the tempo: Fast-paced slides call for upbeat tracks, while slow, reflective moments might need something softer.
- Emphasize emotion: Select songs that evoke the feelings you want to express—whether it’s joy, nostalgia, or excitement.
- Consider your audience: Tailor the music to the vibe and preferences of your viewers for a more personal touch.
As you dive into the nitty-gritty of syncing your slides, keep an ear tuned to how each piece melds with your visuals. Pay attention to transitions—just like a good story, your slideshow should flow seamlessly. Using a soundtrack that builds tension or complements a narrative arc can captivate your viewers’ attention. Here’s a quick look at some effective styles:
| Slide Mood | Best Music Style |
|---|---|
| Celebratory | Upbeat Pop |
| Reflective | Soft Piano |
| Adventurous | Epic Instrumentals |

Editing Magic: Tools and Techniques to Make It Shine
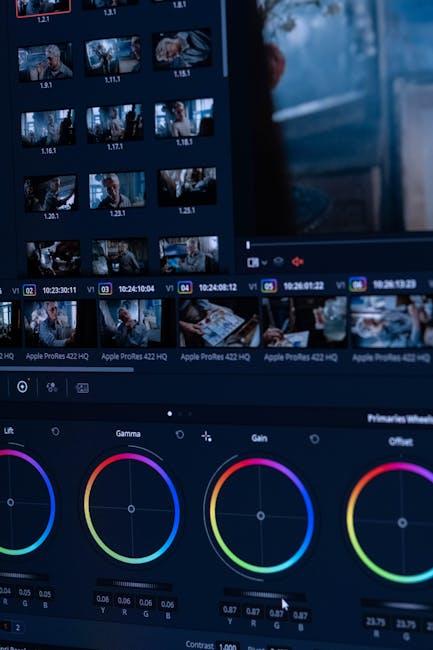
When it comes to taking your slideshow to the next level, the right editing tools can feel like glittering fairy dust. First off, video editing software is your best friend, whether it’s Adobe Premiere Pro, Final Cut Pro, or something more user-friendly like iMovie. Each offers a suite of features that can transform your mundane slides into explosive visual narratives. Want to add some pizzazz? Check out tools that allow for animations and transitions. A smooth fade or a fun zoom effect can breathe life into your presentation, making viewers feel like they’re part of something truly special.
Don’t forget about audio! Music can make or break the vibe of your slideshow. Think of each track as a layer of paint on an artist’s canvas—it can change the mood from subtle and serene to exciting and energetic. Platforms like Epidemic Sound or Artlist offer a plethora of options, ensuring you find the perfect beat. Additionally, syncing your visuals with sound can elevate the whole experience. Here’s a quick overview of essential elements to consider:
| Element | Suggested Tool | Why It Matters |
|---|---|---|
| Video Editing | Adobe Premiere Pro | Professional-grade edits |
| Transitions | iMovie | User-friendly animations |
| Audio Tracks | Epidemic Sound | Quality sound options |
Tips for Uploading and Promoting Your Slideshow on YouTube
When you’re ready to share your slideshow on YouTube, the first thing to consider is the quality of your content. Ensure your slides are visually appealing and that the music complements the visuals rather than overwhelming them. Keep your target audience in mind; think about what might captivate their interest. To make your slideshow stand out, focus on these essential tips:
- Optimize Your Video Title & Description: Use relevant keywords to help your video show up in search results.
- Create an Engaging Thumbnail: A striking thumbnail can do wonders; it’s like the cover of a book that beckons viewers to explore.
- Leverage Playlists: Organizing your slideshows into playlists can keep viewers engaged, guiding them through a series of related content.
Once you’ve uploaded your slideshow, consider your promotion strategy. Engaging with your audience is key. Respond to comments and ask for feedback to foster a community around your content. Share your video across multiple platforms to maximize visibility—don’t just rely on YouTube alone! Here’s a quick table on effective platforms for promotion:
| Platform | Promotion Type |
|---|---|
| Share in groups; create an event | |
| Post clips & stories; use hashtags | |
| Tweet about it; engage with followers | |
| Create pins linking back to your slideshow |

Final Thoughts
Wrapping up your journey to crafting the perfect slideshow with music for YouTube, it’s clear that the magic lies in the details. Think of your slideshow as a symphony—each image is a note, and the music is the rhythm that ties it all together. You want your viewers to not just watch but to feel, to resonate with what you’re sharing. So, don’t shy away from experimenting with those transitions, tweaking that volume, and finding the soundtrack that truly echoes your theme.
Remember, the beauty of anything creative is that there are no strict rules—only guidelines that help you express your unique voice. As you dive into your next project, let your personality shine through, because that’s what will keep your audience coming back for more. Go ahead and hit that upload button with confidence! Your slideshow is ready to inspire and entertain. Now, grab your creative toolkit, and get to work—your masterpiece awaits!