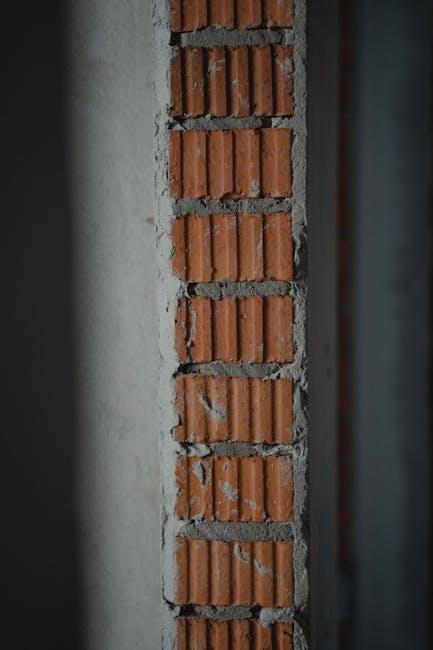
Are your bricks looking a little worse for wear? Maybe they’re sporting cracks that are begging for a little TLC. No need to fret! Welcome to the world of brick repair, where we’ll be diving deep into the magical realm of kneading benzoyl peroxide—the secret sauce to getting your bricks back in tip-top shape. Think of it like working with dough; yes, we’re talking about unleashing your inner craftsman! Whether your bricks have seen better days due to weathering or the typical wear and tear of life, you’re in for a treat. In this article, we’re going to break down the process step-by-step, ensuring you can approach this task like a pro and even have a little fun in the process. So, grab your toolkit and get ready to transform those weary bricks into a beautiful, sturdy feature of your home—one knead at a time!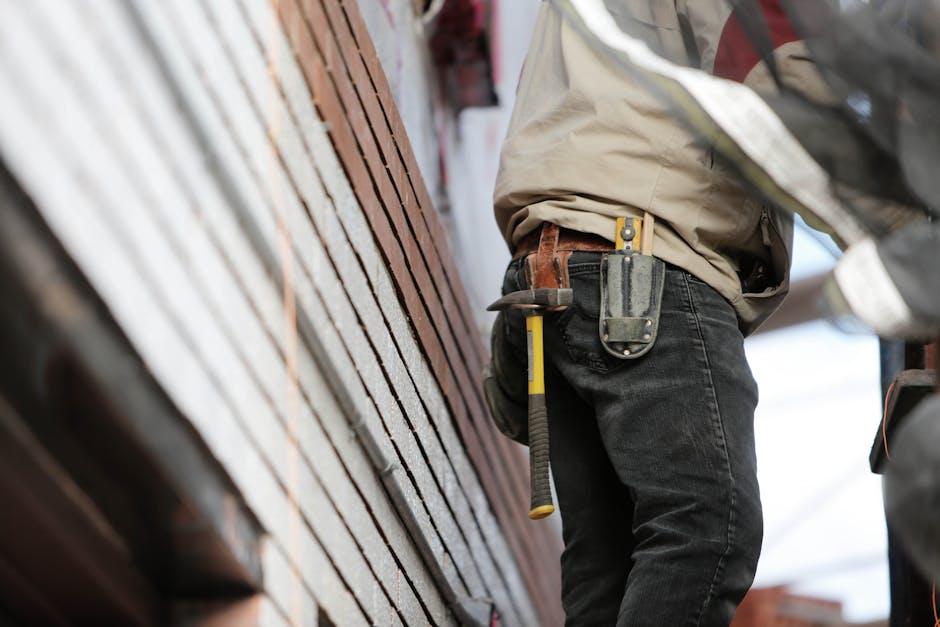
Understanding the Chemistry Behind Benzoyl Peroxide for Optimal Brick Repair
When it comes to brick repair, understanding the chemistry behind benzoyl peroxide can feel as complex as piecing together a jigsaw puzzle. At its core, benzoyl peroxide functions as a powerful oxidizing agent, which means it can facilitate chemical reactions that help bind your repair material to the existing bricks. As it breaks down, it releases free radicals that react with other compounds, allowing for strong adhesion. Imagine it like the glue that not only holds your project together but also helps it endure the test of time—this is crucial when you want a lasting repair.
To use benzoyl peroxide effectively, consider the following key points:
- Compatibility: Ensure that the other materials you’re using are compatible with benzoyl peroxide to achieve the best bond.
- Mixing: Knead it thoroughly with your chosen repair material, evenly distributing the peroxide to activate its properties.
- Temperature Sensitivity: The effectiveness can change with temperature, so keep an eye on the conditions during your repair.
In practical terms, benzoyl peroxide isn’t just a chemical; it’s your ally in the quest for robust brick restoration. By grasping its behavior and properties, you will master the art of brick repair, ensuring each project is as solid as your skills!
Essential Tools and Techniques for Seamless Brick Restoration
When it comes to brick restoration, having the right tools in your corner is crucial. A solid toolbox might just become your best buddy in the process. Start with trowels and pointing knives; these help shape and manipulate your repair material with precision. Don’t forget about brick chisels and hammers for those moments when you need to chip away at old, damaged mortar. A good wire brush is essential, helping you clean out the joints and prepare the affected areas for restoration. Lastly, grab a masonry level to ensure your work doesn’t just look good but is structurally sound as well. After all, what’s the point of a pretty repair if it’s not secure?
Once you’ve got your tools ready, let’s talk techniques that will make your brick restoration process feel like second nature. When mixing your repair materials, such as the magic knead of benzoyl peroxide, it’s vital to get the consistency just right; think of it like mixing pancake batter—not too thick, not too runny. Applying it is all about pressure; you want to fill the joints without overflowing them, almost like icing a cake. In terms of curing, patience is key. Letting the material set properly ensures durability—so resist the urge to rush the process! A touch of waterproof sealant at the end can serve as icing on the cake, protecting your handiwork from the elements. And trust me, your bricks will thank you for it later.

Step-by-Step Guide to Mixing and Applying Benzoyl Peroxide Like a Pro
Getting ready to mix up some benzoyl peroxide for your brick repair? It’s all about precision and technique! Start by gathering your materials: benzoyl peroxide, white flour (or similar thickening agent), and a mixing container. The ideal ratio is 1:1, but feel free to adjust based on the consistency you need. If it feels too thick, add a touch more peroxide; if it’s too runny, sprinkle in extra flour. Remember, you’re aiming for a type of paste that easily spreads but isn’t too drippy. As you mix, think of it like making a pancake batter – fluffy, but not loose!
Once you’ve achieved the perfect blend, it’s time to apply it like a pro! Use a putty knife for easy manipulation, and begin by placing a generous amount of your mixture directly onto the cracks or damaged areas of the brick. Spread evenly, making sure to fill any gaps, just like icing a cake. Here are some key tips to keep in mind:
- Press firmly to ensure the mixture adheres well.
- Work in small sections to maintain control.
- Clean your tools promptly to avoid a sticky mess!
Remember, practice makes perfect! So don’t rush—give yourself time to get it just right. Your bricks will thank you later!
Common Mistakes to Avoid and Tips for Perfecting Your Brick Repair Skills
When diving into brick repair, it’s easy to fall into some common traps that can lead to less-than-stellar results. One major mistake is not preparing the surface properly before applying any material. Cleaning the area thoroughly and making sure it’s dust-free is essential. Think of it like cooking; you wouldn’t throw ingredients in a dirty pot, right? Additionally, be cautious with the mixing ratios. Using too much or too little of the hardener can affect the integrity of your repair. It’s crucial to follow the instructions closely—like following a recipe—to avoid ending up with a mixture that crumbles under pressure. Remember, patience is key; rushing the curing process can lead to weak bonds that won’t stand the test of time.
Another pitfall to steer clear of is neglecting to assess the cause of the damage. If you just patch up cracks without understanding why they appeared in the first place, you might find yourself back at square one sooner than you’d like. Before you grab your tools, take a moment to investigate. Is it a moisture issue? Structural settling? Address the root cause, and you’ll save yourself a lot of hassle down the road. On top of that, don’t be afraid to seek help or watch some tutorials. If you’ve hit a wall, sometimes a quick tip from an expert can make all the difference. Keeping a journal of your repair projects can also be beneficial; jot down what works and what doesn’t, so you build your skills over time. Happy repairing!
Concluding Remarks
And there you have it—your ultimate guide to mastering brick repair with a touch of artistic finesse. Who knew that something as straightforward as kneading benzoyl peroxide could transform your repair game from amateur to seasoned pro? It’s like turning a simple loaf of bread into a gourmet creation—just a bit of practice and patience can work wonders!
As you roll up your sleeves and dive into your next project, remember that every crack you fill isn’t just about aesthetics; it’s a tribute to your commitment to home maintenance. Don’t be afraid to experiment a little; after all, isn’t that what keeps life interesting?
So, go ahead, embrace the challenges, and enjoy the satisfaction that comes with every successful repair. Your bricks will appreciate it, and trust me, your future self will thank you when you’re admiring your handiwork! Happy repairing, and remember, every pro was once an amateur—keep at it, and before you know it, you’ll be the go-to brick repair guru in your neighborhood!