Ready to level up your Minecraft experience on your Mac? You’ve come to the right place! OptiFine can transform your gameplay, giving you fantastic graphics and smoother performance, but getting it up and running can feel like wandering through a maze. Don’t sweat it! In this guide, we’re diving deep into the ins and outs of OptiFine downloads tailored just for Mac users. Whether you’re a newbie kicking off your adventure or a seasoned player looking to fine-tune your setup, we’ve got you covered with easy-to-follow steps straight from the YouTube community. So grab your favorite snack, settle in, and let’s unlock the secrets to mastering OptiFine together!
Getting Started with OptiFine: Why Your Mac Deserves It
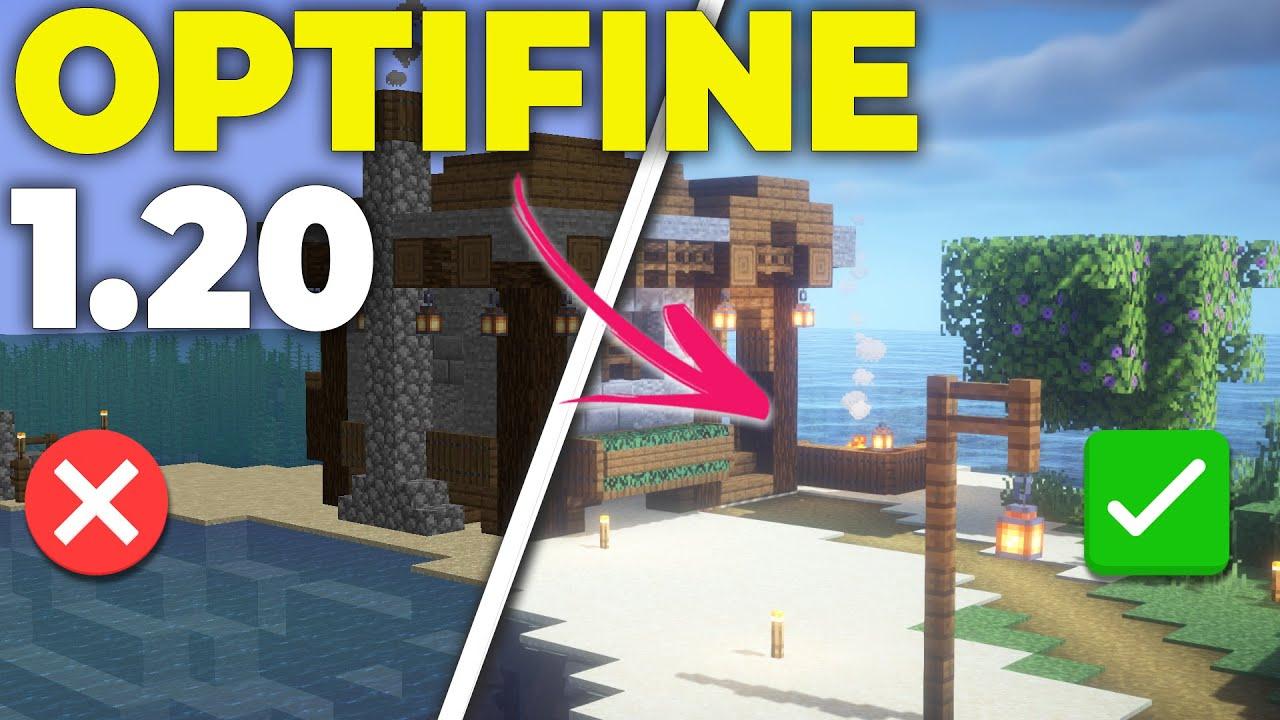
When you think about upgrading your Minecraft experience on a Mac, OptiFine is like that cherry on top of a sundae—it adds so much more flavor! It’s not just about eye candy, though; it’s all about performance too. Why should your Mac get the love it deserves with this mod? Well, for starters, it drastically enhances your frame rates and reduces lag. Imagine cruising through your favorite blocky world without any hiccups, just smooth sailing all the way. Plus, you’ll enjoy features like customizable settings, supporting HD textures, and an overall polished look that’s hard to beat.
Diving into the world of OptiFine is super user-friendly, especially for Mac users who might feel overwhelmed by tech jargon. Once you’ve got it installed, here are some nifty features that will make your gaming sessions more enjoyable: Better graphics, Shader support, and Dynamic lighting. Here’s a quick list of benefits you can expect:
- Enhanced visual fidelity
- Greater control over performance settings
- Better compatibility with texture packs
And don’t forget, it’s just a few clicks away! So grab your Mac, follow the steps, and prep yourself for an enchanting adventure where every pixel pops.

Navigating the Download Maze: Simple Steps to Grab OptiFine
Grabbing OptiFine on your Mac can feel like wandering through a digital labyrinth, but fear not! By following a few simple steps, you’ll be strutting around Minecraft in style, with all the performance enhancements OptiFine offers. First off, make sure you’re running the right version of Minecraft. Head over to the official OptiFine website—it’s the treasure map of your download quest. Just remember, the blue download buttons can be a bit tricksy; avoid the ads and always look for the actual download link. Once you click that link, a .jar file will start downloading. Keep an eye on your Downloads folder! You’ll want to grab that file to set your course right.
Now, let’s move on to the installation part, which is where the magic happens. Start by launching your Minecraft launcher; it’s your trusty steed in this pixelated adventure. You’ll need Java installed—if you’re not sure, just check by typing ”java -version” in your Terminal. If it’s not there, download it from the official Oracle website. Once you check your readiness, simply double-click on the OptiFine .jar file you downloaded. It should open a simple installation window. Click Install, and voilà! OptiFine is now part of your Minecraft experience. Now, jump back into the launcher, and in the profile selector, choose the OptiFine profile to get started with your enhanced gameplay and snazzy graphics.

Installing Like a Pro: Tips for a Smooth OptiFine Setup
Setting up OptiFine on your Mac can feel like trying to untangle a pair of headphones from your pocket—frustrating but totally doable! First off, make sure you have the latest version of Minecraft and OptiFine. Visit the official OptiFine website, and grab the installer file. You’ll want to double-check you’ve got the right Minecraft version selected on the download page; nothing worse than loading up your game only to find out you’re missing out on those features you were excited for. Once you’ve downloaded it, you can simply double-click the downloaded file to initiate the installer. Easy peasy, right?
After you’ve run the installer, it’s time to launch Minecraft with the OptiFine profile. Open the Minecraft Launcher, select the OptiFine profile, and hit Play. If everything went smoothly, you’ll see a welcome screen, and harmony will reign once again. You can further enhance your experience by diving into the Options menu, where you can tweak settings like graphics, performance, and more. Just remember, it’s like tuning a guitar—you might need to do some fine-tuning until everything sounds just right! Here’s a quick checklist to make sure you’re on the right track:
- Latest Minecraft version: Ensure it’s updated.
- Correct OptiFine version: Match with your Minecraft.
- Java version: Check for updates.
- Backup files: Always a good safety net.
Enhancing Gameplay: Unlocking the Power of OptiFine Features
OptiFine is like that secret sauce that turns a good gaming experience into a great one. With features designed to fine-tune your graphics and performance, it opens up a world of possibilities for Minecraft enthusiasts. Just imagine being able to tweak your settings for smoother gameplay, crisper graphics, and fewer lag spikes! You can enhance your visuals with dynamic lighting and customizable shaders that transform ordinary landscapes into breathtaking vistas. Plus, there are options for FPS boosts and smoother animations that keep the action flowing without a hitch. Why settle for less when you can have your game run like a dream?
Utilizing OptiFine is simple and user-friendly, whether you’re a pro or just starting out. You can dive into the settings and play around with graphic options to find what really clicks for you. Want to minimize clutter? Turn down particles! Interested in optimizing your frames per second? Adjust the render distance! Here’s a little cheat sheet to get you started with some key features:
| Feature | Description |
|---|---|
| Dynamic Lighting | Light sources illuminate your surroundings realistically. |
| Shaders | Add stunning visual effects for a more immersive environment. |
| Zoom | Get up close to distant objects, perfect for exploring! |
| VSync | Reduce screen tearing for a smoother visual experience. |
The Way Forward
And there you have it, folks! You’re now equipped with all the know-how to master OptiFine downloads on your Mac like a pro. It’s like having your very own magic wand, transforming your Minecraft experience from ordinary to extraordinary. So, whether you’re looking to boost those FPS or revel in the beauty of shaders, you’re ready to dive in.
Remember, don’t get bogged down by the technical details—think of it like upgrading from a flip phone to the latest smartphone. Your gaming world is about to get a serious upgrade! If you hit any bumps along the way, just rewind the video or revisit those steps we laid out. The community is here for you, and YouTube is your trusty sidekick!
Now, grab your favorite snacks, boot up that game, and enjoy the stunning landscapes and smooth gameplay. Happy crafting, and may your blocks always be in place! If you found this guide helpful, don’t forget to give it a thumbs up and share it with your fellow gamers. Until next time, keep building and exploring!