Picture this: you’re ready to sink some amazing shots on your pool table, but the lighting feels off—shadows creeping in like unwelcome guests at a party. You’re not alone! Proper lighting can make or break your game, transforming a simple night of fun into an experience that shines, quite literally. In this DIY guide, we’ll dive into the ins and outs of mastering pool table lighting, ensuring you hang it just right. From choosing the perfect fixtures to the ideal height for that jackpot glow, I’m here to help you illuminate your game. So grab your tools, roll up your sleeves, and let’s make that cue ball sparkle!
Pool Table Lighting Basics That Set the Mood
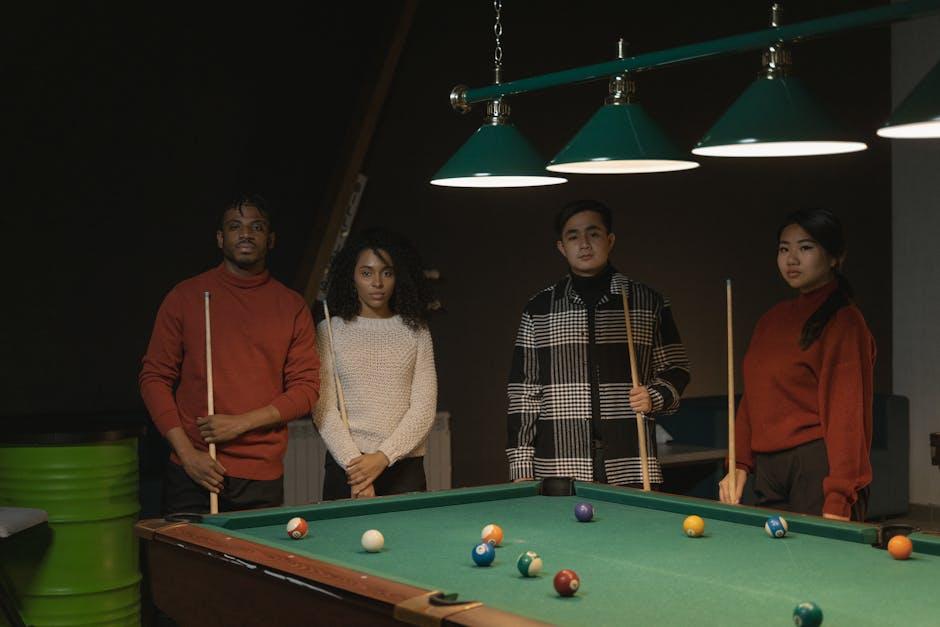
When it comes to illuminating your pool table, the right lighting can transform ordinary gameplay into an extraordinary experience. Think about the feeling you get when stepping into a cozy bar; it’s often the low, warm glow that sets the scene. To achieve that vibe at home, consider a few key factors:
- Fixture style: Opt for pendant lights or lamps specifically designed for pool tables. They not only look sharp but also focus light directly over the table.
- Light color: Aim for warmer tones to enhance the atmosphere. Bulbs with a color temperature around 2700K create a relaxed environment that’s easy on the eyes.
- Height matters: Hang lights about 30-36 inches above the playing surface. This ensures even coverage without casting harsh shadows on your game.
- Dimmer switches: Adding these allows you to easily adjust the brightness based on the mood or time of day — perfect for a lively night with friends or a quiet game with just one companion.
Remember, the layout of your space can also influence the lighting atmosphere. If your table is in a multi-functional room, you can employ the use of table lamps or sconces to complement overhead fixtures. Here’s a quick run-down:
| Lighting Type | Best Use |
|---|---|
| Pendant Lights | Direct, focused lighting over the table |
| LED Flex Strips | Accent lighting around the room for a modern touch |
| Sconces | Soft ambient light, enhancing the overall feel |
| Table Lamps | Secondary light source when needed |
Choosing the Right Fixtures for Optimal Play
Choosing the right fixtures for your pool table is like picking the perfect partner for a dance; you want something that complements your style while providing the necessary support. Consider the size of your table first. A larger table needs a broader light fixture to avoid casting shadows that can disrupt your game. Pendants are a popular choice because they not only look snazzy but also provide the kind of direct lighting that keeps your focus sharp. Think about the brightness as well—too dim, and you might be squinting through your shots; too bright, and you risk a glare that could throw off your aim. Aim for lighting that gives you the perfect glow without annoying echoes of brightness.
Moreover, don’t forget about the style and finish of the fixtures. Whether you’re into sleek modern lines or prefer a vintage vibe, there’s a fixture that can bring your whole space together. Match your light fixtures with your decor for a cohesive look—just like you wouldn’t wear black shoes with a brown belt, don’t mismatch your lighting with your table and room aesthetic. If you’re feeling particularly crafty, think about mixing materials—metal and glass can create a dynamic contrast that’s visually stunning. And if you’re really adventurous, a DIY fixture could add a personal touch that big-box stores can’t offer. Just make sure it’s securely hung at the right height to keep the good times rolling and the games going long into the night!
Positioning Your Lights for Maximum Impact
When you’re lighting up your pool table, the placement of your lights can make or break your game. Think of it like putting together a great recipe—each ingredient matters. You want to aim for the sweet spot in the middle of the table, ideally around 60 inches above the surface. This not only ensures even illumination across the playing area but also minimizes any distracting shadows that can mess with your shot. The width of your table is also important; the lights should extend around 12 to 24 inches past the edges to create a balanced look and avoid harsh glares from the sides.
Consider using multiple light fixtures if you’re working with a large table or if you want to add a touch of flair. Here’s a quick tip: pendant lights can bring that vintage pub feel, while track lighting offers versatility for adjustments. Think about wiring and ceiling height too. If your setup allows, place lights so that they don’t interfere with any potential overhead space for cues. You don’t want a clunky light interrupting the swing of your shot. And here’s a handy table to visualize different setup options:
| Fixture Type | Height (inches) | Best For |
|---|---|---|
| Pendant Light | 60 | Compact Spaces |
| Flush Mount | 48-54 | Low Ceilings |
| Track Lighting | 60+ | Adjustable & Spread Light |
DIY Installation Tips for a Brilliant Setup
Setting up your pool table lighting can make all the difference between playing in the dark and having the perfect ambiance. To get started, you’ll want to ensure that your fixture is hanging at just the right height. A good rule of thumb is to hang the fixture about 30 to 36 inches above the surface of the table. If you have a larger dining table, adjust that height accordingly to suit the space. Don’t forget to measure carefully; you don’t want your light to feel like it’s looming over you, giving off the vibe of a judgmental UFO!
As you prepare to install, gather some essential tools: a drill, measuring tape, and level to keep your light straight. Here’s a quick checklist to keep you on track:
- Check the fixture: Does it match your room’s style?
- Plan your placement: Make sure it’s centered over the table.
- Secure wiring: Ensure safety by tucking away any excess cable.
| Tip | Description |
|---|---|
| Height Matters | 30-36 inches above the table for optimal lighting. |
| Center is Key | Align your fixture perfectly in the middle. |
| Wire Safely | Avoid tangles and snags for a clean look. |
The Way Forward
And there you have it—your ultimate DIY guide to mastering pool table lighting! With just a few simple steps, you can transform your game space from dimly lit and uninspired to bright, inviting, and perfectly set for epic matches. Remember, the right lighting isn’t just about illumination; it’s about creating the atmosphere where friendships are forged, rivalries ignited, and memories made.
So grab that level, check your measurements twice, and get ready to shine! Because when it comes to hanging those lights, you’re not just enhancing visibility; you’re making a statement. Whether you’re the host of casual get-togethers or serious tournaments, great lighting sets the stage for every moment spent around the table. Now go out there, light it up, and let the good times roll!