
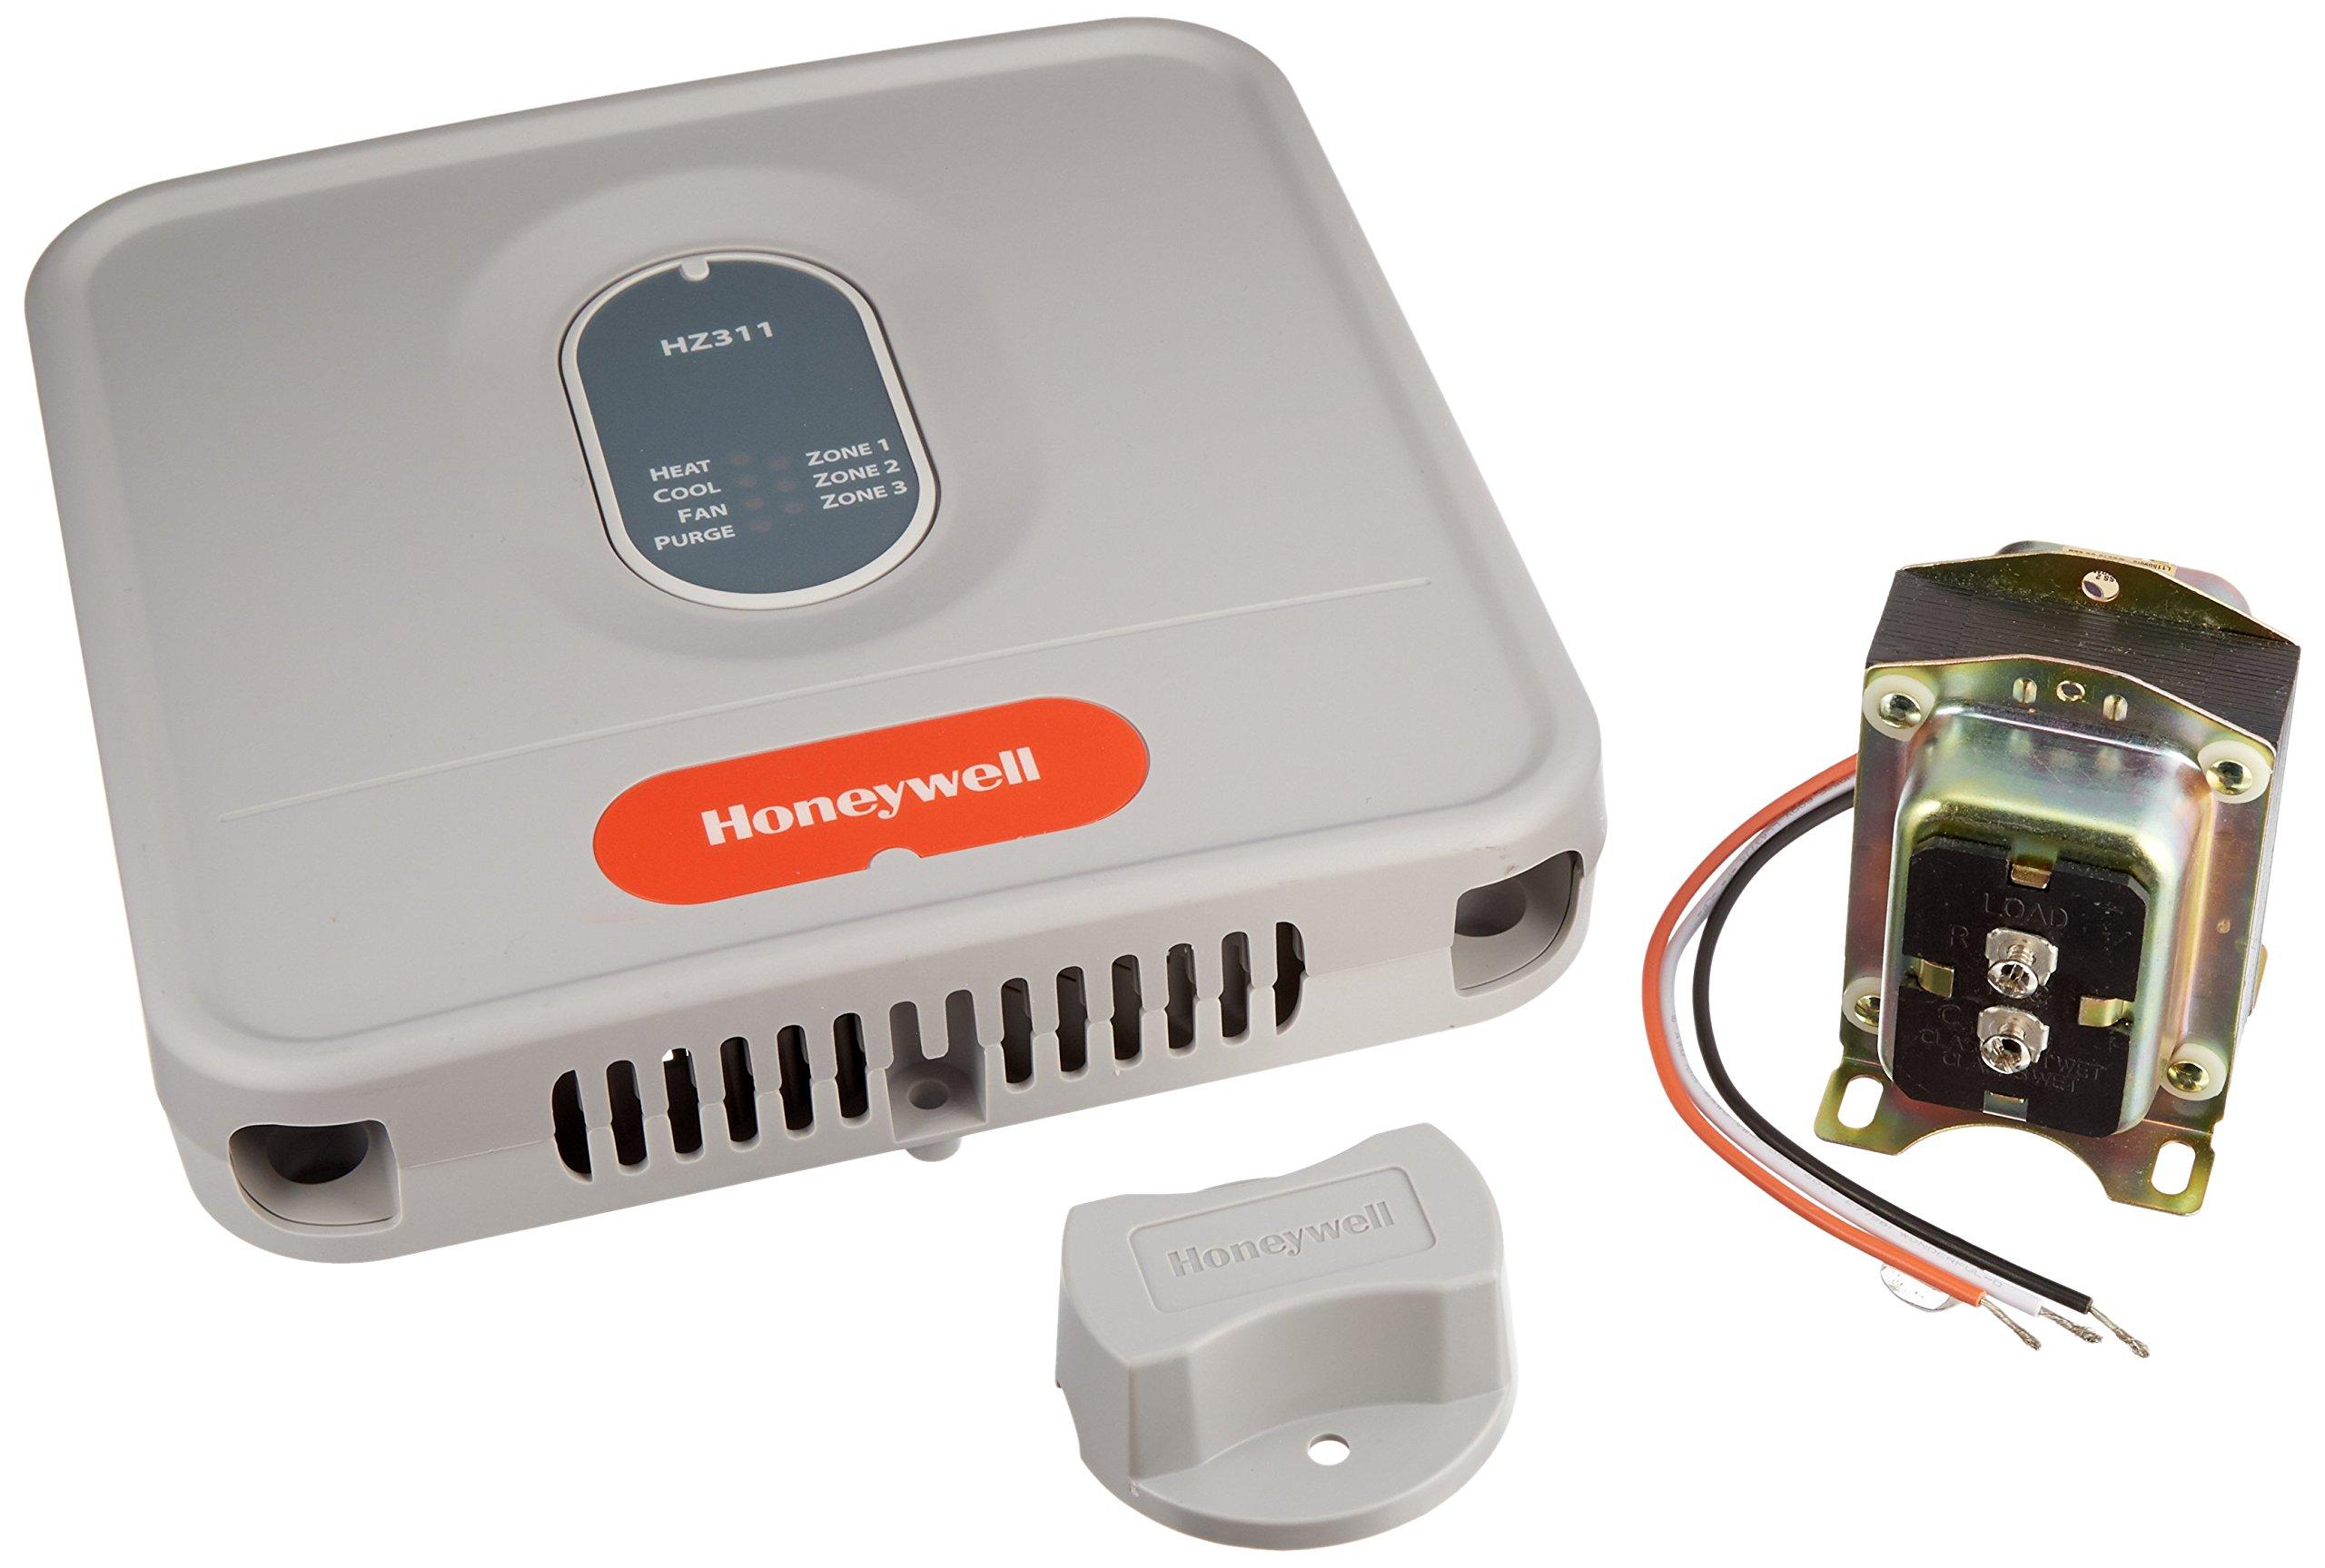
Ready to swap out your old HZ311 thermostat for something a bit more tech-savvy? You’ve landed in the right spot! Upgrading to an Ecobee is like giving your home a breath of fresh air—if fresh air could come with smart features and a user-friendly interface. Imagine controlling your home’s temperature right from your phone, or having your thermostat learn your preferences to keep you comfy and cozy without lifting a finger. Sounds like a win-win, right? In this step-by-step guide, we’ll break down everything you need to know to make the switch hassle-free. Whether you’re a DIY pro or a complete novice, we’ve got the tips and tricks to get you there without breaking a sweat. Let’s dive in and transform your home into a smart haven!
Understanding the Key Differences Between HZ311 and Ecobee
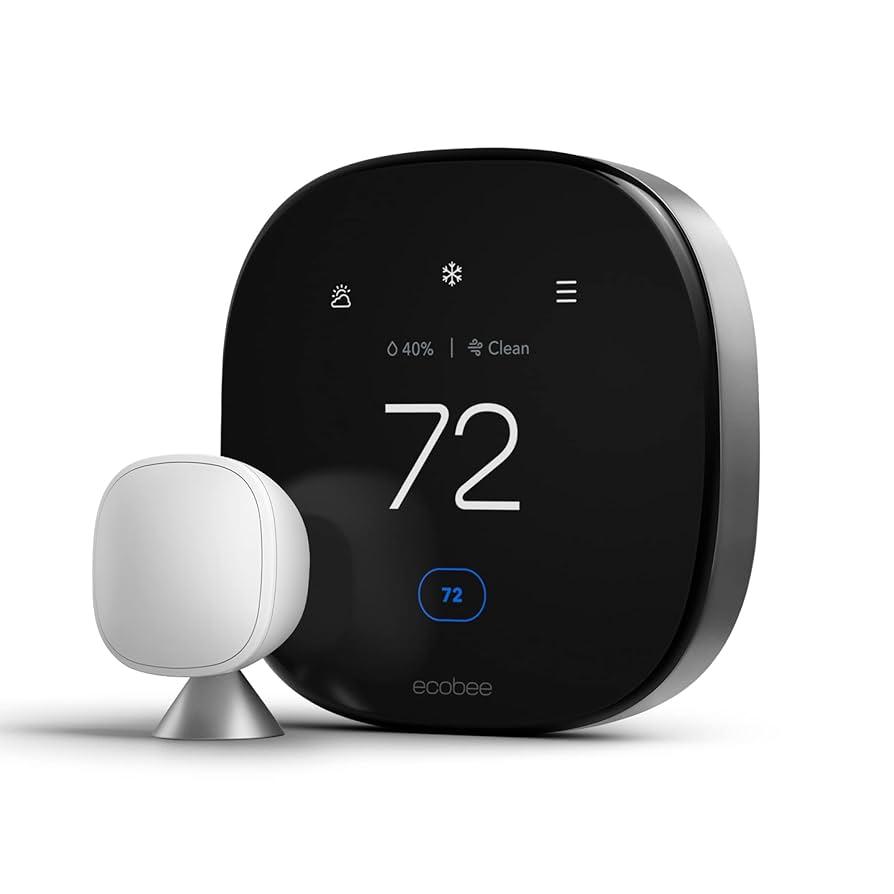
When it comes to upgrading your thermostat from the HZ311 to the Ecobee, there are some significant differences worth noting. First off, the user interface on the Ecobee is a game changer. Unlike the HZ311’s relatively basic display, the Ecobee boasts a sleek, touchscreen interface that feels almost like using your smartphone. This means adjusting your home’s temperature on the fly becomes a simpler, more satisfying experience. Plus, with features like remote sensors, the Ecobee can maintain the perfect temperature in every part of your home, rather than just relying on a single sensor, which can often result in chilly rooms or overheated corners. Talk about a breath of fresh air!
Another key distinction is how these devices connect to the internet. The HZ311 is pretty much a standalone unit, while the Ecobee thrives on connectivity. It’s designed to sync with Wi-Fi, allowing you to control your home’s climate from anywhere using your smartphone or tablet. You can, for instance, crank up the heat before you arrive home from work or lower it before you head out for vacation. This is a fantastic energy-saving feature that can reduce those pesky utility bills! Here’s a quick comparison of features to clarify further:
| Feature | HZ311 | Ecobee |
|---|---|---|
| User Interface | Basic Display | Sleek Touchscreen |
| Remote Sensors | No | Yes (included with some models) |
| Wi-Fi Connectivity | No | Yes |
| Mobile App Control | No | Yes |
Gathering Your Tools and Preparing for the Switch
Before diving into the nitty-gritty of replacing your HZ311 with an Ecobee, let’s gather the essential tools that’ll make this transition smoother than your morning coffee. Here’s what you’ll need to have on hand:
- Screwdriver: A Phillips-head screwdriver will usually do the trick.
- Smartphone or Tablet: You’ll want this for the Ecobee app to set things up right.
- Wire Strippers: If any wires need a little trim, these will be your best friends.
- Level: To ensure your Ecobee sits perfectly straight.
- Pencil: Always handy for marking where your new thermostat will go.
Once you’ve collected your tools, it’s a good idea to prep the workspace to avoid any chaos during the switch. Clear off the area around your thermostat and gather all necessary supplies close by. This not only saves you time but also prevents the dreaded “where is that screwdriver?” panic mid-project. Lay out your tools in a way that keeps everything within reach—imagine assembling a puzzle; having all the pieces laid out helps you see the bigger picture. Plus, this sets a positive vibe for the installation process!
Disconnecting Your HZ311: Tips for a Safe Removal

Before you dive into removing your HZ311, let’s make sure you’re fully prepped for a smooth experience. First things first, turn off the power at the circuit breaker. Nothing halts progress like a surprise zap, right? Once that’s done, it helps to have a few tools at arm’s reach: a screwdriver, perhaps a voltage tester, and a small container to keep screws safe. This is crucial because losing a screw can turn your simple task into a treasure hunt later on. Don’t forget to take a photo of the wires attached to your HZ311; this visual aid is golden when you’re wiring up your new Ecobee. Think of it as your roadmap in a sea of wires.
When you’re ready to disconnect, gently remove the cover plate and unscrew the device from the wall. Next, take a deep breath and label each wire as you disconnect it. Simple labels like ‘A’, ‘B’, ‘C’ can save you a headache later. It’s like organizing your sock drawer: a bit tedious upfront but totally worth it. As you pull each wire off, strictly avoid touching any of the exposed ends to prevent any unwanted surprises. Once all wires are labeled and disconnected, place everything safely aside. You’re on your way to installing the Ecobee, so stay focused and keep that momentum rolling!
Installing the Ecobee: A Straightforward Step-by-Step Process
First things first, let’s get those tools ready! You’ll need a screwdriver, a drill (if your wall requires it), and a level to ensure your shiny new Ecobee is perfectly aligned. Don’t forget to turn off the power to your old HZ311 at the breaker box—safety first, right? Once you’ve got everything set up, remove the old thermostat by unscrewing it and disconnecting the wires. Label each wire with tape—this step will be your best friend when connecting to the Ecobee. Here’s a quick overview of the wiring:
| Wire Color | Function |
|---|---|
| Red | Power (R) |
| White | Heating (W) |
| Green | Fan (G) |
| Yellow | Cooling (Y) |
Now it’s Ecobee time! Mount the Ecobee’s wall plate where the old thermostat was located. Feel free to use the included screws or anchors if needed. Once it’s secure, connect the matching wires based on the labels you made earlier—make sure those connections are tight; we want no loose ends! After that, clip the Ecobee onto the wall plate. Turn the power back on and watch your Ecobee light up like a holiday tree. Follow the on-screen setup prompts, connect to your Wi-Fi, and voila—your smart home just got smarter!
Key Takeaways
And there you have it! Swapping out your old HZ311 for an Ecobee is like trading in your flip phone for a smartphone—suddenly, you’re in the fast lane of tech-savviness. With those crisp instructions and a little bit of elbow grease, you’ve transformed your home into a beacon of modern comfort.
Imagine kicking back in your cozy living room, sipping a warm cup of coffee, knowing your home is not just smart but also energy-efficient. Plus, you’ve just added a nifty feature that can even save you some bucks on those pesky energy bills. That’s a win-win in any book!
Remember, if you run into any bumps along the way, don’t sweat it. Just refer back to our guide or give a shout for help. Now go on, get that Ecobee humming, and enjoy a climate-controlled paradise at your fingertips. Happy adjusting!