Game night is practically a sacred ritual, a time when friends gather to indulge in some friendly competition, good laughs, and maybe a little bit of trash talk. But let’s be real—what’s a great game night without the right lighting? A dimly lit pool table can make even the most skilled players feel like they’re shooting in the dark. So, let’s lighten up! In this article, we’re diving into some easy and fun tips for hanging up pool table lights that’ll not only brighten your game but also elevate the whole vibe of your space. Whether you’re just getting started or looking to refine your setup, these tips will help you create an inviting atmosphere that’ll have everyone asking for just one more round. Let’s shine a light on how to transform your game night experience!
Choosing the Perfect Pool Table Light for Your Game Room Ambiance
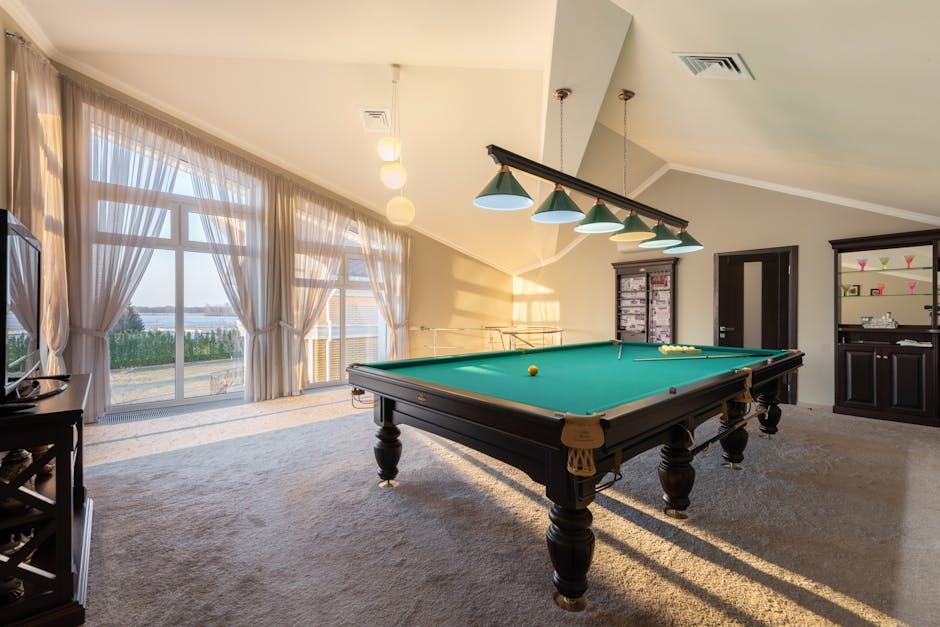
Picking the right pool table light isn’t just about brightening your game; it’s also about creating the right vibe for those spirited matches and laid-back hangouts. Consider pendant lights or billiard lamps—they not only deliver a focused glow right where you need it but also add a touch of style to your space. When selecting your fixture, think about your room’s theme. Is it rustic, modern, or maybe a mix of both? The light should complement your décor while providing ample illumination. Don’t forget the height; you want to avoid a ceiling light that feels like a looming cloud over your game. Aim for a height of about 30 to 36 inches above the table for that sweet spot—good lighting, without the risk of head bumps.
Another thing to think about is the bulb type. LED bulbs are great for their energy efficiency and longevity, but do they create that warm ambiance? You might prefer something like an incandescent bulb for a more welcoming glow. To tie everything together, consider adding dimmers or smart bulbs; these allow you to adjust the brightness according to the mood. Still torn? Look at a few options side by side. A simple table can help you narrow it down:
| Light Type | Pros | Cons |
|---|---|---|
| Pendant Lights | Stylish, customizable height | Can be tricky to install |
| Billiard Lamps | Direct light, classic look | May limit design options |
| LED Fixtures | Energy-efficient, long-lasting | Cooler light may lack warmth |
The Ideal Height: How to Hang Your Pool Table Light for Maximum Effect
To get the most out of your pool table light, think about how the light interacts with the game. The ideal height for hanging your lighting fixture is typically around 30 to 36 inches above the playing surface. This range effectively brightens the table, ensuring that shadows don’t steal your shot. Imagine you’re a spotlight shining down on a stage – you want to illuminate the talent without blinding them! A good rule of thumb is to measure from the table’s surface to the bottom of the light. If you’re dealing with higher ceilings, don’t shy away from hanging a bit lower to maintain that cozy, game-night vibe.
When positioning your light, you can’t go wrong with a few extra steps to enhance the atmosphere:
- Center the fixture: Make sure it’s evenly spaced above the table to provide consistent lighting across the entire surface.
- Consider using dimmers: This gives you control over the brightness, letting you set the perfect mood depending on the time of day or the intensity of competition.
- Choose the right bulb: Go for soft white LED bulbs that mimic natural light – they provide clarity without harsh glare.
And if you’re feeling fancy, consider a light with adjustable arms for even more versatility! This way, you can easily change the angle to suit your playing style or group size. Getting the setup right means you’ll enjoy those late-night games without straining your eyes—or, worse, your reputation as the resident shark!

Wiring Made Simple: Essential Tips for Safe and Easy Installation
Installing a pool table light can seem daunting, but it doesn’t have to be! Start by determining the optimal height for your light fixture. A good rule of thumb is to hang it about 30 to 36 inches above the table. This ensures that you get the right amount of illumination without casting harsh shadows. Before you start drilling holes, map out a plan. Use a measuring tape to find the center of your table and mark it on the ceiling. Then, grab a friend to help; two sets of eyes will make lining everything up a lot easier! Make sure to consider the placement of any ceiling fans or other light fixtures to avoid clashes.
Now that you’re ready to hang, check your electrical supply. If you’re replacing an old fixture, turning off the power at the circuit breaker is crucial for safety. When securing your new light, use anchor screws for stability, especially if you’re mounting on drywall. Avoid the temptation to skip this step; a sturdy installation not only looks professional but ensures your light stays put during those intense game nights! Once you’ve got everything wired up, consider testing the light before fastening it permanently. You wouldn’t want to hang a dud above your prized gaming space, right? Follow these simple tips, and you’ll have a bright, inviting spot for fun-filled pool nights!
Enhancing Your Space: Creative Decor Ideas to Complement Your Pool Table Light
Transforming the area around your pool table light can elevate game night from just another evening into a dazzling experience. Consider incorporating elements that add depth and flair to the space. Some creative decor ideas include:
- Artwork Above the Table: Hang a bold piece of art or a vintage scoreboard above the table. It serves as a conversation starter while framing the light beautifully.
- Accent Wall: Paint the wall behind the pool table in a rich, deep color or a fun mural that resonates with the theme of your game room.
- Decorative Shelving: Install floating shelves alongside the light fixture to display trophies, quirky pool-themed items, or even some colorful potted plants to bring life to the space.
To enhance the lighting itself, consider adding smart bulbs that allow you to change the color and intensity based on your mood. It’s like an instant mood ring for your room! Another great idea is to hang string lights around the perimeter of the room for that cozy, inviting glow, perfect for a laid-back atmosphere during casual game nights. If you’re feeling a little crafty, try incorporating small lanterns or adjustable spotlights on the shelves to create even more focus on the pool table light. Below is a table summarizing some quick tips for an appealing setup:
| Decor Idea | Effect |
|---|---|
| Bold Artwork | Conversation Starter |
| Accent Wall | Visual Depth |
| Shelves with Decor | Personal Touch |
| Smart Bulbs | Mood Variation |
| String Lights | Cozy Atmosphere |
In Retrospect
So there you have it! With a few simple tweaks and those handy tips, you can transform your game night into a dazzling affair. A well-lit pool table isn’t just about visibility; it sets the mood, adds to the excitement, and keeps everyone coming back for more. Whether you choose to go funky with styles or stick to the classics, the right light makes all the difference. So gather your friends, crank up the music, and let that table sparkle under the glow you’ve created. Who’s ready for some serious fun? Remember, a well-lit game isn’t just about winning or losing; it’s all about the memories we make along the way. Happy playing!