
Earning money on YouTube is like finding a golden ticket hidden in a candy bar—exciting, rewarding, and just a little bit tricky. You’ve probably put in the work: filming, editing, crafting engaging content that resonates with viewers, and finally getting those subscribers to roll in. But here’s the kicker—once you’ve started raking in those views, you need a solid plan to cash in on those earnings. It’s like building a beautiful house without a front door; you want to let the money flow in, but you need that payment method set up first! In this guide, we’ll walk you through the ins and outs of unlocking your YouTube earnings and ensure you’re ready to cash in on your creativity. Let’s get your channel making money; after all, who wouldn’t want to turn their passion into profit?
Setting the Stage for Success: Navigating YouTubes Payment Basics
Getting your payment method set up on YouTube can feel like navigating a maze at times, but don’t sweat it—once you know the ropes, you’ll breeze right through! First off, you’ll want to ensure you’re part of the YouTube Partner Program. This is your golden ticket, allowing you to monetize your content through ads, channel memberships, and more. To qualify, you’ll need at least 1,000 subscribers and 4,000 watch hours over the past year. Here’s a quick checklist to guide you:
- Verify your YouTube account
- Link your AdSense account
- Enable monetization in your account settings
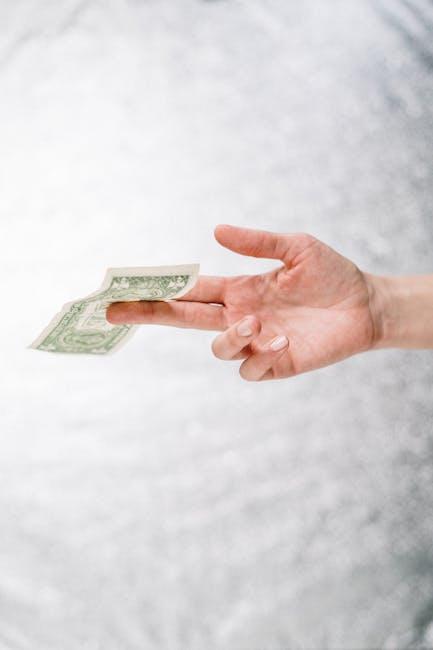
Once you’ve got the basics down, it’s time to dive into the nitty-gritty of payments. YouTube pays creators via AdSense, and you’ll want to get this right as it’s the bridge to your earnings. Make sure you opt for a payment method that suits you best—whether that’s direct deposit, checks, or wire transfers. Here’s a handy table to compare your options:
| Payment Method | Pros | Cons |
|---|---|---|
| Direct Deposit | Quick and secure | Requires bank info |
| Checks | Easier for those wary of online banking | Longer processing time |
| Wire Transfers | Great for larger sums | Can incur fees |
With this info in your back pocket, you’re ready to tackle your YouTube earnings head-on! Getting familiar with these payment basics is just the first step in unleashing your creative potential and turning those video views into real cash. So roll up your sleeves and let’s get monetizing!
Choosing the Right Payment Method: Options That Fit Your Needs
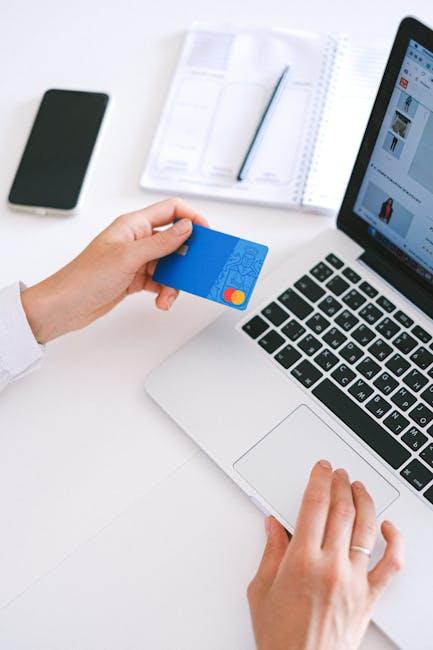
When you’re ready to cash in on those YouTube earnings, picking the right payment method can feel like navigating a maze. It’s crucial to figure out what works best for you because there’s more than one way to get that sweet, sweet dough. Options like PayPal, direct bank deposits, and even checks have their perks. If you love simplicity and fast access to your funds, PayPal can be your best buddy. But if you’re a fan of traditional banking, going for a direct deposit could mean more stability and fewer fees. Who doesn’t want to keep their hard-earned cash from slipping away, right?
To give you a clearer picture, check out the table below that lays out some advantages of these payment methods:
| Payment Method | Speed | Fees | Best For |
|---|---|---|---|
| PayPal | Instant | Variable | Quick cash access |
| Direct Deposit | 1-3 Business Days | Low | Stable finances |
| Checks | 5-7 Business Days | None | Traditionalists |
Ultimately, it boils down to personal preference and needs. Take a moment to evaluate how you want to access your funds – are you okay with a bit of a wait for the convenience of no fees? Or do you prefer the thrill of instant payments, regardless of the potential costs? The right choice will make managing your YouTube earnings a breeze.
Step-by-Step Guide to Setting Up Your Payment Method with Ease
Setting up your payment method is a breeze once you know the ropes. Start by logging into your YouTube Studio and navigating to the Monetization tab. Once you’re in the right spot, look for the section labeled Payment Info. It’s like the secret door to your earnings. Click on it and you’ll be guided to AdSense; yes, that’s the golden ticket! If you don’t have an AdSense account yet, don’t sweat it. Just follow the on-screen prompts—they’re pretty straightforward. You’ll just need to provide some basic information like your name, address, and tax details. Easy peasy! Remember to double-check everything because every little detail counts!
After creating your AdSense account, it’s time to link it back to your YouTube channel. Head back to the Monetization tab and look for a button that says Link AdSense Account. Click on that and follow through. It’s like connecting the dots; you want to make sure everything aligns perfectly. Once you’ve confirmed and linked, you might need to wait for a few days for the approval. Meanwhile, set your PayPal, bank details, or any other payment method you prefer to receive your hard-earned cash. Here’s a little tip: keep an eye on your threshold for payouts—knowing when you’ll get paid can help you plan better!

Maximizing Your Earnings: Tips for Smooth Payments and Financial Management
Getting your earnings to flow smoothly from YouTube requires a solid payment setup, and let’s be real—no one wants to be caught in a payment limbo. Start by linking your channel to an active Google AdSense account. It’s like giving your revenue a VIP pass to the money-collecting party. Ensure all your tax info is correctly entered; think of it as providing the bouncer with the right ID. Plus, staying on top of AdSense policies is crucial—ever heard the phrase “don’t bite the hand that feeds you”? It’s accurate here! consider setting up multiple payment methods. You wouldn’t carry just one credit card, right? Flexibility can be a lifesaver!
Alongside payment methods, managing your finances efficiently can set you up for success. Think of it as gardening—water and nurture your financial health to yield a bountiful harvest. Use budgeting tools or apps to track your income and expenses; they’re like your digital garden gnome, keeping watch over your finances. Automate savings and investment transfers whenever possible; it’s like watering your plants while multitasking! Just check out the little table below for a snapshot of these management strategies:
| Strategy | Description |
| Budgeting Tools | Keep track of expenses and earnings. |
| Automate Savings | Transfer a percentage of income to savings. |
| Invest Wisely | Consider investments for long-term growth. |
Key Takeaways
And there you have it! Setting up your payment method on YouTube doesn’t have to feel like cracking a code. With just a few simple steps, you’re on your way to turning those views into cash. Imagine feeling the thrill of seeing those earnings roll in, all thanks to your creativity and hard work. So go ahead, dive into those settings, connect your bank or PayPal account, and get ready to reap the rewards of your passion.
If you’ve got any questions or run into a hiccup, don’t hesitate to reach out. The YouTube community is full of creators eager to lend a hand. Keep creating, keep engaging, and before you know it, those earnings will start to stack up like the confetti at a celebration. Remember, every great journey starts with a single step—so make that step count! Happy uploading, and here’s to your success on YouTube! 🎉