Welcome to the world of YouTube capture magic, where a little deviation can lead to tremendous creativity! Have you ever hit that record button and felt a mix of excitement and dread? You’re not alone! Mastering the art of capturing content on YouTube is like riding a wave – thrilling yet sometimes unpredictable. But don’t sweat it! In this guide, we’re diving headfirst into the enchanting realm of “Mastering Deviations.” Here, we’ll explore how those unexpected twists can transform your videos from ordinary to extraordinary. Whether you’re a pro or just stepping into the spotlight, get ready to unleash your inner YouTube wizard. So, grab your camera, put on your thinking cap, and let’s unlock the secrets to capturing magic on the screen! Are you with me?
Unlocking the Secrets of YouTube Capture: Tips for Perfecting Your Technique
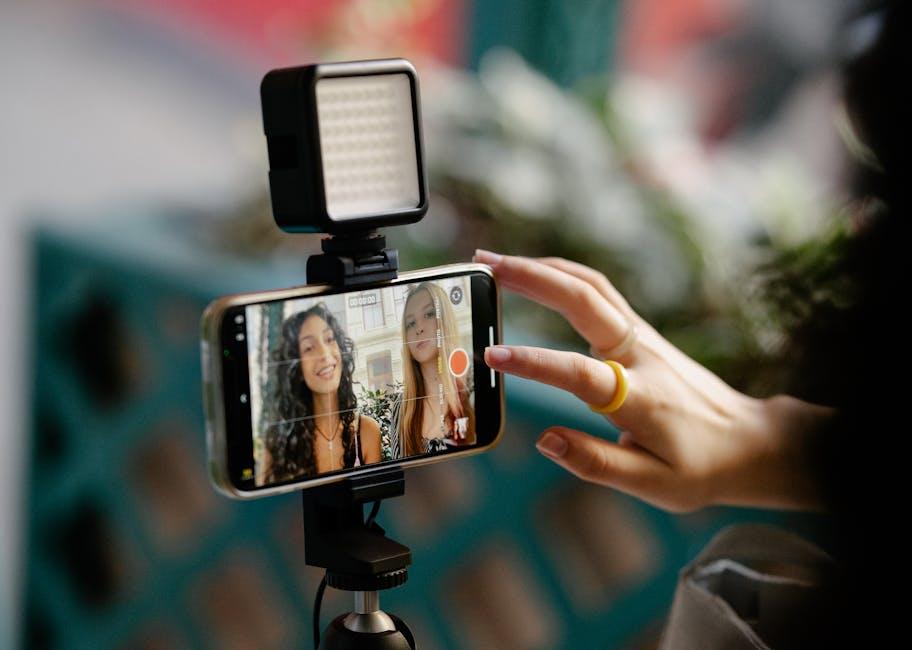
If you want to truly shine on YouTube, mastering your capture technique is a must. Start by optimizing your lighting; natural light can be your best friend! Set up near a window during the day for that soft, flattering glow. But, don’t let a lack of daylight ruin your vibe—invest in some affordable ring lights or softboxes for a consistent look. Also, be mindful of your background. A clutter-free, aesthetically pleasing space keeps the focus on you. Think of your backdrop as the frame of a beautiful painting; it should enhance the subject without distracting from it.
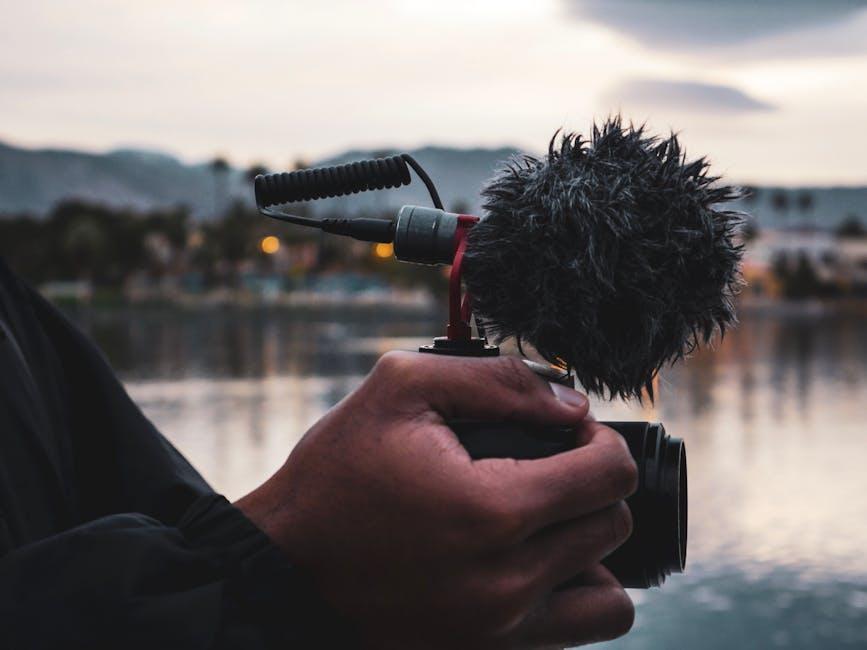
Next up, let’s talk about sound. Ever tried to watch a video with terrible audio? It’s frustrating, right? You want your viewers to hear you loud and clear! Consider getting a quality microphone—it’s worth every penny. If you can’t swing that, even a simple lavalier mic can work wonders. And don’t overlook the power of storytelling. Think about what you want to share, craft a script if needed, and deliver it like you would to a friend. Inject some personality into your videos; remember, authenticity resonates with audiences. After all, would you rather watch someone who feels genuine or someone who seems robotic? A sprinkle of charm mixed with your unique perspective is the secret ingredient for captivating content.
Crafting Compelling Content: How to Keep Your Audience Hooked
Creating content that captivates your audience is all about tapping into their emotions and sparking their curiosity. Think of it as building a rollercoaster: you want that thrilling moment at the top where viewers are holding their breath, waiting for the plunge. Ask questions that resonate with your viewers’ experiences—“Have you ever felt lost in a sea of content?” This engages them and makes them think, “Yes! That’s me!” By weaving in relatable anecdotes or quirky analogies, like comparing your content creation journey to trying to land a perfect backflip—risky yet exhilarating—you create a relatable connection. Remember to mix it up; use a juxtaposition of fun and seriousness to maintain their interest.
Another surefire way to keep your viewers glued to their screens is by using visual storytelling. Imagine layering on stories with compelling visuals that create a symphony of colors, sounds, and experiences. Utilize bullet points to emphasize key takeaways, ensuring your audience absorbs the essence without feeling overwhelmed. Here’s a concise breakdown of elements that keep viewers engaged:
| Element | Description |
|---|---|
| Authenticity | Be real and relatable; share your true self. |
| Visual Appeal | Use eye-catching graphics and animations. |
| Interactive Content | This encourages participation and boosts retention. |
By interspersing information with these engaging elements, you create a dynamic experience that your audience won’t want to escape from. Always remember, it’s not just about what you say but how you say it—shake up your style and keep them on the edge of their seats!
Editing Like a Pro: Tools and Tricks to Elevate Your Videos

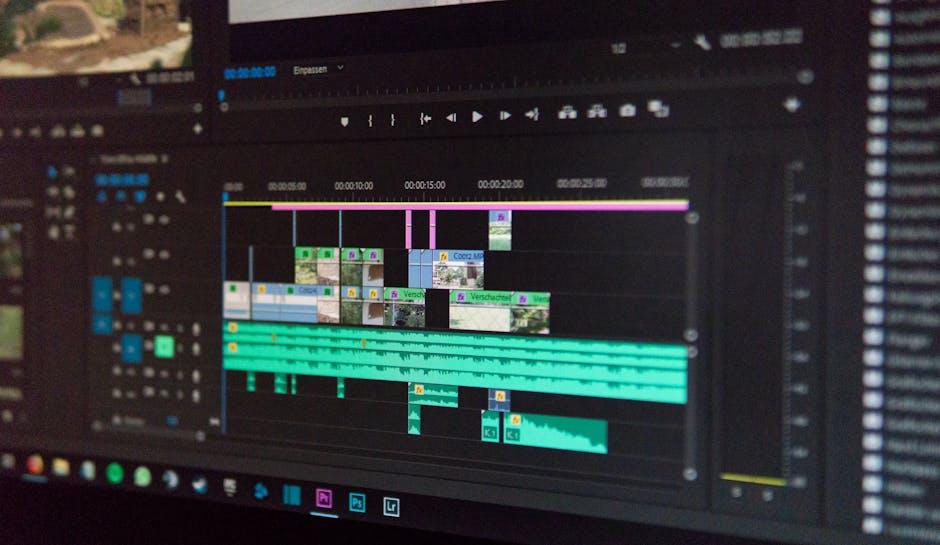
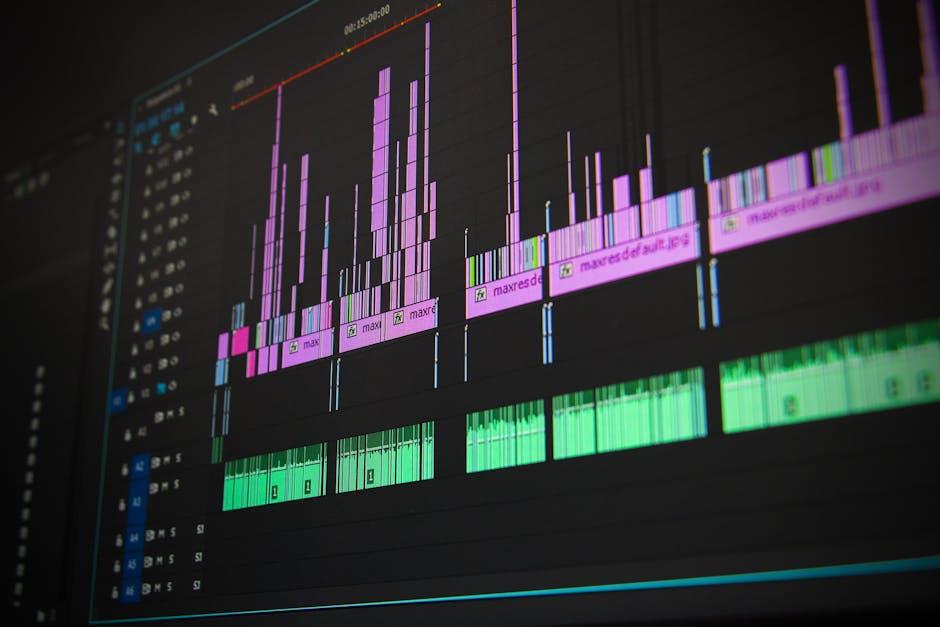
Editing your videos like a pro can truly set your channel apart in a sea of creators. It’s not just about cutting clips and throwing transitions together; it’s about crafting a narrative that engages your audience from start to finish. To get started, consider exploring tools like Adobe Premiere Pro or Final Cut Pro. They offer a treasure trove of features—everything from color grading to multi-cam editing. Don’t overlook mobile options like InShot and KineMaster if you’re on the go. These apps pack a punch, letting you edit seamlessly right from your phone. Plus, using keyboard shortcuts can drastically speed up your workflow—think of it as learning a secret language of editing!
Now, let’s spice things up a bit with some nifty tricks. Don’t underestimate the power of B-roll; it can make your content pop and keep viewers glued to the screen. Use overlays, text animations, and sound effects to enhance your story and evoke emotion. Another trick? Master the art of pacing. The right timing can turn a mediocre video into a stunning masterpiece. If you’re looking for inspo, check out our quick reference table below for popular editing techniques that can elevate your next project:
| Technique | Description |
|---|---|
| Jump Cuts | Quick cuts that keep the energy high and maintain viewer interest. |
| Slow Motion | Creates dramatic effect and emphasizes key moments. |
| Match Cuts | Smooth transitions that link two scenes visually or thematically. |
| Color Grading | Enhances the mood or tone of your video through color adjustments. |
| Text Overlays | Provide context or highlight important info without disrupting the flow. |
Engaging Your Viewers: Building a Community Around Your Channel

Creating a community isn’t just about getting viewers to watch your content; it’s about fostering an environment where they feel at home and connected. Imagine your channel as a cozy coffee shop where regulars come not only for the brew but also to chat with each other. To turn your viewers into loyal fans, consider implementing interactive polls, live Q&A sessions, and comment shout-outs to engage your audience. Encourage them to share their thoughts, and don’t shy away from responding to comments and questions—this two-way conversation makes all the difference.
You can also sprinkle in some fun by showcasing user-generated content, giving your audience a chance to shine. Try featuring their artwork, video responses, or just their stories in relation to your content. This not only builds a sense of belonging but also enriches your channel with varied perspectives. Think of your channel as a potluck dinner; everyone brings something unique to the table, enhancing the overall experience. Together, you and your viewers can create something truly magical. Remember to celebrate milestones—be it subscriber counts or anniversaries—because nothing says “We’re in this together” like a community celebration!
Wrapping Up
And there you have it — your go-to guide for mastering those tricky deviations in the world of YouTube capture! Now that you’re armed with all these tips, tricks, and a sprinkle of creativity, it’s time to dive in and let your unique voice shine through. Remember, every great creator started somewhere, and the magic often lies in the unexpected twists and turns of your journey.
So, don’t be afraid to experiment! Whether you’re tweaking your angles, playing with lighting, or finding that perfect background tune, each small deviation can lead to something spectacular. And hey, if things don’t go exactly as planned? Embrace it! Sometimes the best moments make for the most memorable videos.
Now, go out there and capture the magic in your own style. Your audience is waiting, and they can’t wait to see what you conjure up next! And don’t forget — share your experiences, keep learning, and most importantly, have a blast while you’re doing it. Until next time, happy filming! 🎥✨