The Editing Video You Wish You Never Ignored: Unlock Your Creative Potential
Hey there, fellow video creators! Have you ever stumbled upon a tutorial that promised to revolutionize your editing game, only to find yourself wading through a swamp of fluff, jargon, and drawn-out explanations? Yeah, I’ve been there too. It’s like unwrapping a gift only to find a bunch of socks. But what if I told you that there’s a gem out there—an editing video stuffed with practical tips, tricks, and techniques that can seriously elevate your video quality? Sounds like a dream, right?
In this article, we’re diving into the treasure trove of insights from a particular YouTube video that does away with all the fluff and brings you straight to the good stuff. Whether you’re a beginner just dipping your toes into the editing waters or a seasoned pro looking to refine your craft, this video has something for everyone. We’re talking about masks, blending modes, and the kind of tools that lift your footage from “meh” to “wow!” So, grab your favorite snack and settle in because we’re about to unlock a world of creativity that you absolutely don’t want to ignore. Don’t worry, I’ll keep it simple and fun, and by the end, you might find yourself ready to jump into your editing software with a fresh perspective. Ready? Let’s get started!
Understanding the Value of Effective Video Editing Tutorials
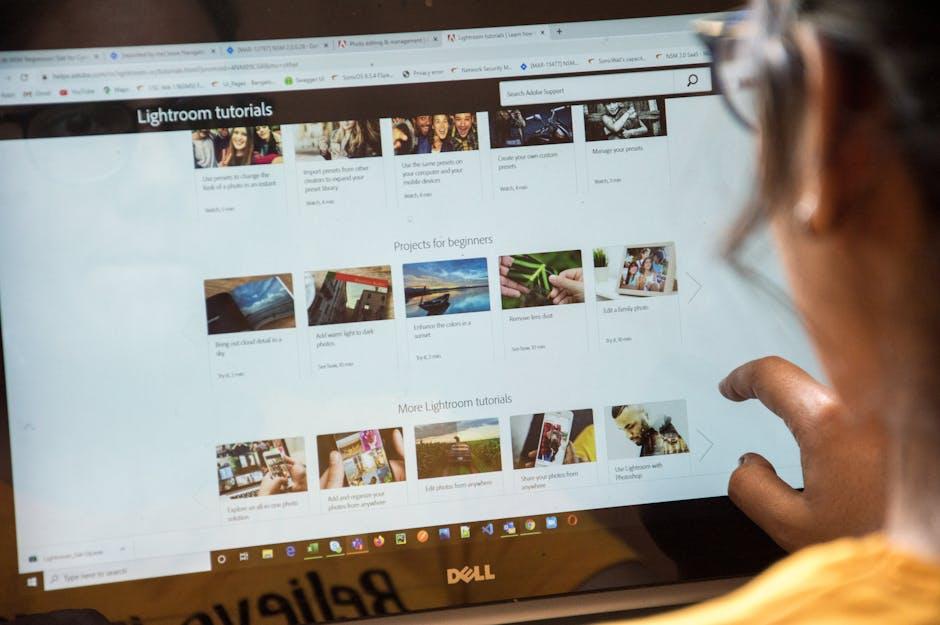
Effective video editing tutorials are like gold nuggets hidden in a mine—they’re often rare finds, but when you stumble upon one, it’s pure treasure. The beauty of these tutorials lies in their ability to cut through the fluff and get straight to the meat of the matter. Imagine sifting through a sea of content that promises the moon but delivers nothing of substance. Instead, a well-crafted tutorial gets to the core of what you actually need, offering up tips, tricks, and techniques that can instantly elevate your video quality, regardless of your current skill level or the software you’re using. It’s about transforming a chaotic edit into a polished masterpiece that captivates viewers and stands out in the crowded digital landscape.
But what’s even more exciting is the assurance that these effective tutorials often provide clarity on specific tools and techniques. For instance, exploring simple yet powerful methods like mask and blending mode adjustments can revolutionize your editing process in no time. They break down complex concepts into digestible segments that leave you feeling empowered and ready to tackle your next project. Think of it as having the ultimate guidebook for a challenging hike—you could fumble around in the dark, or you could have a trusted map leading you directly to the vistas. So the next time you chance upon a tutorial worth your time, don’t ignore it; dive in and discover the possibilities that lie just beyond your editing software!
Mastering Masks and Blending Modes for Stunning Visuals

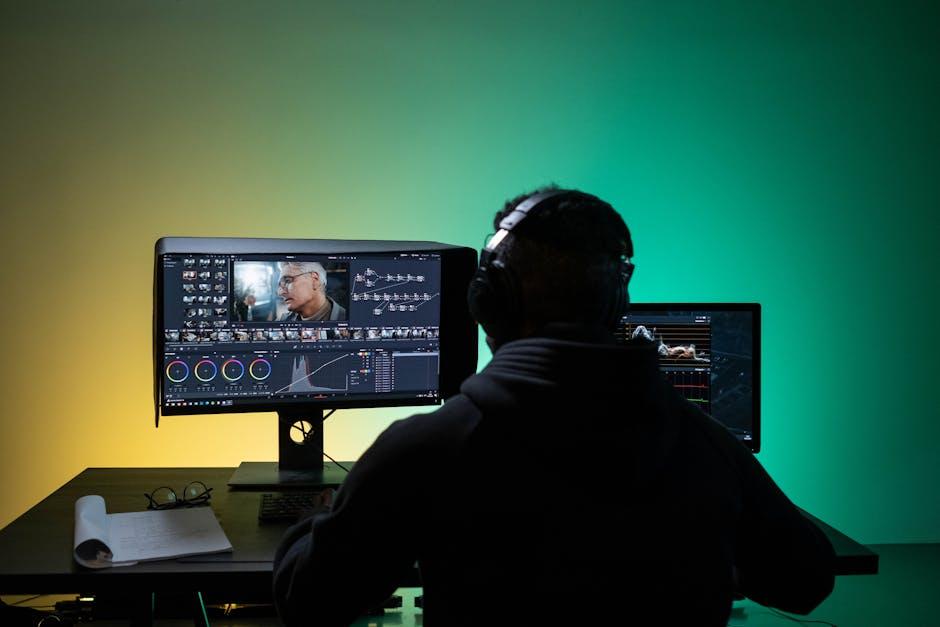
Want to take your editing skills to the next level? Mastering masks and blending modes is like adding spices to your favorite dish; it transforms basic visuals into something truly flavorful. It all starts with creating a mask. Think of it as a stencil that allows only certain parts of your clip to show through while keeping everything else hidden. For example, when you drag in your stock footage, make it semi-transparent to better see where the mask will go. Once you’ve drawn your initial shape—maybe around your hand or a chair—it’s easy to invert the mask with a click. Suddenly, you’ve created a dynamic visual that grabs attention. But wait, you’re not done yet! Now you have to deal with the harsh edges, and that’s where blending modes come into play.
Blending modes can be confusing at first, but they’re your best friend once you get the hang of them. Picture it like mixing paint: you splash a bit of this and a dash of that to achieve the perfect hue. When you experiment with modes like Screen, you can eliminate the dark areas and reveal a seamless blend that adds depth to your visuals. After settling on the right blend mode, don’t overlook feathering those sharp edges. It’s as simple as dragging a slider! This step softens the mask’s boundary, making the transition feel natural. It’s all about making those elements look like they belong together, creating a cohesive and stunning visual narrative that pulls your audience in. So why not dive deep into your editing software and start experimenting? You might just uncover new techniques that will elevate your projects to cinematic greatness!
Harnessing the Power of Keyframing for Dynamic Edits

When it comes to spicing up your videos, keyframing is like that secret sauce that makes everything taste better! Seriously, think of keyframing as your video editor’s magic wand. By strategically placing keyframes, you can create dynamic effects that keep your audience glued to the screen. Want to zoom in on that epic facial reaction? Or maybe slowly fade in a dramatic graphic? Keyframing lets you do just that, turning a standard video into a visually captivating experience. It’s like adding layers to your favorite song; each note contributes to a more powerful overall vibe. Not sure where to begin? Just start with something simple—say, a zoom effect. As you play with the scale, you’ll notice how easily you can guide your viewer’s focus to critical elements at the right moments.
But hold on—it’s not just about zooms! Think of how you can manipulate the opacity to bring in those killer transitions. Like a magician pulling a rabbit out of a hat, you’ll be able to catch your audience off guard. Combine that with a mask and blending modes, and bam! You’re transforming your raw footage into art. Want your video to feel like a seamless story? Use keyframes for effects that gradually reveal or hide elements—like whispers of suspense mingling throughout the piece. Check it out: here’s a quick rundown of some magical moves you can pull off with keyframing:
- Zoom Effects: Use keyframes for dramatic visual emphasis.
- Opacity Tricks: Fade in/out for polished transitions.
- Motion Paths: Animate objects following a custom trajectory.
- Blend Modifications: Create artistic visual layers.
Creating Depth and Focus: Enhancing Viewer Engagement
Engaging your viewers often hinges on the subtlety of depth and focus in your video edits. When you master the art of layering and blending different footage, you not only create a visual feast but also guide the audience’s gaze exactly where you want it. Using techniques like masking and blending modes can turn an ordinary scene into something captivating. For instance, by adjusting the opacity of the background footage, you can lay the groundwork for a mask that directs attention. When you draw this mask and fine-tune its edges using feathering, it allows the viewer’s eye to swim away from distractions and zero in on the action. It’s similar to wearing a cute sweater while sitting in a cozy café – the warmth surrounds you, but your focus is on the lively chatter at the next table.
Let’s not forget the magic of animating elements for a compelling narrative. Keyframe animations can add that zesty dynamism that keeps viewers glued to the screen. Picture this: you have a focal point in your video, and by scaling up this element while blurring the background, you create an enticing hierarchy. This technique can be likened to an artist honing in on a single brushstroke amidst a beautiful chaos of colors – it draws people in, making them truly feel the emotion you want to convey. By adding a subtle darkening effect as the blur transitions in, you’re painting a scene that whispers directly to the viewer: “Look here, this is where the story unfolds.” Trust me, when you layer all these techniques, you won’t just enhance your video—you’ll elevate your storytelling prowess to a whole new level.
The Way Forward
Wow, what a journey we just took through the ins and outs of editing! If you’ve ever found yourself sifting through endless “how-to” videos that either dance around the subject or drown you in jargon, you’re certainly not alone. But in “The Editing Video You Wish You Never Ignored,” we cut right through the noise. We dove into specific techniques—like masking and blending modes—showing how to enhance your video quality, no matter what software you’re rocking.
What stood out to me the most was how approachable the tips were. It’s like having a buddy who’s been there, done that, guiding you step-by-step. And let’s be real, isn’t that how we learn best? From someone who knows the ropes but talks to you like a friend over coffee? The tricks shared can transform your work from basic to breathtaking, providing that extra punch that keeps viewers glued to the screen.
So, as you wrap up your editing for the day, keep these newfound nuggets of wisdom in your back pocket. Whether it’s about softening those edges or blending two clips seamlessly, every little detail counts when you want to take your videos to the next level.
Thanks for hanging out with us through this editing escapade! I hope you feel inspired and ready to hit that editing suite with newfound zeal. Remember, every click and adjustment brings you closer to mastering your craft. Don’t forget to check out the video again if you want to revisit any of the tips. Until next time, happy editing!