
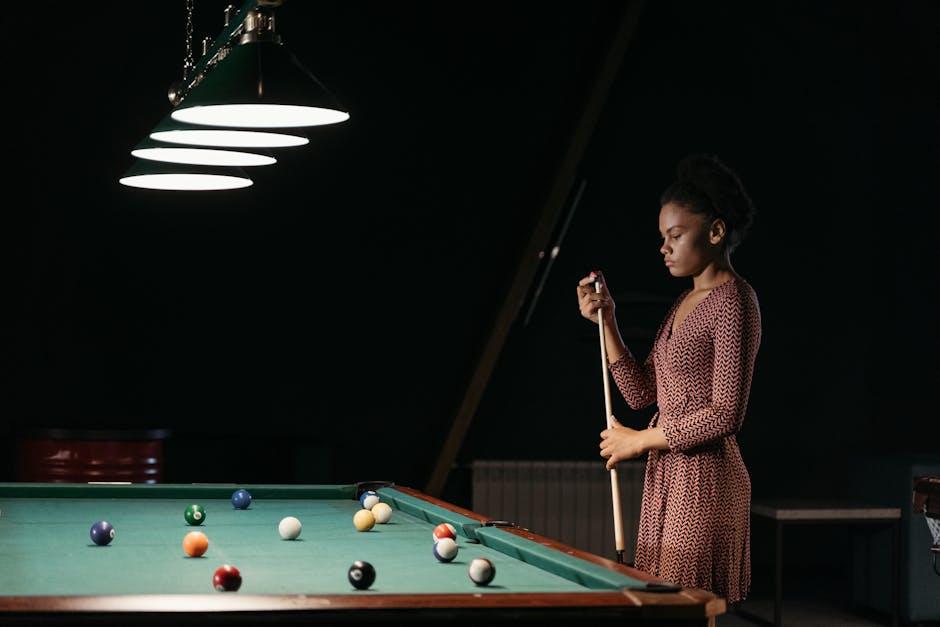
Imagine transforming your game room into a vibrant hangout spot with just a bit of DIY magic! If you’re tired of dim lighting casting shadows over your pool table and making those crucial shots feel even trickier, you’re in the right place. Lighting sets the mood, and figuring out how to hang a stylish fixture on drywall can be both fun and rewarding. Let’s dive into the world of DIY pool table lights and elevate your game nights to new heights, all while keeping things simple and wallet-friendly. Whether you’re a seasoned pro or a weekend warrior at the pool table, this guide will make sure your space shines as brightly as your skills! So grab your tools, and let’s get to work!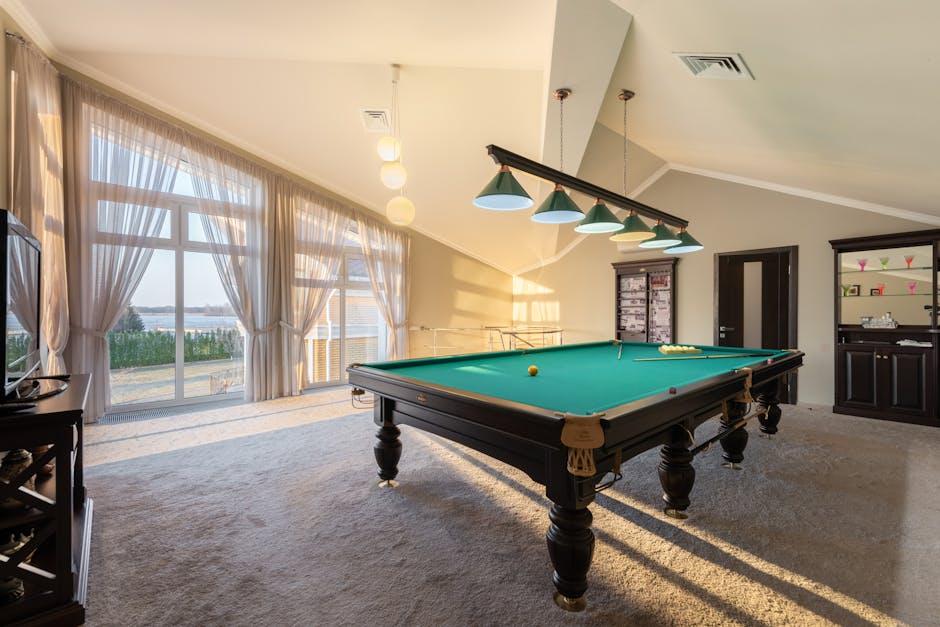
Choosing the Perfect Spot: Finding the Ideal Hang Location for Your Pool Table Light
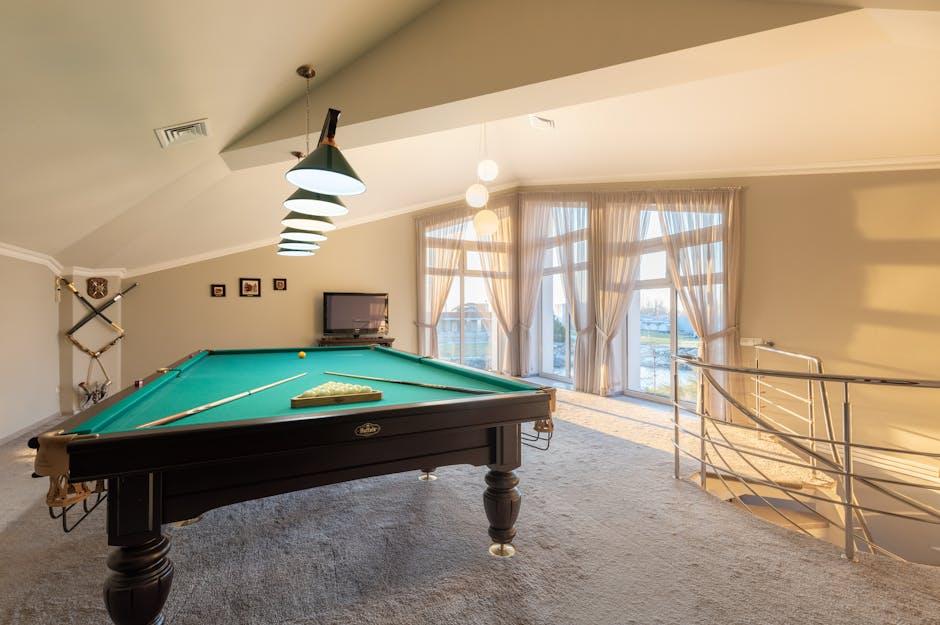
Finding the right place for your pool table light is like picking the perfect cherry for your sundae; it can make all the difference in the world. You want to ensure that your light not only brightens the playing area but also complements the overall vibe of the game room. Consider functions like whether you typically play at night or during the day; a brighter fixture might serve you better during evening games. Additionally, think about the positioning—the light should be centered above the table and suspended high enough to illuminate the space without casting annoying shadows on the playing surface. Ideally, aim for about 30-36 inches above the table for optimal visibility.
Selecting the right light fixture involves more than just aesthetics; you should also factor in the layout of your room and any architectural features that might come into play. For instance, walls, ceilings, and surrounding furniture can all influence your choice. To make an informed decision, here are some aspects to explore:
- Room Size: Larger rooms could use more substantial fixtures, while smaller spaces benefit from streamlined designs.
- Table Dimensions: Match the size of your light to your table; oversized lights can overwhelm a petite table.
- Style Coordination: Ensure the light harmonizes with other design elements—think about materials and colors.
Materials You’ll Love: Selecting the Right Fixtures and Tools for a DIY Win
When gearing up for your DIY pool table light project, picking the right fixtures and tools can be as crucial as choosing the perfect shade of your favorite paint. LED light fixtures are a fantastic choice because they transform a room with vibrant colors while consuming less energy. Try to look for models with adjustable brightness; they can create different moods, whether it’s a relaxed Saturday night or a lively game night. Don’t forget your mounting hardware! You’ll need drywall anchors to ensure everything hangs securely. Trust me, nobody wants a light fixture crashing down mid-game!
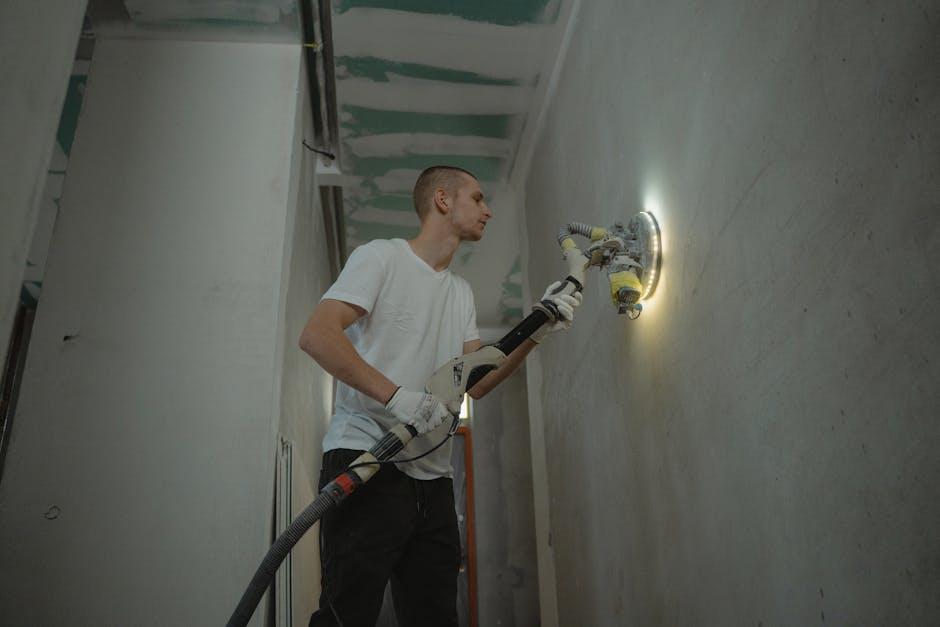
Your toolbox is your best buddy in this venture. A power drill is a must-have, but it’s not the only tool to consider. A quality level will help you hang your fixture perfectly straight—no one wants a crooked light that throws off the vibe! Additionally, keep a stud finder handy to locate those sturdy support beams behind your drywall; this will provide the stable foundation for your light. Remember, it’s all about blending functionality with eye-catching style. You can even snag a chic pull chain switch for that vintage vibe. With the right materials at your disposal, you’ll not only brighten up your space but also create an ambiance that’s a slam dunk for any pool enthusiast!
Hands-On Tips: Mastering the Installation Process with Ease and Confidence
To kick things off, gather your supplies before digging into the installation. You’ll want to have a drill, stud finder, level, and some anchors ready to roll. Start by locating a stud in your drywall; this is where you’ll get the most sturdy support for your light fixture. If there’s no stud in the ideal spot, don’t sweat it—just use drywall anchors to ensure you’re hanging it securely. Mark your spots with a pencil so you can easily see where to drill, and remember to double-check your measurements. Hanging a light isn’t quite as simple as slapping it on the wall; you want to avoid a lopsided glow that has you questioning your DIY skills!
Next, it’s all about that finesse when drilling. Slide your drill right into the marked spot, and if you’re using anchors, create a hole that’s a bit larger than the anchor itself to make sure everything fits snugly. Pop those anchors in and get ready to attach the fixture. Before you lift that beauty of a pool table light, make sure you’ve got it level. Nothing says ‘DIY amateur’ like a light fixture that tilts like it’s got its own personality! Once it’s secure, step back and admire your handiwork. Not only have you brightened up your game area, but you’ve also proven that you can tackle installations like a pro—all without breaking a sweat.
Finishing Touches: Adding Personal Flair to Elevate Your Pool Table Aesthetic
Once you’ve nailed down the perfect lighting for your pool table, it’s time to layer on those personal touches that truly bring your game room to life. Think about adding vibrant accents or quirky décor that reflects your personality. You could hang framed vintage posters of classic billiards or even your favorite movies featuring pool scenes. A well-placed rug can tie the whole space together, adding warmth and comfort underfoot, while pool cues displayed in stylish wall racks can serve both a practical and decorative purpose. Remember, the goal is to create a space that feels uniquely yours! What better way to chat over a game than in a setting that tells your story?
Don’t forget about the little details that can make a big impact. Upgrading your accessories is an easy win! Consider investing in customized billiard balls that resonate with your style, or opt for a set that matches the room’s color palette. If you’re feeling crafty, you could even design a personalized cue chalk holder or use wine bottle holders repurposed as unique features to hold your cues. When combined, these elements can elevate the aesthetic of your game room, making it a spot that not only shines during a match but also serves as a fantastic gathering place for friends. After all, isn’t that what it’s all about—enjoying the time spent with those you care about?
In Retrospect
And there you have it—your very own DIY project that transforms a plain space into a vibrant game zone! Hanging a pool table light on drywall not only brightens up the room but also amps up the fun. It’s like giving your game night a high-five with style!
Remember, the key is to take your time, measure twice (or more!), and let your creativity shine through in every step. Don’t forget to customize your light to match your vibe; after all, this isn’t just a light fixture—it’s a statement piece that reflects you and your love for the game.
So, gather those tools, draw up those plans, and get to work! Once you’re finished, grab your buddies, crack open a cold one, and enjoy the fruits of your labor. Here’s to good times, great shots, and lighting up your game in more ways than one! Happy crafting!