Ever hit that moment of regret where you wish you could just wave goodbye to those old YouTube videos you once thought were a great idea? Maybe it was that shaky vlog or the questionable dance challenge that felt like a stroke of genius at the time—now? Not so much. If you’ve ever yearned for a clean slate or just want to make room for new content, you’re in the right spot. Let’s dive into this simple, step-by-step guide on how to delete those YouTube videos with ease. Say goodbye to digital clutter and hello to a tidier channel, all while feeling like a pro in the process! Ready to roll? Let’s get started!
Understanding the Reasons to Delete Your Video Content

When it comes to managing your YouTube channel, it’s crucial to take a step back and evaluate your video content. Sometimes, we hang on to videos that no longer serve us or our audience. Deleting content can be liberating! It creates space for fresh ideas and allows you to refocus your channel’s direction. Consider if a video doesn’t resonate with your current vision, or perhaps the quality is just not up to your standards anymore. Audience engagement has its ebbs and flows; if a video has consistently low views or negative feedback, it might be time to say goodbye.
Another reason is related to branding. As you evolve as a creator, your style, message, or even niche might shift. If any of your videos no longer align with your brand identity, keeping them could send mixed signals to your viewers. Plus, consider the impact on your channel’s growth. By curating a more cohesive library, you can enhance viewer experience and attract a more engaged audience. Here’s why letting go can be the best decision:
- Improved Channel Cohesion: A focused collection of videos can present a stronger overall message.
- Enhanced Viewer Experience: Outdated or poor-quality content can deter potential subscribers.
- Brand Alignment: Keeping only relevant content helps solidify your image as a creator.
Navigating the YouTube Dashboard for Smooth Video Removal
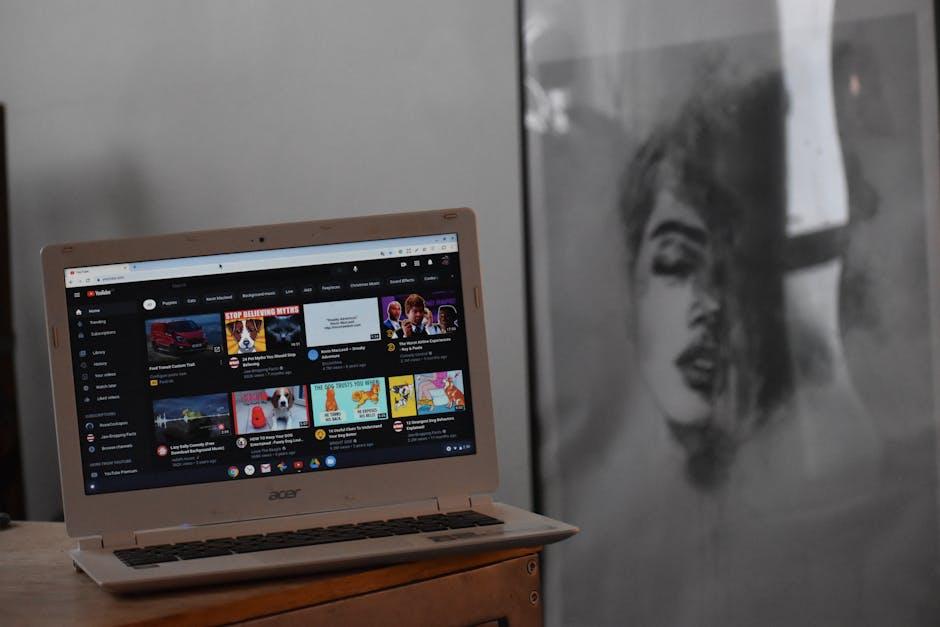
Getting the hang of the YouTube dashboard is key to keeping your channel organized. Once you’re logged in, the interface will welcome you with a mix of options. To start the deletion process, navigate to the “YouTube Studio”—this is your command center. From there, click on “Content,” which is usually located on the left side menu. You’ll see all your uploaded videos sprawled out like an artist’s palette, waiting for your next move. Just hover over the video you want to remove, and look for the three dots on the right. Once you click on them, a menu will pop up with the option to “Delete Forever.” It’s as easy as pie!
Before you hit that delete button, it’s worth considering what you’re giving up. Ask yourself: Is this video a past masterpiece or just a forgotten draft? If you’re amongst a crowd of creators, think of it like cleaning out your closet; you don’t want to be weighed down by content that doesn’t spark joy anymore. If you’re sure about your decision, a confirmation screen will knock on your door, and you’ll need to confirm that you really want to go through with this. Here’s a quick checklist to help you decide:
- Is the video outdated or irrelevant?
- Does the content clash with your current brand?
- Are your analytics showing poor performance?
Preserving Your Legacy: Downloading Videos Before You Say Goodbye

There’s something truly bittersweet about wrapping up chapters in our lives, especially when it comes to our digital footprints. YouTube is a treasure trove of memories: those goofy moments, belly laughs, and heartfelt stories that you uploaded over the years. If you’re considering letting go of some of those videos—whether to tidy up your channel or to make room for fresh content—downloading them first is a crucial step. Think of it as gathering souvenirs before moving on to a new adventure. Here’s what to do:
- Log into YouTube: Start by signing into the account where your videos live.
- Go to YouTube Studio: Click on your profile icon and select YouTube Studio to access your content dashboard.
- Select Videos: In the left-hand menu, click on ‘Content’ to see all your uploaded videos.
- Download Each Video: Click on the options menu (three dots) for each video and select ‘Download’.
It’s not just about hitting delete and moving on; it’s about honoring the journey those videos represent. After downloading, you can save them on an external hard drive or a cloud service, ensuring those memories don’t just vanish. Imagine a digital scrapbook, carefully preserved to look back on someday! Not to mention, you might find those old videos can serve as inspiration for new projects or ideas. It’s like having a time capsule right in your pocket!
What to Consider Before Hitting that Delete Button
Before you rush to wipe that video off your YouTube channel, take a moment to reflect. Think about the impact that video has had on your audience. Did it spark some genuine discussions? Did it share a slice of your creativity or passion? Deleting a video isn’t just about clearing your content; it’s like erasing a part of your online story. Remember, what might feel like a flop to you could be someone’s favorite. So, ask yourself: are you sure you want to close the chapter on this particular piece of content? Consider the feedback you’ve received, how many views it garnered, and whether it aligns with your overall brand. These factors can weigh heavily on your decision.
Next, think about the long-term consequences. Deleting a video might seem like an easy fix, but it can affect your channel’s analytics and overall growth in unexpected ways. For instance, if that video enjoyed decent watch time, it contributed to your channel’s performance metrics. Instead of deleting, perhaps you could unlist or private the video if it’s deeply troubling you. This way, you preserve your channel health while also keeping the option open to revisit it down the line. It’s like putting a book back on a shelf instead of tossing it in the trash—you never know when you might want to refer to it again! Here’s a quick table to summarize your options:
| Option | Effect on Channel | Future Consideration |
|---|---|---|
| Delete | Reduces total content | Permanently lost |
| Unlist | Content remains accessible via link | Can be made public again |
| Private | Only visible to you | Complete control over visibility |
To Wrap It Up
So there you have it! Deleting your YouTube videos doesn’t have to be as daunting as it sounds. Think of it like cleaning out your digital closet—sometimes, you just need to make room for the fresh and funky. Whether you’re looking to tidy up an old channel or just honing in on your best content, you now have the tools to wave goodbye to unwanted uploads without breaking a sweat.
Remember, it’s all about curating your online presence and showcasing what truly matters to you. So go ahead, give those videos the boot if they no longer fit your vibe. And should you ever find yourself stuck along the way, you know where to turn for guidance. Happy deleting, and may your channel shine brighter than ever! 🌟