Sure! Here’s an engaging introduction to your article:
Ready to take your culinary skills to the next level? Mastering the art of broiling in your electric oven might just be the secret weapon you’ve been missing in your kitchen arsenal! Picture this: perfectly melted cheese bubbling on top of your lasagna, juicy steaks kissed by intense heat, and veggies caramelized to perfection, all thanks to that little broiler setting on your oven. But let’s face it, broiling can feel a bit daunting if you’re not familiar with the ins and outs. That’s where the treasure trove of YouTube tutorials comes in! These bite-sized clips can transform you from a broiling novice to a kitchen pro in no time. So, grab your apron, set up your device, and let’s dive into the world of broiling—where hot meets delicious!
Unlocking the Secrets of Broiling: Understanding Your Electric Ovens Settings
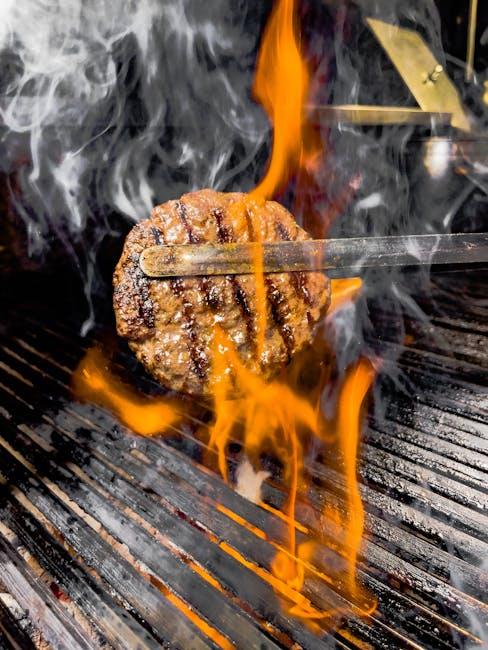
Understanding the broiling settings on your electric oven can be like discovering a hidden treasure. Think of broiling as the reverse grilling—you’re cooking from above, rather than below. It’s time to unleash your inner chef with some key insights! First, it’s important to know that broiling typically uses high, direct heat. This means your oven’s top element will work super hard to get your food sizzling. To really master this cooking method, keep these tips in mind:
- Preheat the broiler: Allow your oven to heat up for about 5-10 minutes before placing your food inside.
- Adjust the rack: Position your food at the right distance from the heating element. Closer for browning and caramelizing; further away for gentle cooking.
- Keep an eye on it: Broiling can go from perfect to burnt faster than you can say “dinner’s ready!”
Now, let’s break down the settings you’ll often see on your electric oven. Most will have options like “Broil High” or “Broil Low.” High is your go-to for quick-cooking thin cuts of meat or melting cheese, while Low can give larger pieces a nice finish without turning them into charcoal. Here’s a quick overview:
| Broil Setting | Best For |
|---|---|
| High | Fish, steak, vegetables |
| Low | Chicken, casseroles, thick cuts of meat |
With these techniques in your back pocket, you’ll be well on your way to broiling like a pro! So, preheat that broiler, experiment with settings, and watch your meals transform into delicious, golden-brown masterpieces.
Essential Tools and Ingredients for Perfectly Broiled Dishes
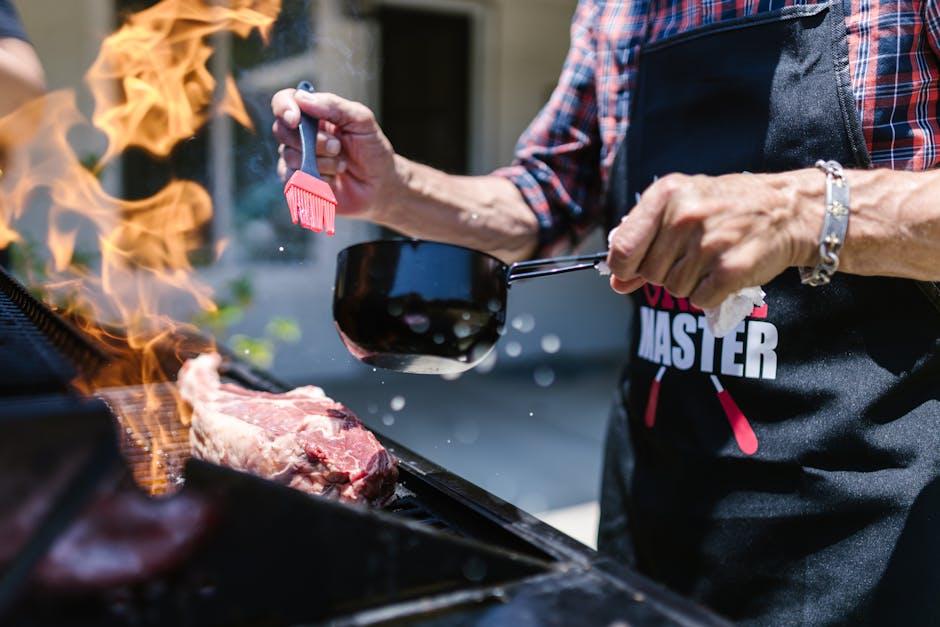
When it comes to achieving that perfect broil, having the right tools and ingredients is crucial. A good start is your electric oven with a reliable broiler setting. Make sure it can reach high temperatures efficiently. You’ll also want a broiling pan, which allows fat to drip away from your food, preventing it from steaming. Pair that with a sturdy pair of oven mitts to handle those hot trays like a pro! Don’t forget a meat thermometer—this little gadget ensures your dishes are perfectly cooked without having to guess!
Now, let’s talk ingredients! The magic truly happens when you marinate or season your proteins and veggies. Essential ingredients for a broil include olive oil for moisture, your favorite herbs and spices to pack in flavor, and a sprinkle of salt to enhance everything. Some go-to broiling options are chicken thighs, shrimp, and a mix of seasonal vegetables. If you’re feeling adventurous, try a citrus glaze or a balsamic reduction as a topping. It’ll take your dishes from good to absolutely scrumptious!
Mastering Technique: Tips and Tricks for Even Cooking
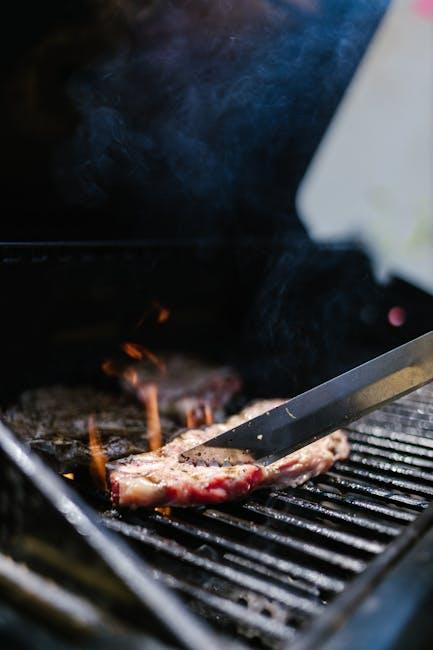
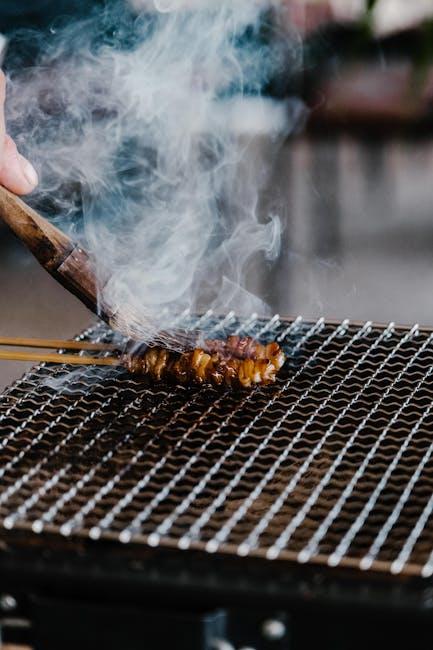
Getting the hang of broiling in your electric oven can feel like learning a new dance—one misstep, and you could end up burned. First, ensure you’re using the right rack position. Most electric ovens have a broiler compartment that operates at high heat. Place your dish about 4 to 6 inches from the heat source for perfect results. Remember, patience is key! Keep an eye on your food and flip it halfway through to achieve that deliciously golden crust on both sides. Want to spice up your technique? Try marinating your meats and veggies ahead of time for an explosion of flavor that takes your dish to the next level!
It’s all about knowing your oven like the back of your hand. Experiment with different cooking times—broiling can range from a quick 5 minutes for thin slices of fish to a solid 20 for dense cuts like steak. Use this handy table to gauge the right timing:
| Food Type | Cook Time (Minutes) | Ideal Internal Temp (°F) |
|---|---|---|
| Chicken Thighs | 15-20 | 165 |
| Steak (1 inch) | 8-10 (flip halfway) | 145 |
| Vegetables | 10-15 | N/A |
Make sure to keep your oven door slightly ajar when broiling; this prevents overheating and ensures even cooking. If you’re aiming for that crispy top, a sprinkle of cheese halfway through can create an irresistible layer of goodness. Just remember, broiling is about quick heat and vigilance! Now you’re ready to transform your meals from mundane to magnificent with just a few tweaks!
Exploring Flavor: Marinades and Seasonings to Elevate Your Broiling Game
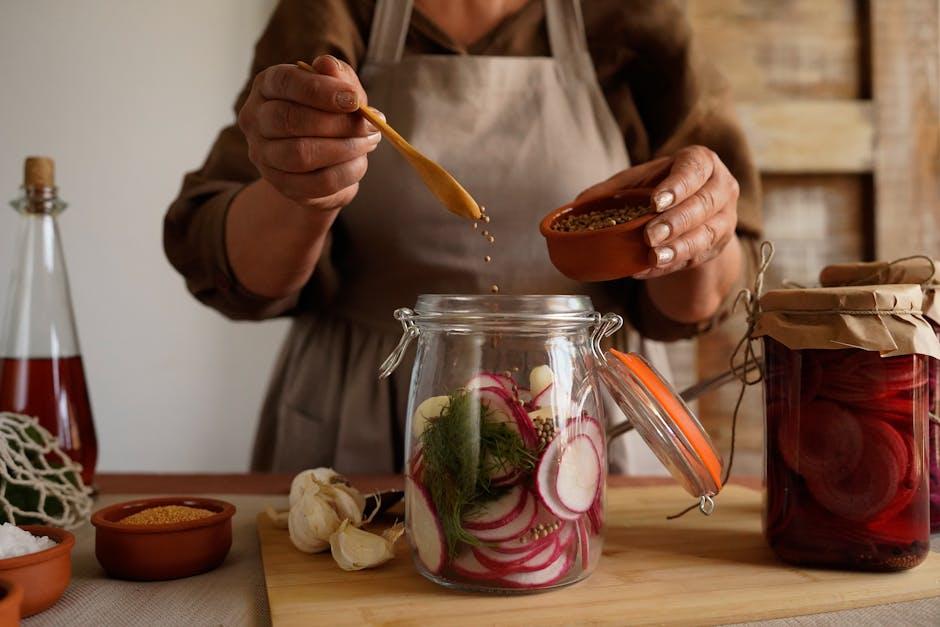
When it comes to broiling in your electric oven, the right marination and seasoning can transform an average meal into a flavor explosion. Think of marinades as the magic potion that infuses flavor into your meats and veggies. A classic combo might involve olive oil, lemon juice, and fresh herbs. This not only tenderizes but also enhances that natural taste. Consider also the zest of soy sauce or the kick from hot sauces—these can add depth that makes your dish sing. Here’s a quick recipe to try: mix 1/4 cup of soy sauce, 2 tablespoons of honey, 1 tablespoon of ginger, and 2 cloves of minced garlic for a savory-sweet marinade that pairs perfectly with chicken or even grilled tofu!
Seasoning is another powerful ally in your broiling journey. While marinades work their magic, a good seasoning can pump up the volume on your dish without masking its core flavors. Don’t shy away from experimenting! Here’s a simple lineup to keep in your pantry: smoked paprika, garlic powder, black pepper, and sea salt. These sprinkle-able friends can elevate everything from veggies to fish! For a quick reference, check out the table below for simple seasoning blends you can whip up in no time:
| Blend | Ingredients |
|---|---|
| Italian Seasoning | Oregano, basil, thyme, rosemary |
| Spicy Mix | Cayenne, chili powder, cumin |
| Sweet Heat | Cinnamon, paprika, brown sugar |
| Herb Delight | Parsley, dill, garlic powder |
The Conclusion
So there you have it, folks—mastering the art of broiling in your electric oven doesn’t have to feel like climbing Mount Everest. With the right techniques, a sprinkle of patience, and the help of some excellent YouTube tutorials, you’ll be on your way to achieving that perfectly caramelized crust on your favorite dishes. Imagine pulling out a tray of sumptuous, bubbling cheese or perfectly charred veggies and impressing your family and friends.
Whether you’re a kitchen newbie or a seasoned pro looking to refine your skills, this guide will help you channel your inner chef. So why not pop into the kitchen, fire up that broiler, and start experimenting? Remember, every great cook started somewhere—with a little passion and a lot of practice, you can turn your electric oven into the heart of culinary excellence. Happy broiling, and don’t forget to share your delicious creations! Who knows, maybe you’ll inspire someone else along the way. 🍽️✨