Hey there, future livestream star! 🌟 If you’ve ever pondered the idea of connecting with a global audience in real-time, then buckle up because we’re diving headfirst into the electrifying world of YouTube livestreaming! Imagine sitting in your living room, just you and your camera, but suddenly, you’re not alone—there’s an army of viewers tuning in, eager to chat, cheer, and engage with you. Sounds exhilarating, right?
In this friendly guide, we’re going to break down the nuts and bolts of going live on YouTube. Whether you’re a novice wanting to share your quirky gaming tips or a seasoned pro aiming to host a virtual cooking show, livestreaming can sprinkle a little magic on your content game. We’ll cover everything from setting up your channel to attracting your very first viewers, all while keeping things light and fun. So grab your favorite beverage, settle in, and let’s get ready to hit that “Go Live” button together! Who knows? Your future fans might just be a click away! 🎥✨
The Exciting World of YouTube Livestreaming Unveiled
Picture this: You’re sitting at home, and suddenly you get the urge to share those hilarious stories of your cat or that incredible new recipe you just mastered. Enter YouTube livestreaming—a dynamic way to connect with your audience in real-time! It’s like hosting a virtual hangout where your viewers can jump in, chat, and interact with you, transforming the traditional one-way street of video content into a vibrant conversation. Think of it as your very own show where you can be the star, and your viewers hold the remote control! How awesome is that?
To kick off your livestreaming adventure, here are a few key elements to keep in mind:
- Engagement: Encourage your viewers to comment and ask questions. Their participation is what makes the experience lively!
- Consistency: Establish a schedule. Whether it’s weekly or monthly, consistency helps build anticipation among your audience.
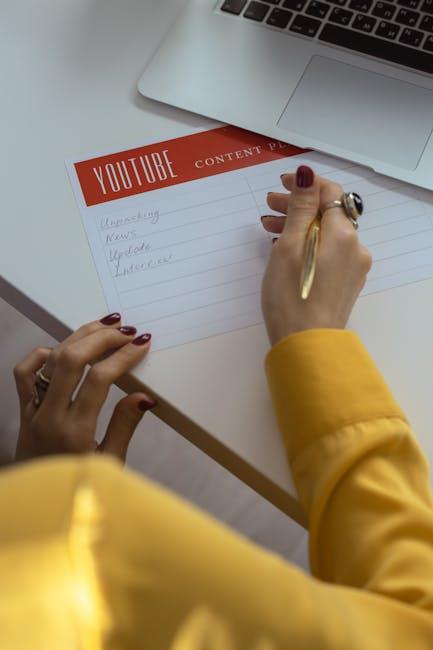
- Content Planning: Have a rough idea of your topics. Think of it as preparing a meal—ingredients matter!
| Platform Feature | Benefit |
|---|---|
| Real-time chat | Instant feedback from your audience |
| Stream analytics | Track viewer engagement and preferences |
| Customizable streams | Make it uniquely yours with overlays and graphics |
Getting Set Up: Essential Gear and Tools for a Seamless Stream
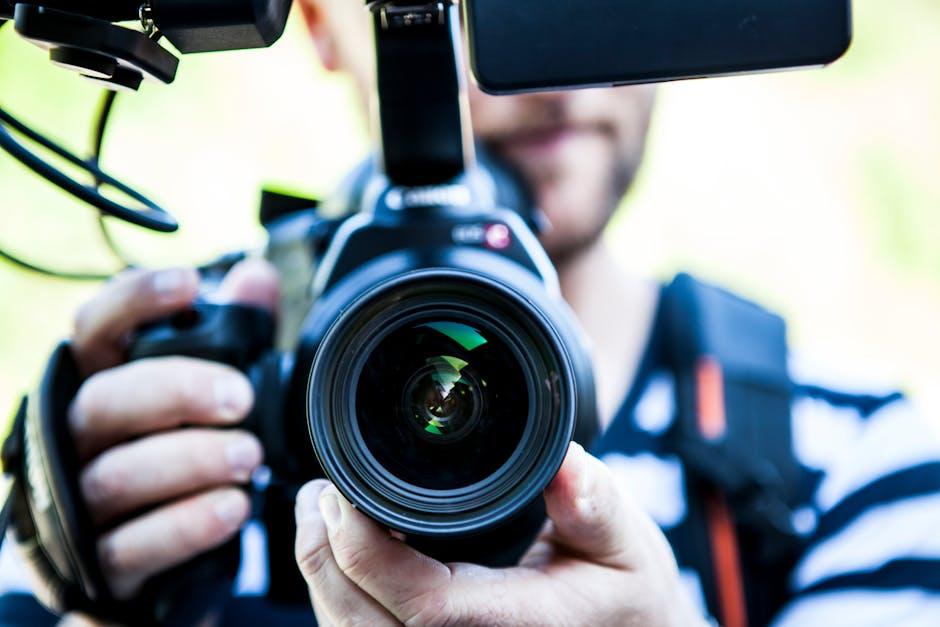
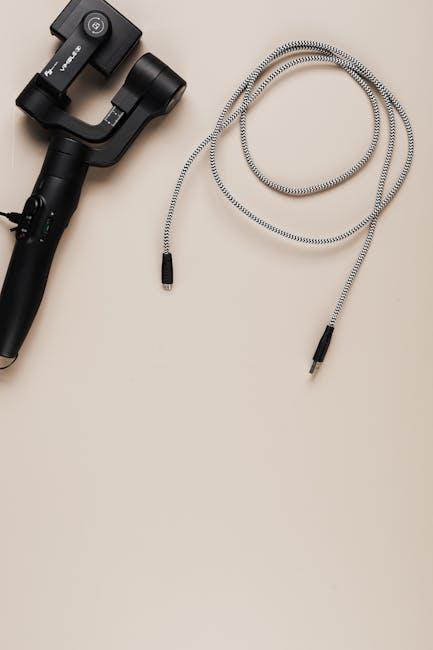
When it comes to making your livestream shine, having the right gear can make all the difference. Think of your streaming setup as a recipe—the more quality ingredients you have, the better the dish! You’ll need a good quality camera that captures clear video; options like a DSLR or a high-end webcam can do wonders. Pair that with a decent microphone to ensure your audience can hear every word you say; sound issues can really ruin a stream! Adding in lighting equipment can brighten your space and make you look polished, while streaming software—like OBS or Streamlabs—will help you mix all these elements together seamlessly.
Now, let’s talk about the extras—those little touches that turn a good stream into a great one. A green screen can give your visuals that professional flair, allowing you to change your background to whatever fits your vibe. And don’t underestimate the power of stream overlays! They provide your audience with information about who you are, what you’re up to, and even interact with chat! To keep everything organized and just in case, consider investing in a backup hard drive to save all your precious streams. You’re not just building a setup; you’re creating an experience people will want to tune into repeatedly!
| Essential Gear | Purpose |
|---|---|
| Good Quality Camera | Captures high-resolution video |
| Decent Microphone | Ensures clear audio |
| Lighting Equipment | Improves video quality |
| Streaming Software | Merges video and audio seamlessly |
| Green Screen | Enhances background visuals |
| Backup Hard Drive | Stores past streams safely |
Crafting Your Content: Engaging Ideas to Keep Viewers Hooked
When diving into the world of livestreaming on YouTube, creativity is your best friend! Imagine your stream as a big, vibrant party where everyone is invited to join in on the fun. To keep your viewers engaged and coming back for more, consider incorporating interactive elements like live polls or Q&A sessions. This not only sparks conversations but also makes your audience feel valued and part of the action. Here are a few engaging ideas to spice up your livestream:
- Theme Days: Pick a specific theme for each livestream; it could be anything from ‘Throwback Thursdays’ to ‘Fan Art Frenzy.’
- Challenges: Host fun challenges that viewers can participate in, encouraging them to submit their entries live.
- Guest Appearances: Bring on friends or fellow creators for interviews or collaborative fun—two (or more) heads are better than one!
Don’t forget, storytelling is a powerful tool! Share personal anecdotes or even behind-the-scenes glimpses into your life or creative process. This forms a connection with your viewers and keeps them hooked. Think of it like seasoning a dish; the right ingredients can turn an ordinary meal into something memorable. Here’s a quick table to showcase some themes and ideas to inspire your next stream:
| Theme | Interactive Idea |
|---|---|
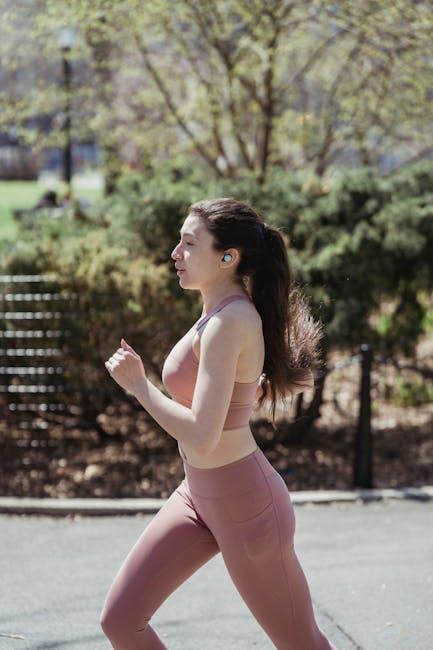
| Wellness Wednesday | Live meditation session with viewer participation |
| Fan Friday | Showcase fan art and discuss submissions live |
| Gaming Night | Invite viewers to join your game in real-time |

Going Live with Confidence: Tips for a Smooth Broadcast Experience
When it comes to going live on YouTube, feeling confident is key! You want to engage your audience without seeming like a deer caught in headlights. One effective way to boost your confidence is to practice, practice, practice. Run through your content beforehand, rehearse your key talking points, and even do a few trial broadcasts to familiarize yourself with the streaming setup. Think of it like getting ready for a big presentation at school; the more prepared you are, the more relaxed you’ll feel. Another game-changer is to create a script or an outline. This gives you a roadmap to follow during the broadcast, helping prevent those awkward “um” moments that can pop up when you’re live. Here are a few other tips to keep in mind:
- Know Your Audience: Tailor your content to what your viewers want to see.
- Stellar Setup: Ensure your tech gear is ready. A good quality camera and microphone can make a big difference.
- Engage with Comments: Interacting with viewers is crucial. Acknowledge their comments; it makes them feel valued!
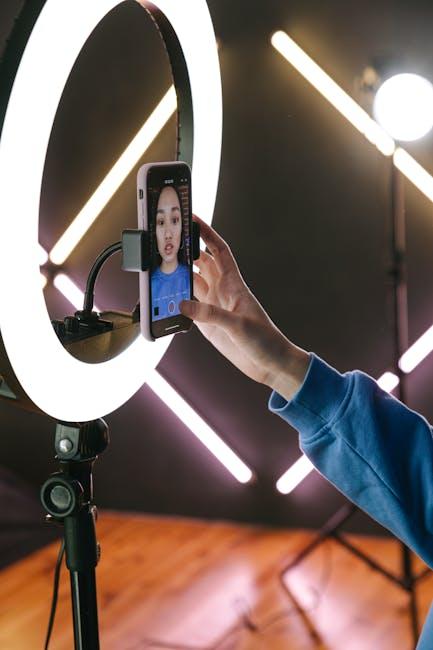
Another essential aspect is managing the environment where you’ll be broadcasting. Make sure you eliminate distractions — close that door, find a quiet room, and set up a clean backdrop. Imagine you’re hosting a dinner party; you wouldn’t want guests distracted by clutter or noise! Lighting is also crucial. Natural light works wonders, or invest in a ring light if you’re streaming late at night. Here’s a simple table to help you visualize your setup:
| Element | Recommendation |
|---|---|
| Camera | 1080p HD Webcam |
| Microphone | USB Condenser Microphone |
| Lighting | Softbox or Ring Light |
| Backdrop | Neutral Color or Green Screen |
By focusing on your setup and engaging strategies, you’ll transform your live streams from nerve-wracking events into fun and confident experiences. So, get ready, hit that “go live” button, and have a blast bringing your content to life!
Future Outlook
And there you have it! You’re all set to unleash your inner live streamer and conquer those YouTube waves with confidence. Whether you’re planning to host a fun Q&A session, showcase your creative talents, or just hang out and vibe with your audience, remember that it’s all about authenticity and connection.
So, grab that camera, hit that ‘Go Live’ button, and don’t forget to have a blast while doing it! There’s something magical about sharing moments in real-time, and trust me, your viewers will feel that energy. And if things don’t go perfectly at first – hey, it’s all part of the adventure! Just think of it like riding a bike; you might wobble a bit at first, but with practice, you’ll be zooming along in no time.
Thank you for joining me on this journey into the world of YouTube live streaming. I can’t wait to see what you create. Now, go ahead and make those connections – your audience is waiting! Happy streaming! 🎥✨