Are you ready to dive into the world of YouTube like never before? Imagine having the power to turn your long videos into bite-sized, shareable clips that keep your audience hooked and craving more. Whether you’re a content creator looking to enhance your channel or just want to showcase your favorite moments with friends, mastering the art of snipping clips is the key. It’s not as daunting as it sounds! In this simple guide, we’ll walk through the essential steps to make your editing process a breeze, transforming your raw footage into engaging snippets that shine. Let’s get snipping and make your content pop!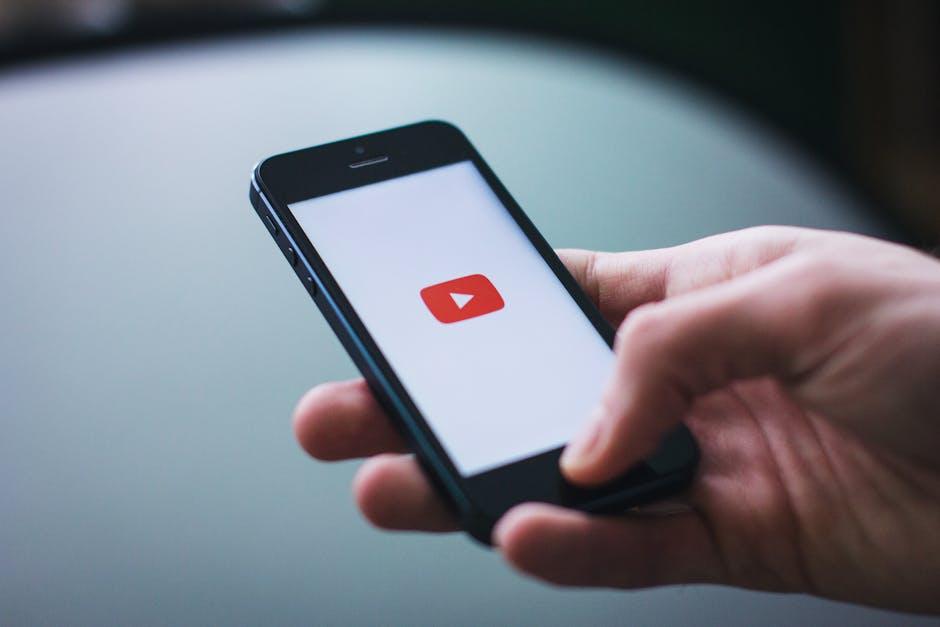
Unlocking the Art of Snipping: The Tools You Need for Seamless Editing
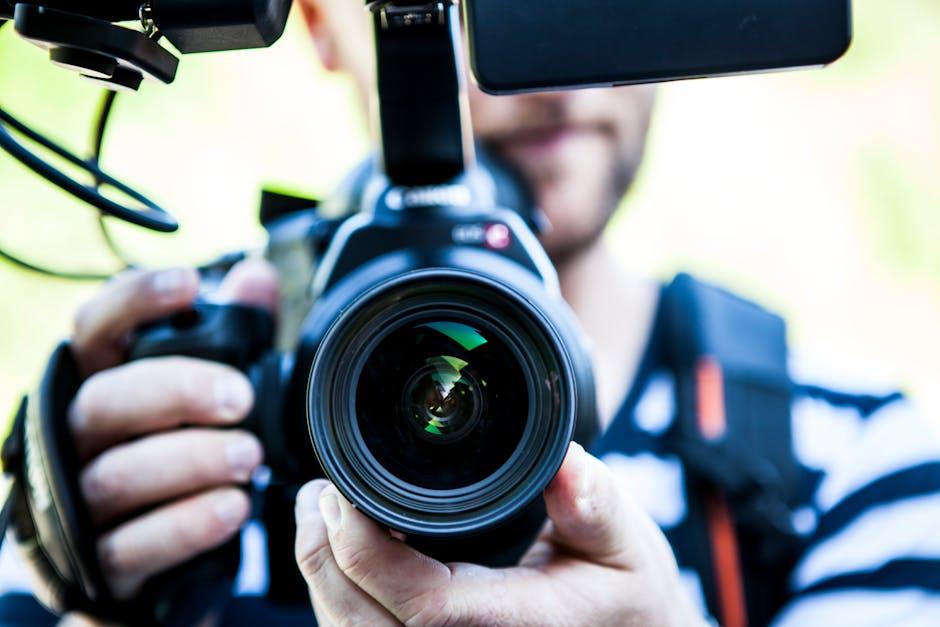
When it comes to snipping your YouTube clips with finesse, having the right tools in your toolkit is crucial. From beginner-friendly options to advanced software, there’s a whole universe out there waiting for you. Here’s a quick rundown of essentials that can transform your editing experience:
- Screen Capture Software: Programs like OBS Studio or Camtasia let you grab exactly what you want from your screen, which can be powerful for creating tutorials or capturing gameplay.
- Editing Software: Apps such as Adobe Premiere Pro or Final Cut Pro are the Ferrari of video editing—flexible and robust for professionals. If you’re looking for something lighter, try apps like iMovie or Shotcut that are easy to use yet pack a punch.
- Snipping Tools: Whether it’s Snagit for screenshots or simple tools like Windows Snipping Tool, being able to capture and annotate is a game changer for planning your clips.
Besides these high-tech solutions, don’t forget the importance of having the right accessories. Quality headphones help you catch subtle audio cues, ensuring your snips sound just as good as they look. And if you’re serious about elevating your editing, consider a dedicated video editing keyboard to streamline your workflow—it’s like having a trusted sidekick by your side! Here’s a quick comparison of some popular editing tools:
| Tool | Best For | Price Range |
|---|---|---|
| OBS Studio | Screen recording | Free |
| Adobe Premiere Pro | Professional editing | $20.99/month |
| iMovie | Beginners | Free (Apple devices) |

Capturing Gold: How to Identify and Isolate Your Best Moments
Finding those pure gems in your videos can feel like panning for gold in a river—it’s all about patience and a keen eye. When you’re reviewing your footage, look for moments that truly resonate, whether it’s a funny quip, an unexpected surprise, or a significant insight. Here are some indicators to help you spot that treasure:
- High Energy Levels: Moments where you or your subjects are particularly animated or enthusiastic can capture viewer attention.
- Emotional Impact: Clips that evoke strong feelings, whether laughter or inspiration, often stick with your audience.
- Unique Angles: Sometimes, it’s the unconventional shots or perspectives that tell the story best.
- Clear Messaging: Look for moments that convey your core message clearly; these snippets can be powerful standalone clips.
Once you’ve identified those standout moments, it’s time to isolate them. Think of this as sculpting a masterpiece out of marble—getting rid of excess to reveal the beauty underneath. Use editing software to cut out distractions surrounding your chosen clips, focusing on tight transitions and smooth flow. And don’t shy away from layering sound effects or music to enhance the mood. Here’s a simple breakdown of useful editing techniques:
| Technique | Purpose |
|---|---|
| Trimming | Eliminates unnecessary parts to keep the clip concise. |
| Cutting | Removes awkward pauses or mistakes, boosting the clip’s impact. |
| Transitions | Adds flair and smoothness between clips. |

Polishing Your Clips: Techniques for Enhanced Engagement and Discovery
When it comes to enhancing your clips for both engagement and discovery, you’ve got to think like a curator. Treat each clip like a precious gem, and polish it until it shines! Start by choosing the right thumbnail, as it’s your first impression—make it eye-catching and relevant. Bold colors, engaging facial expressions, and easy-to-read text can work wonders. And don’t forget about SEO; use keywords in your titles and descriptions that reflect what viewers are searching for. Sprinkle in some hashtags too; they help widen your net and reel in a broader audience.
Next up, focus on the content flow. No one likes a clip that drags on like a rainy day, right? Keep your pacing snappy and engaging. Here are some techniques to consider:
- Hook them early: Capture attention within the first few seconds.
- Engage through questions: Ask, “Have you ever…?” to draw viewers in.
- Call to Action (CTA): Include reminders to like, share, and subscribe.
And don’t shy away from using fun graphics or captions to emphasize key points. Changing up your visuals can create a dynamic viewing experience that keeps people glued to the screen. In the realm of video, being creative and relatable can be the shiny polish that transforms your clips into magnets for engagement.

Sharing Like a Pro: Strategies for Perfectly Timing Your Snipped Clips
Timing is everything when it comes to sharing snipped clips. You want to release your content when your audience is most likely to engage with it. Think of it like throwing a big party – you wouldn’t want to start when everyone’s still at work, right? Here are some strategies to nail that perfect timing:
- Know Your Audience: Analyze your viewers’ habits. Use tools like YouTube Analytics to pinpoint when they’re most active.
- Be Mindful of Time Zones: If your audience spans different regions, consider their time zones. A clip shared at the right moment can attract a wider crowd.
- Engage with Trends: Timing your clip release around popular trends or current events can skyrocket views. Don’t be afraid to ride the wave of what’s hot!
Once you’ve found the optimal time, it’s all about how you share those clips. Treat it like a sneak peek at a movie that everyone’s dying to see. You want to create buzz! Consider these tips for sharing:
- Social Media Blitz: Blast your clips on all your platforms, but tailor the message for each one. A catchy tweet works wonders!
- Engage in Conversations: Don’t just drop the link and disappear. Be available to chat, respond to comments, and keep the excitement alive!
- Schedule Wisely: Use scheduling tools to share clips when your audience is online, ensuring maximum visibility and engagement.
Final Thoughts
And there you have it! Your journey to mastering YouTube and snipping those clips like a pro is just a few clicks away. Isn’t it wild how a bit of editing magic can transform your raw footage into captivating content? It’s like turning a plain old apple into a delicious pie—with just the right slices and ingredient mix!
Remember, practice makes perfect, so don’t be shy about experimenting with your snippets. Each video you create is not just a chance to showcase your skills but also a little piece of yourself that you’re sharing with the world. Embrace the process, learn from your mistakes, and keep refining your craft.
So grab those scissors—figuratively speaking, of course—and start snipping away! The YouTube universe is waiting for your unique voice and vision. Go on, make those clips sing! Happy editing!