Ready to jazz up your YouTube video with some eye-catching graphics or polished edits? If you’ve ever found yourself staring at the Canva interface, wondering how to get your video into those creative spaces, you’re not alone! The good news is that uploading your YouTube video into Canva is as easy as pie—if pie were made from a simple recipe instead of a baking fiasco. In this guide, we’ll walk you through the straightforward steps that’ll have your video integrated with stunning visuals and designs in no time. So grab a comfy seat and let’s dive into the art of making your content pop!
Transforming Your YouTube Video into a Canva Gem
Taking your YouTube videos and transforming them into stunning designs with Canva is easier than you might think. First, log into Canva and head straight to the video creation section. Here, you can select a template that fits the vibe of your video. Think of it as choosing the perfect outfit for an event—you want it to pop and attract attention. Once you’ve picked a template, you’ll want to bring your YouTube video into the mix. Simply click on the “Uploads” tab and grab your YouTube link. Canva will work its magic, extracting your video so you can start editing right away.
Now comes the fun part—adding your own flair! You can integrate engaging elements like text overlays, animations, and background music to bring your video to life. Canva provides a treasure trove of free assets. But if you’re feeling particularly adventurous, consider using animations to create a dynamic feel that captures your audience’s interest. Here’s a quick guide on what you can do:
- Add music – Choose from Canva’s library or upload your own.
- Incorporate text - Use catchy titles or quotes to emphasize key points.
- Animations – Make your elements dance on screen for a lively effect.
Remember, every little detail counts! A well-edited video can set the right mood and encourage viewers to click that subscribe button. Your YouTube video doesn’t just have to be a standalone piece—it can become a multi-dimensional experience that truly resonates.
Mastering the Upload: Step-by-Step Made Simple
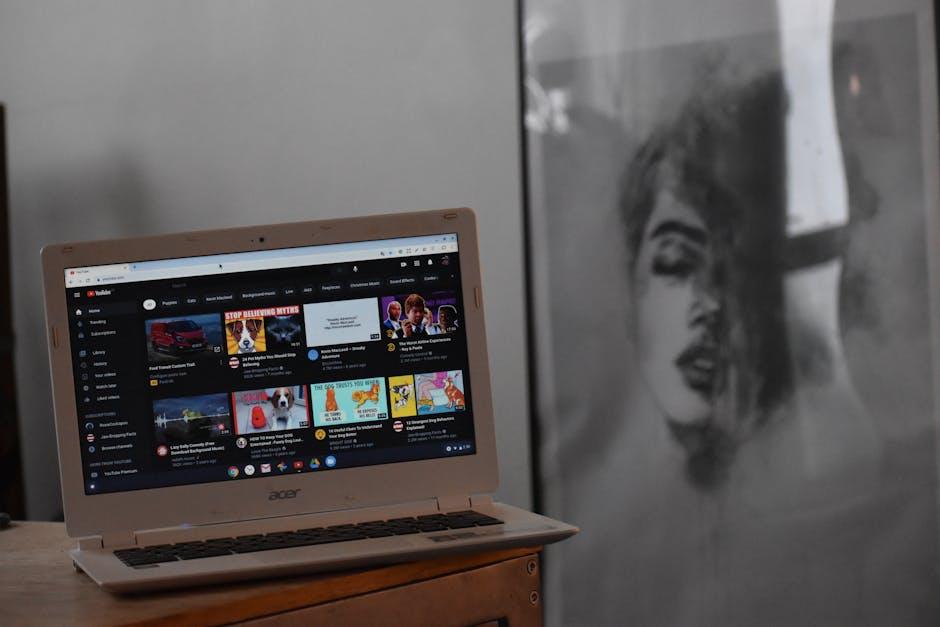
First things first, let’s get that YouTube video ready to roll into Canva. Begin by heading over to your YouTube Studio and locating the video you want to use. Once you’ve found it, click on the video to bring up its details. Under the video settings, grab the embed link or the direct link that appears in the share options. This is your golden ticket for the next phase! Just a heads up—make sure your video is set to public or unlisted to avoid any pesky access issues when uploading to Canva.
Now, pop into Canva and choose your desired template or design where your video will shine. In the editing panel, locate the “Uploads” option on the left. Click the Upload media button and paste that YouTube link right in. Canva does its magic and pulls in your video, ready for you to customize as you wish. Whether you’re adding cool graphics, text overlays, or music, you’re now equipped to bring that video to life and make it truly yours!
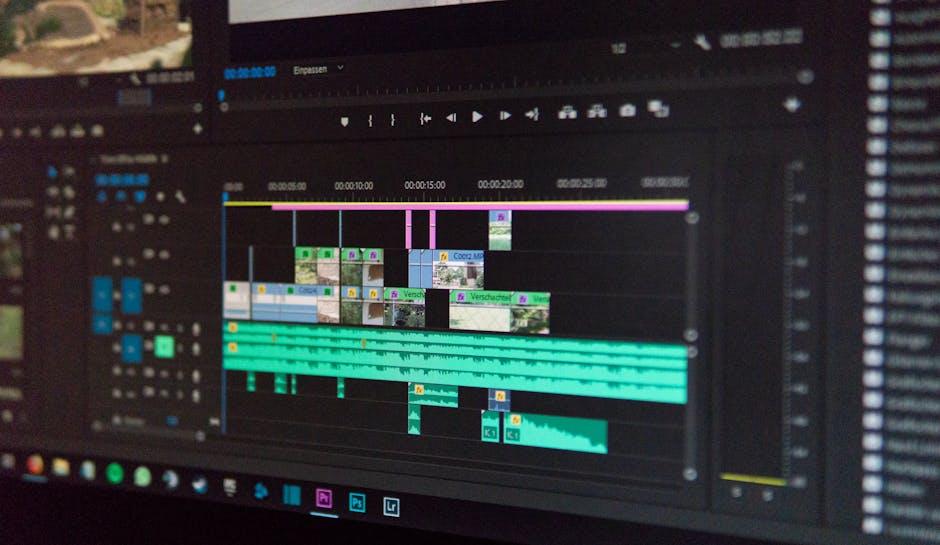
Polishing Your Video with Canvas Powerful Tools
Ready to elevate your YouTube videos? Canva’s powerful suite of tools is like a magic wand at your fingertips, allowing you to transform ordinary content into a masterpiece. With just a few clicks, you can add stunning visuals and eye-catching text, giving your video a polished finish that grabs attention. Get creative by using features like animated elements, transitions, and filters. Want to add your unique spin? Layer some illustrations or stock footage over your clips for that extra pop. Before you know it, your video will look professionally edited, even if you filmed it on your smartphone!
But let’s not stop there! A crucial part of this process is keeping your video organized and engaging. Use the options available for trimming clips, adjusting the speed, and adding music or voiceovers to set the right mood. Here’s a quick list of some tools you can play around with:
- Text Tools: Add titles and subtitles with customizable fonts.
- Audio Library: Explore a range of royalty-free music tracks.
- Image Enhancements: Apply filters, effects, and even stickers.
Double-check your layout with built-in grids and guides, so everything aligns perfectly. Once you’re satisfied, it’s just a matter of exporting your polished piece, ready to captivate your audience. Whether you want to share tips, showcase adventures, or tell a story, Canva makes it all seamless and enjoyable!
Sharing Your Masterpiece: Seamlessly Get Your Video Online
Ready to showcase your creative genius? First things first, you need to have your video uploaded to YouTube. Once that’s tucked away, hop on over to Canva, where you can transform your video into a visual feast! Just click the “Uploads” tab on the left-hand side, and you’ll find the option for importing videos. Simply drag and drop your YouTube video link, or if you’re feeling fancy, use the embed feature to integrate it directly into your design. Imagine your video blending seamlessly with your graphics—it’s like peanut butter meeting jelly!
But wait, it gets even easier! Before you hit that publish button, you might want to spruce things up a bit. Think of adding text overlays, perhaps some catchy captions or creative transitions that dance with your visuals. Here’s a quick list of tips to amp up your editing game:
- Choose engaging thumbnails: Make a first impression that hooks viewers right away.
- Incorporate sound effects: Add a pinch of audio magic to keep your audience vibing.
- Utilize animations: Give your images and text some life, making them pop right off the screen!
Once you’re satisfied with your masterpiece, simply hit that download button, select your preferred format, and voila! Share your creation with the world in a snap. It’s never been easier to put your vision out there!
The Conclusion
And there you have it—uploading your YouTube video into Canva is a piece of cake! Think of it as adding the cherry on top of your content sundae. With just a few simple steps, you’ve transformed your video into a visually stunning creation that’s ready to dazzle your audience. Whether you’re sprucing up your social media feeds or crafting eye-catching presentations, Canva’s tools give your video the polish it deserves.
So, what are you waiting for? Dive in, unleash your creativity, and make those videos pop! Remember, every masterpiece starts with a single click. If you’ve got questions or want to share your Canva creations, drop a comment below. I’d love to see what you’re cooking up! Happy designing! 🎨✨