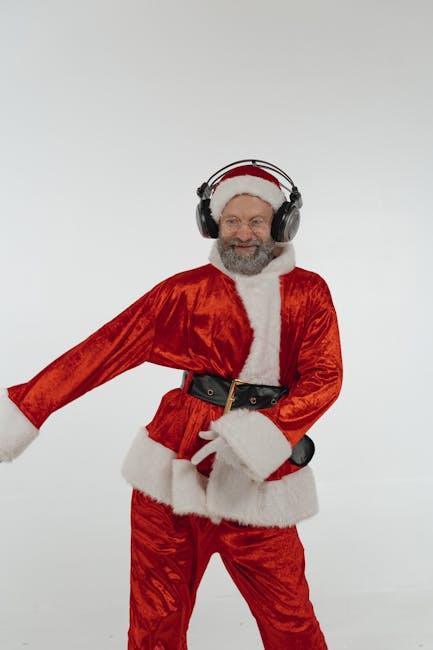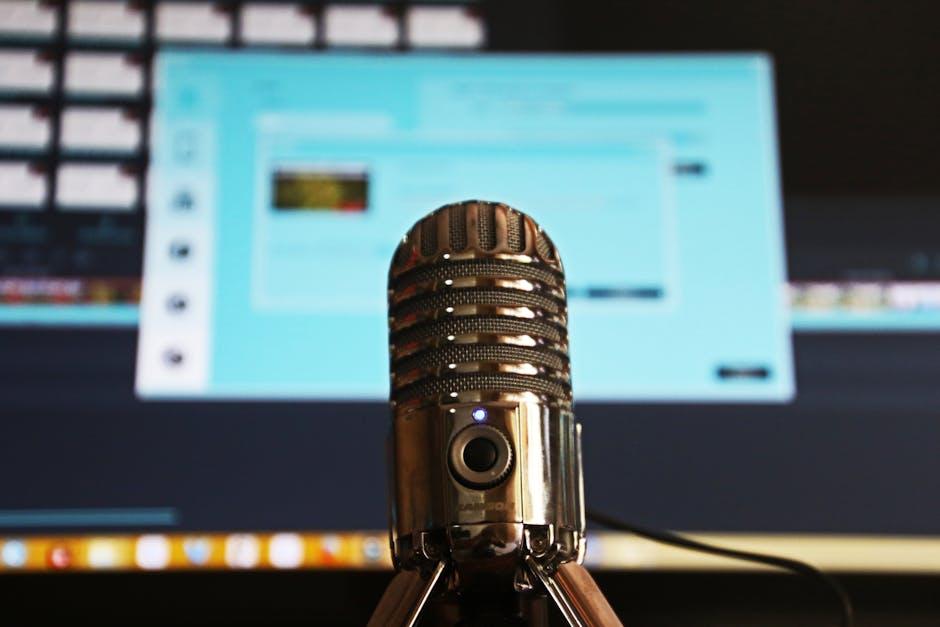
Imagine you’re diving into a YouTube video and the audio hits you like a perfect wave—crisp, clear, and immersive. You’re hooked! That’s the magic of sound effects, and guess what? YouTubers know a thing or two about making their audio pop. They’ve got their secret weapons up their sleeves: tools and tricks that not only enhance their storytelling but also keep their audience coming back for more. Whether it’s that jaw-dropping echo that makes a voiceover stand out or a funky soundbite that adds a splash of humor, sound can transform an ordinary video into an extraordinary experience. Ready to unlock the symphony behind those viral hits? Let’s dive into the top effects that YouTube creators swear by to make their soundscapes unforgettable!
The Magic of Reverb: Creating Depth and Ambiance in Your Videos
When diving into the world of audio for your videos, integrating reverb is like sprinkling some magic dust that transforms a flat soundstage into an immersive experience. Think of it as putting on a cozy pair of headphones that not only let you hear the music but feel it resonating within the walls of an echo-filled hall. By adding reverb to your audio, you’re giving your viewers a sense of depth—it’s not just sound; it’s the atmosphere that pulls them into your narrative. The trick lies in balancing the effect to enhance without overwhelming, creating that sweet spot where the audio supports the visuals in a seamless dance.
So, how do you wield this powerful tool effectively? First off, consider using short reverb for vocals and dialogue to keep them crisp, while longer reverbs can give your ambient sounds that expansive feel. Here’s a quick look at some essentials to keep in mind:
- Room Size: Affects how spacious the sound feels.
- Decay Time: Determines how long the reverb lingers.
- Pre-Delay: Sets the space between the original sound and its echo.
| Tip | Effect |
|---|---|
| Use Light Reverb on Speech | Enhances clarity without drowning |
| Experiment with Different Settings | Find your unique vibe |
| Layer Reverbs for Texture | Creates a fuller sound |

Dynamic EQ: Sculpting Your Sound for Crystal Clear Clarity
Think of Dynamic EQ as your best friend during a sound session—kinda like having a stylist who knows just how to enhance your favorite features without going overboard. This nifty tool allows you to target specific frequencies and adjust them in real time. Imagine you’re creating the perfect blend of your voice and background music; you can boost that warmth in your vocals while keeping everything else balanced. It’s like sculpting a statue, where every chisel swipe reveals finer details. You get to carve out the muddiness, enhance clarity, and really let your personality shine through the mix. You’ll find that a little tweak here and there can transform a good sound into something absolutely stellar.
When you dive into Dynamic EQ, there are some essential tips to keep in mind that YouTubers swear by:
- Frequency Identification: Know your blueprints! Identifying problem frequencies before adjusting them can save you headaches down the line.
- Dynamic Control: Use this transformative feature to control how aggressively each frequency reacts. It’s like having a volume knob that only kicks in when things get too loud.
- Subtle Changes Matter: A little goes a long way—small adjustments can lead to significant overall improvement.
Check out the table below for a quick glance at what each frequency range typically influences:
| Frequency Range | Effect on Sound |
|---|---|
| 20Hz - 200Hz | Warmth and thickness, often connecting with bass sounds. |
| 200Hz – 1kHz | Body of instruments and vocals, crucial for richness. |
| 1kHz - 5kHz | Clarity and presence, where most vocal intelligibility lives. |
| 5kHz - 20kHz | Air and brilliance, adding sparkle and clarity to your mix. |

Crafting the Perfect Atmosphere with Ambient Effects
Creating the right vibe can make or break your video. Think of your sound as the secret sauce that elevates your content from bland to grand! It’s all about layering your audio with ambient effects that transform the whole experience. You want your audience to feel like they’re in a different world, right? Start by adding reverb to give depth, or try echoes that mimic the feel of a cozy coffee shop or hushed library. The key is to choose effects that resonate with the mood you’re aiming for—don’t just toss them in haphazardly!
Consider some of these popular ambient effects that can shift gears in a heartbeat:
- Ambient Pads: These smooth, lush soundscapes set the stage beautifully without overshadowing your narrative.
- Nature Sounds: Bird chirps or ocean waves evoke strong feelings of calm and connection.
- Background Noise: Subtle city sounds can bring a touch of realism, making your viewers feel like they’re literally in the scene.
Experiment with layering these elements—you’d be surprised how the right combination can draw viewers in, inviting them to stick around just to hear what happens next!

Compression Secrets: How to Enhance Your Audio without Losing Punch
To achieve that professional sound without sacrificing the dynamic feel of your audio, understanding compression is key. Think of compression as a skilled tightrope walker, balancing the loud and soft elements of your audio. You want to ensure the punchy parts of your track remain vibrant while the quieter sections fill in smoothly. Here are some tips to make your compression game strong:
- Attack and Release Settings: Adjust the attack time to let the initial transients through while squeezing the rest of the sound. The release time needs to be tuned to allow natural decay.
- Ratio Choices: A lower ratio can dynamically control peaks without sounding overly processed. Try a 2:1 or 3:1 for that polished feel without losing liveliness.
- Parallel Compression: Blend both compressed and uncompressed tracks to maintain fullness and energy. It’s like having your cake and eating it too!
Use a visual aid to keep track of your settings during the mix. Below is a handy guide that captures essential parameters:
| Parameter | Description |
|---|---|
| Threshold | Sets the level at which compression kicks in; play around to find that sweet spot. |
| Makeup Gain | Compensates for the volume loss caused by compression, ensuring balance. |
| Gain Reduction Meter | Monitor how much compression is occurring; keep it within a safe range to preserve energy. |

The Conclusion
And there you have it! We’ve cracked the code on the top sound effects that YouTubers can’t live without. Whether you’re looking to level up your game with crisp audio or just trying to find that perfect background score, these effects are about to become your new best friends. Mixing and matching to find your unique sound is part of the fun—think of it like cooking; a pinch of this and a dash of that can create something truly savory! So, what are you waiting for? Dive into these tools, experiment, and let your creativity flow! Remember, the right sound can elevate your content from good to unforgettable. Keep those headphones on, and happy creating!