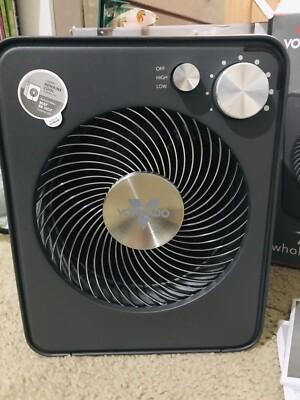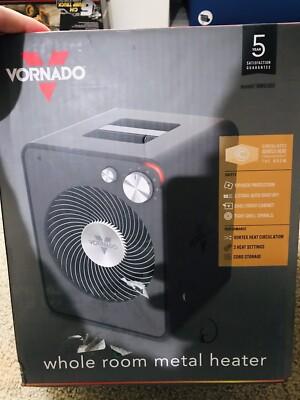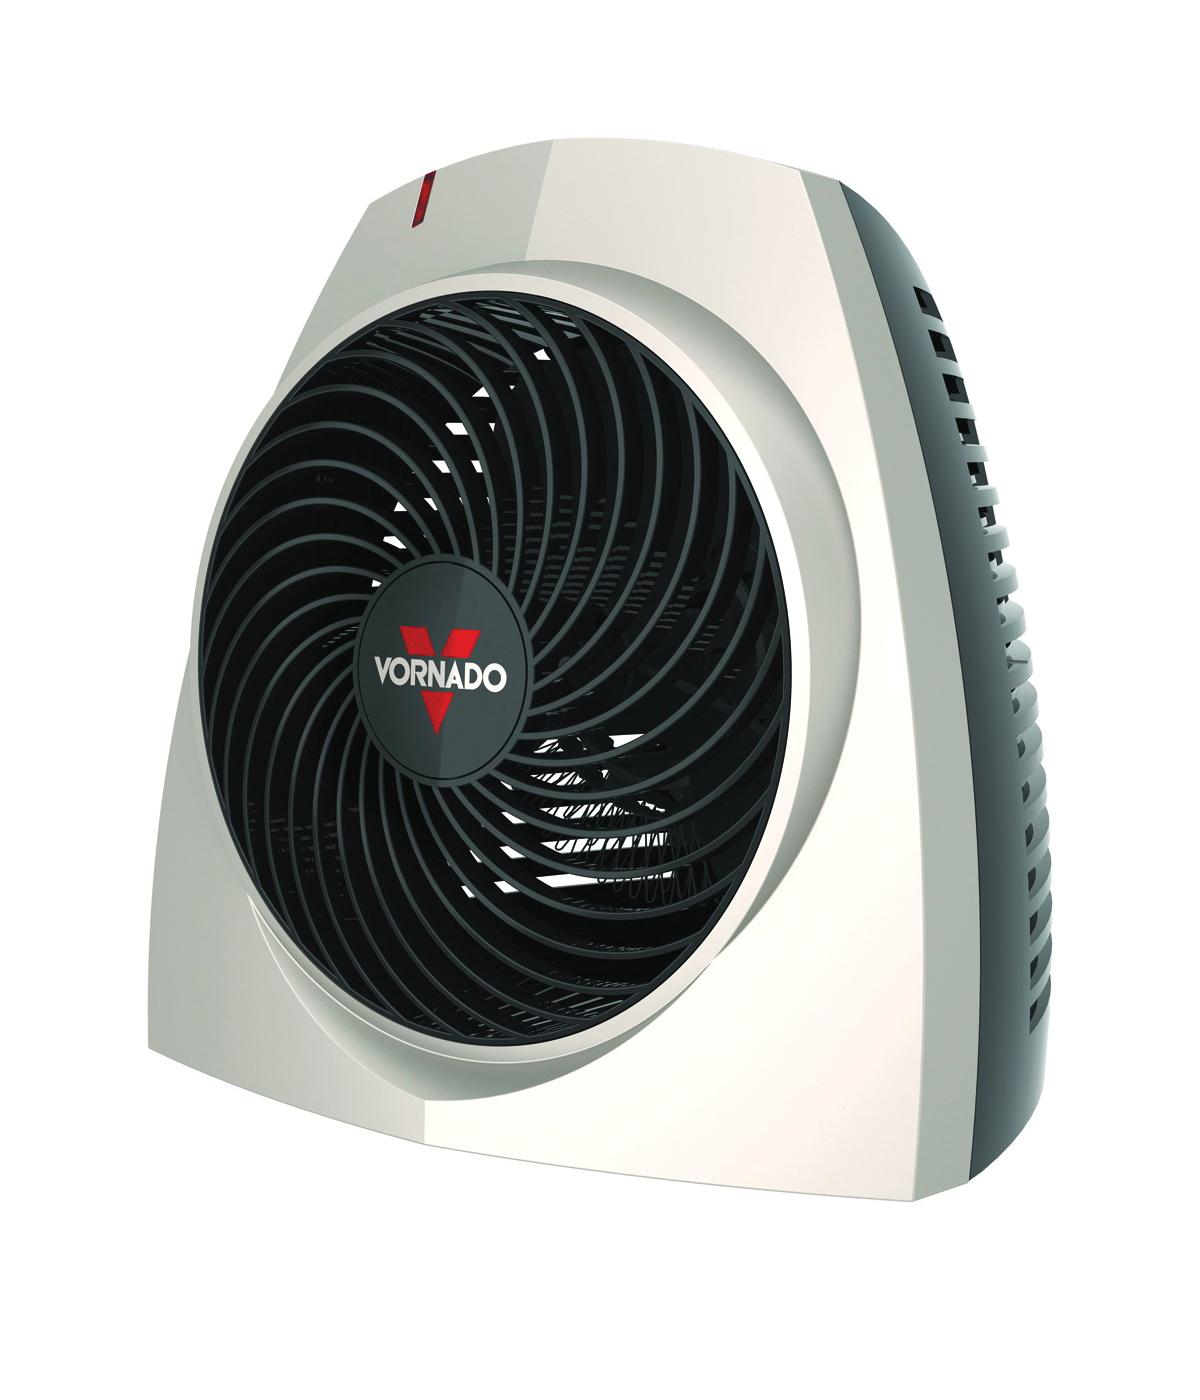
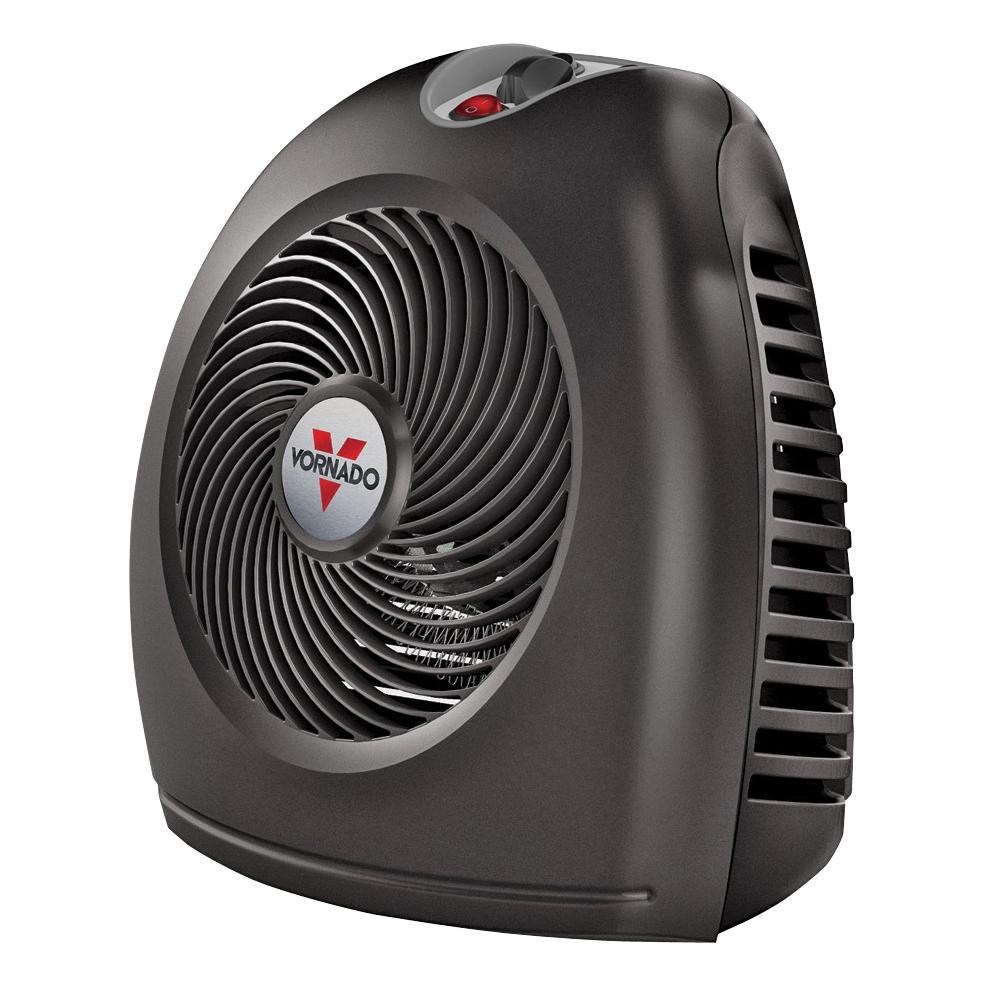
Have you ever found yourself staring at your Vornado EH1, pondering how such a compact yet powerful heater ticks? You’re not alone! Many of us appreciate its ability to deliver cozy warmth during frigid nights, but when it comes to understanding how it works—or even how to take it apart for a little TLC—things can get a bit hazy. Well, fear not! This guide is here to peel back the layers of the Vornado EH1 and walk you through the disassembly process in a way that feels like chatting with a friend over coffee. Whether you’re looking to clean it, troubleshoot an issue, or just satisfy your curiosity, let’s dive into the nuts and bolts of your trusty heater, turning confusion into clarity!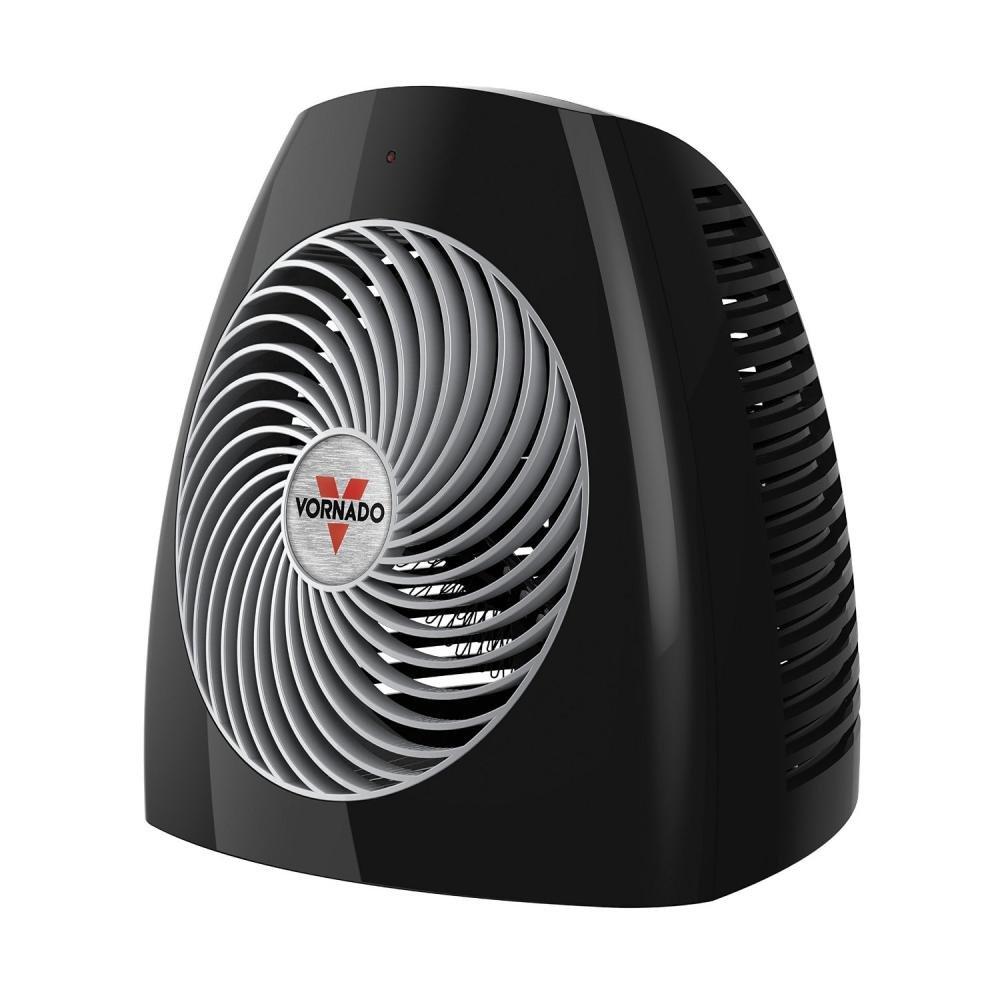
Understanding the Inner Workings of the Vornado EH1
When you take a closer look at the Vornado EH1, you quickly realize that it’s not just any ordinary heater; it’s a clever piece of engineering designed to efficiently circulate warmth throughout your space. The core of its functionality lies in its powerful vortex action, which mimics natural airflow. By drawing in cool air, the EH1 heats it and sends it back out in a controlled, spinning manner, distributing warmth evenly. This isn’t just hot air; it’s smart air. If you’re looking to dissect how this all comes together, think of it as a finely tuned orchestra, where each part plays a crucial role in delivering that cozy feeling we all crave during the colder months.
Getting into the nitty-gritty, the Vornado EH1 is composed of several key components that work in harmony. Here’s a quick look at what you’ll find under the hood:
- High-Performance Fan: This is where the magic begins, pulling air into the unit and pushing out the warm air with precision.
- Heating Element: This is the heart that generates heat, ensuring the air is warmed up efficiently before it exits the unit.
- Thermostat: Keeps things balanced by monitoring the room temperature and toggling the heater on and off as needed.
- Safety Features: Built-in mechanisms ensure that the heater doesn’t overheat, giving peace of mind while you enjoy the warmth.
To visualize the internal mechanics, take a look at the table below:
| Component | Function |
|---|---|
| Fan | Circulates air for even heating |
| Heating Element | Produces warmth |
| Thermostat | Regulates temperature |
| Safety Features | Prevents overheating |
Understanding these components not only sheds light on what makes the Vornado EH1 tick but also empowers you to be proactive about maintenance and troubleshooting. So, when you think of pulling it apart, remember, you’re diving into an intricate dance of airflow and warmth that keeps your space comfortable all winter long.
Essential Tools and Materials for a Smooth Disassembly
Getting ready to take apart your Vornado EH1? You’ll want to gather a few essential tools and materials that will make the process feel like a walk in the park instead of squaring off with a Rubik’s cube. Here’s what you need for that smooth disassembly:
- Phillips screwdriver: A trusty sidekick for those screws that love to hide.
- Flathead screwdriver: Helpful for prying things open gently without causing a ruckus.
- Pliers: Perfect for gripping and manipulating delicate parts.
- Soft cloth: Lay this down to protect your surfaces and catch any rogue screws that may escape.
- Small containers: Keep those screws and small parts organized so they don’t become the ultimate game of hide-and-seek.
Before you dive in, it’s wise to ensure that your workspace is well-lit and free from distractions—it’s like creating a Zen garden for your disassembly mission. Arranging your tools neatly can save you time and frustration. Here’s a quick tip: create a little table like this to track your screws and components as you remove them. It’ll help you remember where everything goes when it’s time to put things back together.
| Part | Status |
|---|---|
| Screws | Collected |
| Fan blade | Removed |
| Housing | Opened |

Step-by-Step Instructions for Safe and Effective Dismantling
Ready to take the plunge into disassembling your Vornado EH1? Just like peeling an onion, it’s all about getting to the core without shedding too many tears! Start by ensuring the unit is completely unplugged. Safety first, right? Lay out your tools within reach—things like a Phillips screwdriver, a flathead screwdriver, and a soft cloth to catch any loose screws. As you begin, gently remove the casing by locating the hidden screws, usually tucked away at the back or bottom. Don’t wrench it too hard; think of it like unzipping a jacket: it should come apart smoothly.
Once the outer shell is off, it’s time to get into the nitty-gritty. Tread carefully here, just as you would when navigating a delicate web. Examine the internal components; focus on the fan motor, the wiring, and the heating elements. Each piece plays a crucial role, similar to members of a band—if one is off, the harmony is broken. Make sure to label any screws or small parts you remove to avoid a mad scramble when it’s time to put it all back together. Here’s a handy table highlighting parts to keep an eye on:
| Component | Importance |
|---|---|
| Fan Motor | Drives airflow |
| Heating Element | Provides warmth |
| Casing | Protects internal parts |
| Wiring | Connects components |
Troubleshooting Common Challenges During the Process
If you’re diving into disassembling the Vornado EH1, you might encounter a few bumps along the way. Think of it like being on a road trip; sometimes you hit a pothole or two! Common issues include stubborn screws that just won’t budge or misaligned components that refuse to come apart. If those screws are giving you a hard time, a little penetrating oil can work wonders—just let it sit for a few minutes before trying again. And if parts seem stuck, don’t force them; gently wiggling can often free them without causing damage. Remember, patience is your best buddy here!
Another challenge might be keeping track of all the tiny components. It’s all too easy for screws and parts to go missing, right? Consider using a small container or even a magnetic tray to keep everything organized. You could also create a simple labeling system to track where each part belongs. For instance, place a temporary label next to each assembly area—this will save you from scratching your head later on when you start putting everything back together! Here’s a quick look at some potential troubleshooting tips:
| Issue | Tip |
|---|---|
| Stubborn screws | Use penetrating oil and allow it to sit. |
| Misaligned parts | Gently wiggle to free them instead of forcing. |
| Missing components | Use magnetic trays or labeled containers. |
Closing Remarks
And there you have it! Disassembling the Vornado EH1 doesn’t have to feel like deciphering an ancient scroll—it’s more like taking apart a perfectly built Lego set. With a few simple steps and the right mindset, you can tackle any issue that pops up with your heater. Now you’re armed with the know-how to give that trusty appliance the TLC it deserves.
Whether you’re troubleshooting or just wanting to clean it up for optimal performance, don’t shy away from rolling up those sleeves and getting hands-on. Remember, every machine has its quirks, but with a little patience and practice, you’ll be a pro at it in no time.
So, the next time you hear a strange noise or feel a dip in warmth, you won’t just throw your hands up in frustration—you’ll confidently dive in and address the problem. Thanks for hanging out with us, and remember: keep it warm, keep it clean, and don’t hesitate to show that Vornado some love!