
Are you ready to give your ride a facelift? Whether you’ve got a classic car that needs a little TLC or a modern vehicle that could use some sprucing up, installing a new panel can make all the difference in its appearance. In this article, we’re diving into a step-by-step guide on how to install the Dorman 924-091 Panel. Now, I know what you might be thinking—“Is this going to be a complicated process?” Don’t sweat it! We’ll take it one step at a time so you can tackle this job with confidence, even if you’re not a seasoned pro. So, grab your tools, roll up those sleeves, and let’s get into the nitty-gritty of transforming your vehicle with this essential upgrade. Trust me, once you see the results, you’ll wonder why you didn’t do it sooner! Ready? Let’s hit the road to a more stylish ride!
Choosing the Right Tools for a Smooth Installation Experience
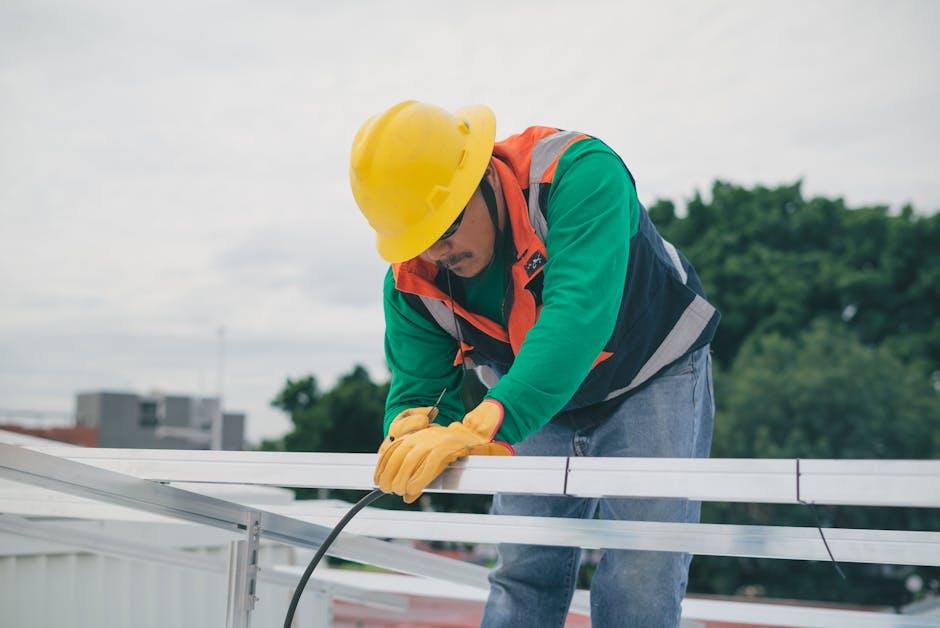
When it comes to installing the Dorman 924 091 panel, having the right tools on hand can make all the difference between a smooth process and a frustrating experience. Think of it like cooking; if you don’t have the right utensils, even the simplest recipe can turn into a disaster. So, what do you need? Here’s a quick list to get you started:
- Screwdrivers: A set of both flat-head and Phillips screwdrivers for various screws.
- Wrenches: A good set of wrenches to tackle those bolts that can tighten up like nobody’s business.
- Pliers: Needle-nose pliers can help you grip and maneuver in tight spots.
- Trim Removal Tools: These little lifesavers can prevent damage to your panels when pulling them off.
Now that you know what to gather, let’s make sure you have the essentials covered. You might want to organize your tools on a workbench to easily access them as you go along. Imagine trying to find a needle in a haystack while you’re knee-deep in your installation project—no thanks! In addition to hand tools, consider these items for a seamless experience:
| Item | Purpose |
|---|---|
| Torque Wrench | Ensures proper tightening of bolts to avoid stripping. |
| Work Light | Illuminates dark spots for better visibility. |
| Safety Goggles | Protects your eyes from debris. |
Preparing Your Vehicle: Key Steps Before You Dive In
Getting your vehicle ready for a panel installation isn’t just a good idea; it’s essential! You wouldn’t throw on a favorite outfit without checking for wrinkles, right? The same logic applies here. Start by gathering your tools and supplies—make sure you have everything from screwdrivers and pliers to the essential Dorman 924 091 panel. A clean workspace is a game changer too! This means clearing any clutter from your garage or driveway. Trust me, no one enjoys tripping over tools when trying to focus on a crucial install.
Now, let’s talk about the vehicle itself. Before diving into the installation process, give your ride a once-over. Inspect for any damage around the area where you’ll be working. Are there any rust spots or cracked panels? If yes, those could bite you later, so make sure to address those beforehand. Another important step is checking your vehicle’s manual. It’s like having a treasure map leading directly to your victory! Here’s a quick checklist to consider:
- Gather all tools
- Clear your workspace
- Inspect the installation area
- Check the vehicle’s manual for instructions

Navigating the Installation Process with Confidence
Tackling the installation of the Dorman 924 091 panel may seem daunting at first, but with a little preparation and patience, you’ll find it’s easier than you think. Before you dive in, gather your tools: a screwdriver, socket set, and some trusty zip ties. Trust me, those little guys save you a lot of headaches when it comes to managing loose wires! Ensuring that you have a well-lit workspace will make a world of difference, especially when you’re dealing with the intricate parts that require your focus. Picture yourself assembling a puzzle—everything has a place and, once you get rolling, it becomes second nature.
Now, let’s break the installation steps down into snack-sized bites, shall we? Start by disconnecting the battery; safety first, folks! You wouldn’t want any surprises while working on your vehicle. Next, carefully remove the old panel, paying attention to how it’s connected—you can think of it as unraveling a gift. Once the old piece is out, it’s time to prep the new panel for its grand debut. Make sure the connections are clean and reassemble them in the same order you took the old panel out. The key here is to take your time and double-check each connection. It can be tempting to rush, but remember, patience pays off in spades!

Final Touches and Troubleshooting Tips for a Perfect Fit
Once you’ve secured your Dorman 924 091 Panel into place, it’s time for those all-important final touches. First, make sure to double-check all connections and fasteners to ensure everything’s snug and secure. A loose screw can rattle your peace of mind down the road, right? This is a good moment to take a step back and give the entire panel a visual once-over. Look out for gaps, cracks, or misalignments. If something looks off, don’t hesitate to adjust it. You want that panel to sit as perfectly as a new puzzle piece sliding right in. Remember, a little tweaking now can save a ton of headaches later!
Now, if you run into any hiccups during the installation, don’t sweat it! Troubleshooting is often just part of the process. Here are some quick tips to get you back on track:
- Alignment Issues: If the panel is not aligning properly, try loosening the screws slightly and repositioning it before tightening again.
- Squeaky Noises: A bit of lubricant can work wonders if you notice any squeaking once everything’s installed.
- Flashing Warning Lights: Ensure all connections are secure and nothing is obstructing the sensors; they can be finicky.
And for your reference, here’s a quick reference table to help you troubleshoot on the fly:
| Problem | Possible Cause | Solution |
|---|---|---|
| Panel won’t fit | Incorrect installation angle | Re-assess alignment and re-install |
| May have electrical issues | Loose or corroded connections | Inspect and clean connections |
| Panel vibrations | Missing fasteners | Check and replace any missing screws |

Final Thoughts
And there you have it! You’ve just dived into the nitty-gritty of installing the Dorman 924-091 panel, step by step. Who knew that tackling automotive repairs could feel so accessible and even a little fun? Whether you’re a seasoned DIY-er or a curious newbie, I hope this guide has taken the mystery out of the process and empowered you to get your hands a bit dirty.
If you’ve followed along, you’re not just a reader anymore—you’re a hands-on hero, ready to tackle your next project with confidence! Remember, every bolt you tighten and every panel you fit isn’t just about the mechanics; it’s about making your ride uniquely yours. So, grab those tools and get to work! And hey, if you have any questions or run into bumps along the way, don’t hesitate to reach out. Happy wrenching, and may all your installations be smooth and successful! 🚗✨