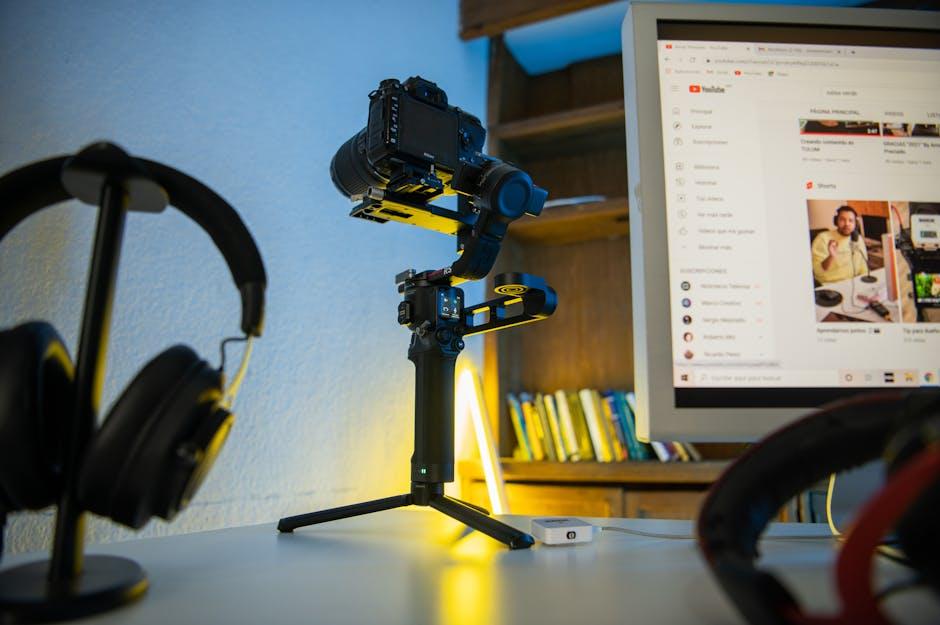
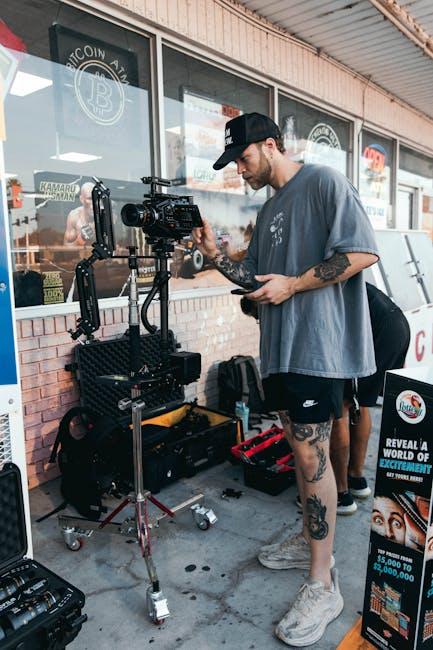
Ready to dive into the colorful world of YouTube video editing? Whether you’re a budding vlogger looking to share your latest adventure, a small business aiming to spruce up your marketing videos, or just someone wanting to turn raw clips into something shareable, you’ve landed in the right spot! Editing can feel like a daunting task, but think of it as sculpting— you’re taking something unrefined and chiseling away to reveal a masterpiece. In this friendly guide, we’ll snip away the confusion, clip the excess fluff, and empower you to share polished content that’ll have your audience coming back for more. Let’s unlock the secrets of editing and turn your video dreams into digital reality!
Mastering the Art of Snipping: Essential Editing Techniques for Crisp Videos
Editing isn’t just about trimming the fat; it’s about honing your video into a masterpiece that grips your audience. The magic lies in those seemingly insignificant edits that enhance the storytelling. Think of snipping as sculpting—taking a rough block and chiseling away the excess to reveal the beautiful form underneath. To tackle your editing like a pro, consider these essential techniques:
- Cutting on Action: This keeps the flow seamless and engages the viewer’s eye. If someone’s throwing a ball, cut to the moment it flies through the air—this technique creates excitement and maintains continuity.
- J-Cuts and L-Cuts: Use audio to blend scenes. With a J-Cut, start the next scene’s audio before the previous video ends, piquing interest. An L-Cut does the reverse, letting audio linger after the visuals change, which provides context and depth.
- Jump Cuts: Perfect for maintaining energy, these cuts jump forward in time while staying focused on the subject, removing any unnecessary fluff.
Now that you have the fundamentals, remember that pacing is key. Editing should feel natural, like a great conversation rather than a choppy interview. A well-timed cut can resonate emotionally, just like the perfect punchline in a joke. Use the following table to keep your editing decisions clear and consistent:
| Editing Technique | Purpose |
|---|---|
| Cutting on Action | Enhances flow and excitement |
| J-Cuts | Creates anticipation |
| L-Cuts | Adds depth and context |
| Jump Cuts | Maintains energy and engagement |

Choosing the Right Tools: A Dive into Software You’ll Love
When it comes to video editing, picking the right software can feel like finding a needle in a haystack. With so many options, you might be left scratching your head, wondering which one will truly make your editing experience a breeze. Let’s kick off with some popular choices that offer a delightful mix of features and user-friendliness: Adobe Premiere Pro, Final Cut Pro, and DaVinci Resolve. Think of them as your trusty sidekicks in the creative process. Each has its specialties; for example, DaVinci is the go-to for color correction, while Final Cut shines with its fast-paced workflow. Consider what aligns best with your style and needs before making a leap.
Beyond just the big names, don’t overlook some fantastic tools that can enhance your editing journey without breaking the bank. Here’s a quick overview of some underrated gems:
| Tool | Best For | Price |
|---|---|---|
| HitFilm Express | Effects and Compositing | Free |
| Lightworks | Professional Editing | $24.99/month |
| Filmora | User-Friendly Interface | $39.99/year |
Each of these options brings something unique to the table, making the editing process all the more enjoyable. Explore their features, watch some tutorials, and before you know it, you’ll be snipping and clipping video like a pro! Don’t hesitate to test out a few free trials to see which feels right for your editing style. After all, the best tool is the one that feels like an extension of your creativity.

Polishing Your Edits: Tips for Adding Flair and Engagement
When it comes to morning coffee, it’s all about that perfect brew – just like editing your YouTube videos! Adding a splash of flair can turn a decent video into one that’s captivating. Think about integrating dynamic transitions and vibrant graphics. You might use lively animations to keep viewers engaged, or quirky sound effects that bring personality to your content. Using tools like color grading not only enriches your visuals but also sets the mood. Want to create suspense? Go for darker tones. For a fun vlog, bright and vivid colors do the trick! It’s all about making sure your visuals match the energy of your message.
Keep your audience intrigued by incorporating text overlays that emphasize key points or introduce segments. Subtle animations can make your graphics pop, drawing the viewer’s eye exactly where you want it. Plus, don’t underestimate the power of cutting unnecessary filler. In the editing room, less is often more – carve out anything that doesn’t serve the story, almost like trimming a bush to let the flowers shine. Seek feedback from trusted friends or fellow creators; fresh eyes can catch things you might miss! Could a quirky title card spice things up? A quick survey can help you understand if your editing choices resonate with viewers or if they need a bit of a makeover. Here’s a simple comparison of viewer reactions based on different editing styles:
| Editing Style | View Engagement |
|---|---|
| Fast-paced Cuts | Increased excitement |
| Static Images | Waning interest |
| Engaging Animations | Heightened retention |
| Overly Long Segments | Decreased views |

Sharing with Impact: Best Practices for Captivating Thumbnails and Titles
Crafting captivating thumbnails and titles is like setting the stage for a grand performance; they draw your audience in and set the tone for what’s to come. Think of your thumbnail as the cover of a book – it needs to be eye-catching and give a glimpse of the adventure inside. Utilize bold visuals and vibrant colors to grab attention, but keep it relevant. Always include elements that reflect your video’s content. Use large, readable fonts because, let’s face it, no one wants to squint while scrolling through their feed. This means incorporating clear images and concise text for immediate impact.
Titles, on the other hand, are your chance to spark curiosity. They should provoke thought, evoke emotion, or simply make your audience chuckle. Combine keywords that are search-friendly with an element of surprise or intrigue to maximize engagement. Try using questions, numbers, or even playful language to hook the viewer. Keep your title between 40-60 characters to ensure it doesn’t get truncated in search results. Remember, effective titles and thumbnails can feel like a magic potion, enchanting viewers and boosting your video’s visibility!

In Retrospect
And there you have it—a deep dive into the world of editing YouTube videos! Now, armed with your snipping tools and creative flair, you’re ready to transform those raw clips into polished gems that grab attention and keep viewers coming back for more.
Editing can feel like piecing together a puzzle; each clip is a unique shape that, when combined thoughtfully, reveals a beautiful picture. So, don’t be afraid to experiment, play around with transitions, and let your personality shine through every edit. Remember, the more you practice, the more your style will emerge.
As you embark on this journey, keep in mind that every great YouTuber started right where you are now—learning, experimenting, and honing their craft. So go ahead, snip it, clip it, and share it with the world! Who knows? Your next video might just be the one that sparks inspiration in another budding creator. Happy editing!

