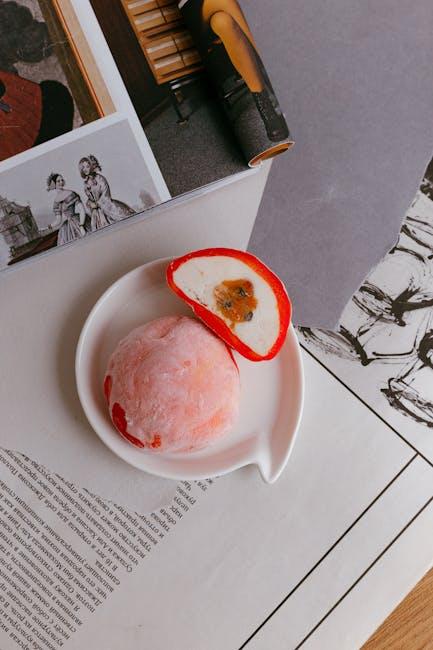
Imagine biting into a soft, chewy exterior that gives way to a burst of creamy bliss—yep, that’s mochi ice cream for you! It’s the perfect treat that marries the delightful chewiness of mochi with the chill of your favorite ice cream flavor. But why settle for store-bought when you can whip up your own delicious, customizable versions in your kitchen? Don’t worry; making mochi ice cream is easier than you think! Buckle up for a fun culinary adventure where you’ll discover just how simple it is to create this delightful dessert in no time. Whether you’re impressing guests or just treating yourself after a long day, quick and easy mochi ice cream is your ticket to sweet satisfaction! Let’s dive in and get that ice cream rolling!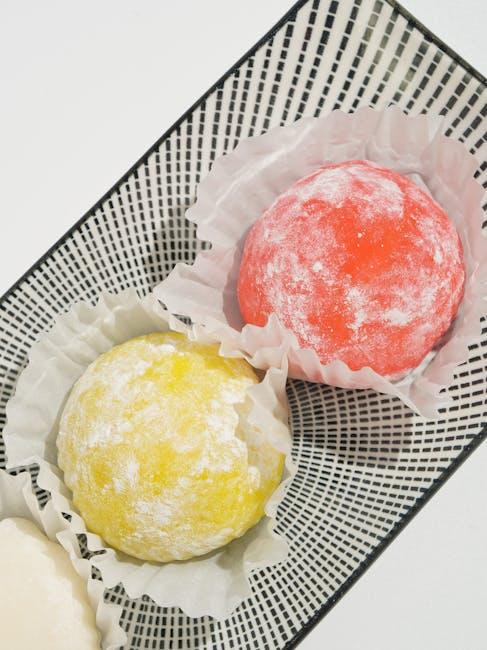
Discover the Magic of Mochi Ice Cream and Why You Need to Try It
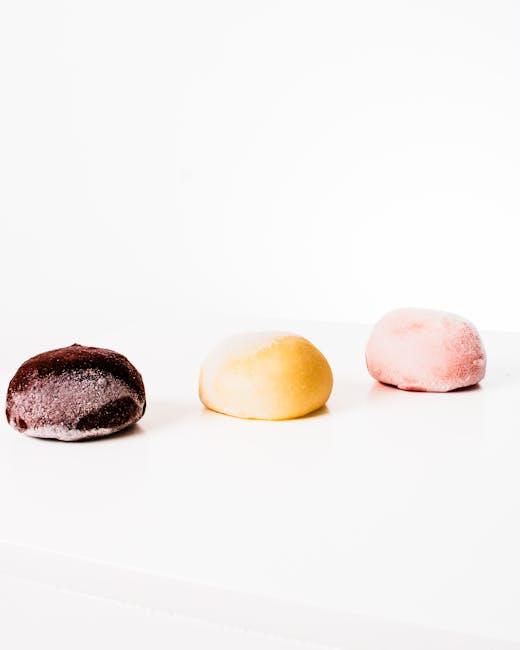
Imagine sinking your teeth into a dessert that’s both chewy and creamy, a delightful fusion of textures that transports your taste buds straight to heaven. Mochi ice cream is exactly that—a match made in culinary paradise! If you’ve never had the pleasure of experiencing this sweet treat, you’re in for a real treat. The outer layer of soft, sweet rice dough envelops a core of velvety ice cream, making it a perfect way to indulge without feeling overly guilty. It’s like a little gift wrapped in a cloud! With flavors ranging from classic vanilla to exotic matcha and everything in between, there’s a mochi ice cream adventure awaiting every palate. Why stick with regular ice cream when you can enjoy a playful surprise in each bite?
Creating your own mochi ice cream at home is simpler than you might think. The process is like a fun little kitchen science experiment that you can proudly share with friends and family. Here’s what you’ll need to get started:
- Sweet rice flour – the magic ingredient
- Granulated sugar – give it a sweet kick
- Ice cream – your favorite flavor, of course!
- Potato starch – to keep things from sticking together
Once you’ve gathered these essentials, you’ll mix and steam the sweet rice flour for that perfect pliable texture, then wrap it around ice cream balls like a warm hug. Voila! You’ve got yourself a deliciously fun DIY treat! Why not grab some friends and turn this into a mini ice cream party? Who wouldn’t want to snack on custom-flavored mochi ice cream while creating memories in the kitchen? It’s more than just a dessert; it’s an experience.
Mastering the Mochi Dough: Simple Techniques for a Perfect Wrap
Getting your mochi dough just right can feel like an art form, but it’s all about mastering a few simple techniques! Start by ensuring your glutinous rice flour is fresh—old flour can give you gummy results. When mixing the dough, add water gradually, stirring until you hit that perfect consistency: smooth and slightly sticky, similar to a soft, pliable dough. Don’t shy away from using a little cornstarch to dust your work surface and your hands. This will keep the dough from sticking more than a toddler to a sticky note!
Once you’ve got that lovely, elastic mochi dough, rolling it out is your next step. Use a rolling pin for a thin, even layer, aiming for about a quarter-inch thickness. If you want to get fancy, place a little ice cream scoop of your favorite flavor right in the center and fold the edges over—it’s kind of like wrapping a small present! Gently pinch the seams to seal it tight, similar to how you’d close a dumpling. Keep practicing, and soon enough, you’ll wrap like a pro! Don’t forget to dust the finished mochi with a sprinkle of cornstarch to prevent them from sticking together.
| Ingredient | Measurement |
|---|---|
| Glutinous Rice Flour | 1 Cup |
| Water | 1/4 Cup |
| Cornstarch | For dusting |
| Your Favorite Ice Cream | 1-2 Scoops |
Flavor Combinations That Will Make Your Taste Buds Dance
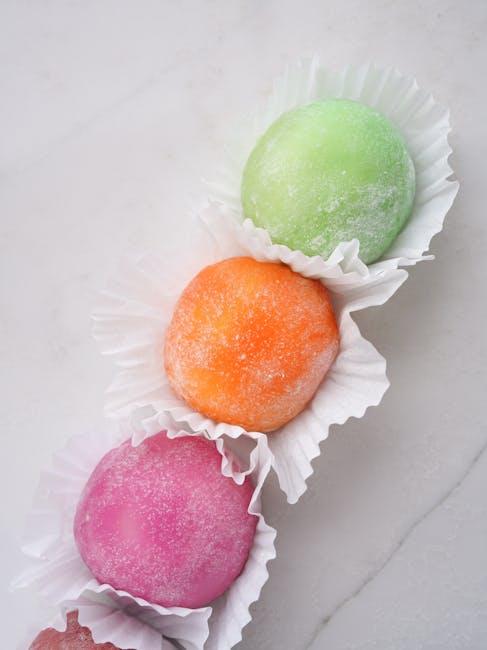
Your taste buds are in for a wild ride with these delightful mochi ice cream flavor combos. Imagine the chewy sweetness of mochi wrapping around a creamy core of your favorite ice cream. Now, let’s shake things up a bit! How about trying mango with a hint of coconut, offering a tropical escape right in your mouth? Or maybe you’re craving something after-dinner indulgent like chocolate fudge paired with chili powder for a little kick? It sounds a bit out there, but trust me, it’s the kind of combo that sends your taste buds spinning in joy!
And don’t stop there! Experimenting is key. Try matcha green tea ice cream topped with a drizzle of sweetened red bean paste—it’s a match made in dessert heaven. Perhaps your palate leans toward the exotic—how about lavender ice cream surrounded by a delicate honey mochi shell? For the fruit lovers, a classic twist of strawberry and balsamic vinegar will elevate your ice cream game like nothing else! The possibilities are practically endless, so don’t hesitate to mix and match. Your culinary adventure is just a scoop away!
Serving and Storing: Tips for Enjoying Your Homemade Treats Longer
To keep your mochi ice cream delicious and fresh for days, it’s all about the serving and storing strategies. When dishing out your delightful desserts, make sure to use a warm knife to cut through the mochi without tearing it apart. Just run your knife under hot water for a few seconds, then dry it off. This technique helps maintain that perfect chewy texture while serving. Plus, don’t forget to dust your cutting board or plate with a little cornstarch to prevent sticking, ensuring each piece comes off easily without losing any of that yummy goodness. Challenge your friends to guess the flavors as they take their first bites—it’s a fun way to enhance the tasting experience!
When it’s time to store those scrumptious treats, don’t just toss them haphazardly in the freezer. Instead, wrap each mochi ice cream piece tightly in plastic wrap or place them in an airtight container with a layer of parchment paper in between. This approach will help avoid freezer burn and keep that delightful texture intact. Here’s a quick reference table for the best storage tips:
| Storage Method | Tips |
|---|---|
| Airtight Container | Use layers of parchment paper to separate pieces. |
| Plastic Wrap | Wrap each piece individually to keep flavors intact. |
| Temperature | Store at -18°C (0°F) or lower for best results. |
Key Takeaways
And there you have it! Making your own mochi ice cream is not just a recipe; it’s a delightful little adventure right in your kitchen. Can you imagine the satisfaction of pulling out a homemade treat from the freezer and serving it up to your friends? It’s like being your own dessert superhero, ready to impress with minimal effort. So grab those ingredients, unleash your creativity, and let each bite of chewy mochi and creamy ice cream take you on a mini-vacation for your taste buds. Whether you stick to classic flavors or go wild with unique combos, the possibilities are endless! Happy crafting, and may your freezer be stocked with deliciousness! 🍦✨