
Have you ever stumbled upon a YouTube video that’s just too good to let slip away? Maybe it’s a how-to guide that answers all your burning questions or a mesmerizing performance you want to revisit. Whatever it is, the problem remains: how do you capture that moment and keep it forever? Enter the world of screen recording! Think of it as having your own personal video vault; by mastering this art, you can effortlessly record anything that graces your screen. Whether you’re a gamer sharing epic gameplay, an educator compiling lessons, or just someone who loves to collect inspiring content, screen recording on your laptop opens up a world of possibilities. So, grab a comfortable seat, and let’s dive into the nuts and bolts of making this technology work for you!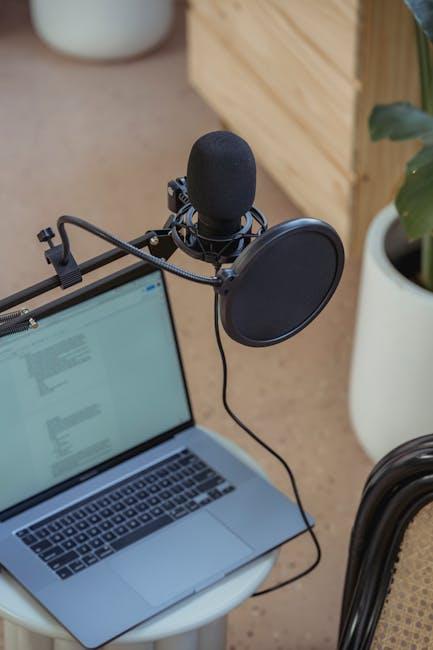
Exploring the Best Screen Recording Software for YouTube
When it comes to screen recording software for YouTube, you’re spoiled for choice, and that can be overwhelming. But don’t sweat it—it’s all about finding the right match for your needs! Some popular options include OBS Studio, which is totally free and offers a wealth of features, including scene composition and customizable overlays. If you’re looking for something that won’t require a PhD in tech to figure out, Camtasia might be your best bet with its user-friendly interface and slick editing tools. Another gem is Screencast-O-Matic—easy to navigate and perfect for quick capture, but great for users who want to dive into editing with integrated features.
Not all screen recorders are created equal, and the right one can make your YouTube videos pop! Here’s a quick comparison to spotlight their distinct attributes:
| Software | Price | Key Features |
|---|---|---|
| OBS Studio | Free | Customizable scenes, unlimited recording time |
| Camtasia | $249 | User-friendly editor, extensive asset library |
| Screencast-O-Matic | Free/$1.50/month | Captioning, cloud storage, smart video editor |
Choosing the best screen recording software ultimately depends on your goals and comfort level. So, what’re you waiting for? Test out a few until one feels just right—like finding the perfect pair of shoes that you can wear all day without a single complaint!
Setting Up Your Recording Environment for Optimal Results
Creating the perfect recording environment is like setting the stage for a blockbuster movie. Lighting is key; make sure you’re not sitting in shadows or dodging glare from windows. Natural light can be a friend, but if it’s too harsh, pair it with soft artificial lighting to bathe your space in a flattering glow. A clutter-free background is equally important – avoid distractions that pull focus from your content. It’s all about creating a visually appealing atmosphere, so your viewers are glued to your screen instead of counting the dust bunnies in the corner!
Next up, consider your soundscape. Nobody wants to hear the neighbor’s lawnmower or the screeching of a delivery truck while trying to listen to your smooth commentary. Use a high-quality microphone and, if possible, set up in a room with soft furnishings that can absorb sound, like rugs and curtains. Here’s a quick rundown of what to keep in mind:
- Choose a Quiet Space: Pick a room far from noise sources.
- Optimize Your Microphone: Use a pop filter and position it correctly.
- Keep it Cozy: Add cushions or blankets to dampen sound echoes.

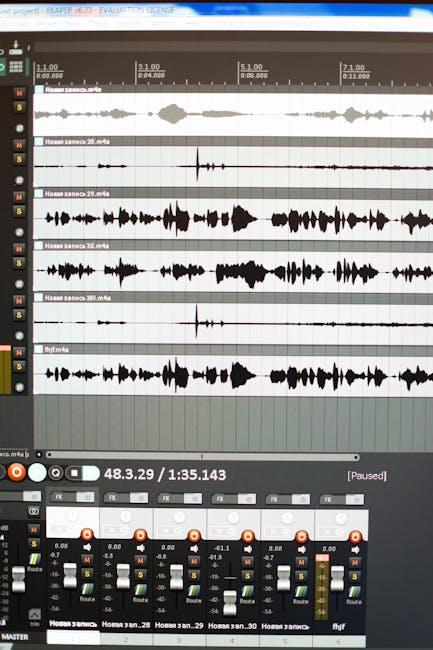
Editing Your Screen Recordings Like a Pro
Editing can transform your raw screen recordings into polished gems. Start by importing your footage into an editor that suits your style—whether it’s the classic iMovie, the versatile Adobe Premiere Pro, or something simple like Filmora. You’ll want to trim any awkward pauses or mistakes like a chef slicing off the burnt edges of a loaf of bread. Think about adding some music to set the tone; just make sure it doesn’t overpower your voice. Also, don’t underestimate the power of text overlays to highlight important points or add humorous comments. A well-placed meme or a fun sound effect can make your video much more engaging!
Now, layering in transitions between your clips can smooth out the flow, like adding a dash of cream to your coffee. Keep it minimal—your audience doesn’t need to feel like they’re on a roller coaster ride! Furthermore, consider using callouts or arrows to direct viewers’ attention to specific elements. Need to emphasize that awesome tip you just shared? Zoom in for dramatic effect! before calling it a day, preview your work and watch it like it’s your favorite movie. Get a feel for the pacing and flow because even the best footage can fall flat if it isn’t edited with care. Trust me, this little effort will go a long way in keeping your audience glued to the screen!

Sharing and Monetizing Your YouTube Screen Content
Once you’ve perfected your screen recording skills, sharing your content with the world is just a click away. Platforms like YouTube, social media, or even personal blogs are great channels for showcasing your creativity. Consider tailoring your audience’s experience by organizing your videos into playlists or series. This not only keeps viewers engaged but also encourages them to binge-watch your content like it’s their favorite show. Plus, don’t shy away from adding captivating thumbnails and catchy titles—these are your first impressions, so make them count! Use community posts and stories to give sneak peeks or behind-the-scenes looks to build anticipation and connection with your audience.
Monetizing your content opens up a whole new world of possibilities! With YouTube’s Partner Program, you can earn through ads, channel memberships, and super chats during live streams. But why stop there? Explore options like affiliate marketing, where you promote products and earn a cut from sales. Collaborate with other creators to tap into new audiences. Here’s a simple table to give you an idea of various monetization strategies:
| Monetization Strategy | Description | Potential Earnings |
|---|---|---|
| Ad Revenue | Earn from ads displayed on your videos. | Varies widely; depend on views. |
| Channel Memberships | Viewers pay for special perks. | $1 – $50+ monthly. |
| Affiliate Marketing | Promote products for a commission. | 5% – 50% per sale. |
| Sponsored Content | Brand partnerships for specific videos. | $100 – $1000+ per video. |
To Wrap It Up
And there you have it, folks! You’ve unlocked the secrets to mastering screen recording for YouTube right from your laptop. Think of it as your backstage pass to the world of content creation. Once you get the hang of these techniques, you’ll be capturing your gameplay, tutorials, or even those spontaneous “Ah-ha!” moments with the ease of a seasoned pro.
Remember, practice makes perfect, so don’t be discouraged if it feels clunky at first. The beauty of technology is that you can fine-tune your skills and style until you find what works best for you. So, why not dive in and start recording today? Your audience is waiting to see what you’ve got to share!
Whether you’re aiming for the next big viral sensation or just want to document your thoughts and experiences, screen recording opens up a whole new avenue for creativity. So grab your laptop, hit that record button, and let your unique voice shine through. Happy recording!