Ever thought about ditching the barbershop and grabbing those clippers at home? If the thought of a DIY haircut makes you break into a sweat, you’re not alone! But imagine this: saving money, skipping the wait, and rocking a fresh look—all while in your pajamas. Sounds pretty good, right? In this guide, we’re diving into the world of DIY haircuts, tailored just for guys like you who want to take the scissors into their own hands. With a dash of confidence and a few tips to guide you, you’ll be snipping like a pro in no time. So, grab your toolkit, and let’s turn that hair of yours into a masterpiece!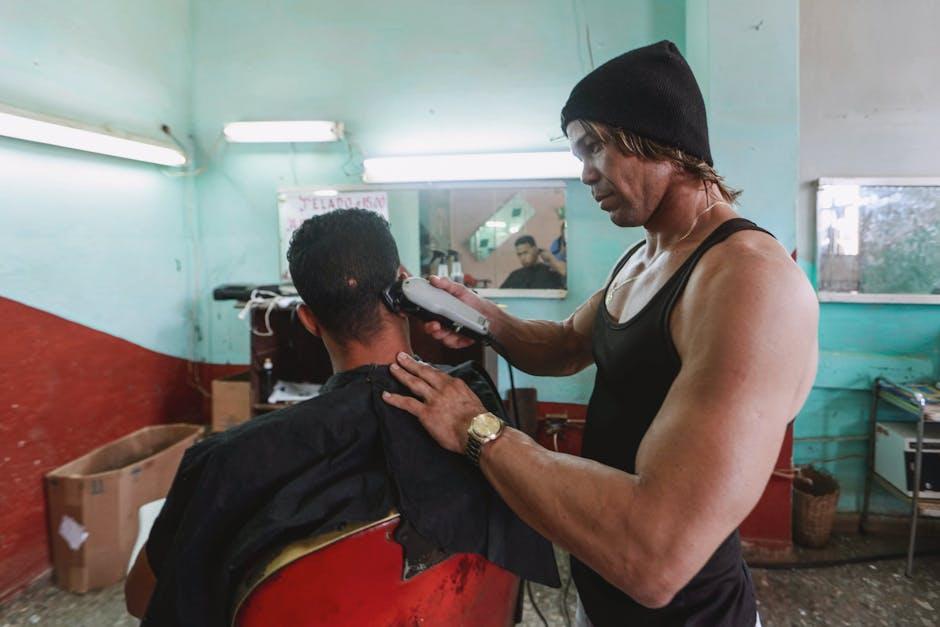
Master the Essentials: Tools Every DIY Haircutting Guy Needs
Getting the right tools is half the battle when it comes to pulling off a DIY haircut at home. Start with sharp scissors—the kind that feels like an extension of your fingers. You want something precise, so you don’t end up with a choppy mess. Alongside scissors, grab a pair of clippers. They’re your best friend for achieving that clean look, especially if you’re working with shorter styles. A good clipper can be the difference between a barber-level fade and looking like you’ve stuck your head in a lawnmower. Don’t forget a comb and some hair clips. They keep things neat and help section your hair, giving you a tidy canvas to work with.
Next on your list should be a mirror—and I mean a good one! Ideally, you want to see every angle of your head like a 360-degree tour. If you can, set up a second mirror across from the first to get an even better view. For those tricky spots like the nape of your neck, a handheld mirror is a must. Lastly, consider investing in a barber cape or a simple towel to drape over your shoulders. It keeps your space clean and saves you from pulling hair out of your clothes later. With these essentials in hand, you’ll be well-equipped to tackle your next haircut with confidence!
Choosing the Right Style: Finding Your Perfect Haircut Match
When it comes to finding the right haircut, think of it as picking the perfect outfit; you want something that reflects your personality and feels comfortable. Start by considering your face shape; maybe you’ve got that oval vibe or a strong jawline. Each face shape typically pairs well with specific styles. For example, if you’ve got a round face, a cut with height on top and shorter sides can give you that elongated look. If you’ve got more of a square face, soft layers can work wonders in giving you a versatile look that breaks up those sharp angles.
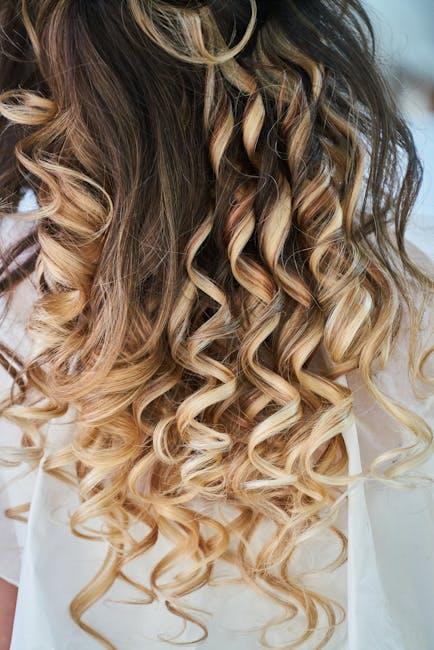
Don’t forget to take into account your hair texture and maintenance routine too! If you’re rocking thick, wavy hair, you might want to opt for a style that incorporates some texture and movement, like a textured crop or layered cut. On the flip side, fine hair can benefit from cuts that create the illusion of volume, such as a classic pompadour or a tapered style. Fear not if you’re not sure about your options! Grab a buddy, browse through some style inspiration, and take a few snapshots that catch your eye. It’s all about trial and error until you find that perfect match that makes you feel like the best version of yourself!
Techniques That Wow: Expert Tips for Achieving Salon-Quality Results
Getting that sharp, salon-worthy look doesn’t have to involve a trip to the barber every time you feel the need for a trim. With some straightforward techniques, you can easily level up your DIY haircut game. First off, invest in quality tools—a good pair of sharp scissors and a reliable clipper can make all the difference. Always start with clean, dry hair; it’s much easier to see what you’re working with. If you have wavy or curly hair, consider cutting it while it’s dry to better gauge how the curls will fall. Here’s a quick list of essentials that can elevate your hair-cutting experience:
- Sharp Hair Cutting Scissors: Dull scissors can damage the hair and lead to uneven cuts.
- Hair Clipper: Ideal for fading and achieving a clean, blended look.
- Fine-Toothed Comb: Helps in creating neat sections, especially for layering.
- Mirror: A handheld mirror can be a game-changer for checking the back of your head.
Another pro tip is to section your hair before diving in. Dividing your hair into manageable sections can help maintain symmetry and control. Start by parting your hair down the middle and working in small sections, holding the hair snugly between your fingers to trim a little at a time—remember, you can always take more off, but it’s hard to put it back! If you want to add texture, consider the point-cutting method, where you snip the very ends of the hair at an angle. Check out this simple table for quick reference on cutting techniques:
| Techniques | Best For |
|---|---|
| Point Cutting | Adding texture & dimension |
| Blunt Cut | Creating a sharp, clean edge |
| Layering | Reducing bulk and creating movement |

Troubleshooting Mistakes: Quick Fixes for Common Haircut Blunders
Even the most seasoned DIY haircutters can hit a snag now and then. If you’ve accidentally left one side longer than the other or went a little too adventurous with the clippers, don’t panic! A quick and effective fix can often be found in simple adjustments. Try using a comb to blend the uneven sections. Just lift the longer hair and snip gradually to blend it seamlessly into the shorter side. Alternatively, for those overly ambitious cuts, you can also create a textured look by using point-cutting techniques with your scissors—snip into the ends rather than cutting straight across, which adds a bit of flair while also disguising imperfections.
If you’ve overzealously trimmed your length and are now rocking a hairdo reminiscent of a chia pet, it’s not the end of the world. Embrace the moment; styling can make all the difference! Use a bit of wax or pomade to create volume and texture, directing the hair to fall in a way that flatters your face shape. You might also consider wearing a beanie or cap for a bit while your hair grows back. Remember, a little creativity can transform a regret into a trendy style that turns heads! Here’s a quick reference table for common cut disasters and their fixes:
| Mistake | Quick Fix |
|---|---|
| Uneven lengths | Blend with a comb and scissors |
| Too short | Style with wax for volume |
| Awkward bangs | Layer them lightly for flow |
The Way Forward
So there you have it, gents! With a bit of practice, the right tools, and a sprinkle of confidence, you can transform your home into a barber shop. Think of each snip as a step towards mastering a craft—one that not only saves you a few bucks but also gives you that fresh, just-left-the-salon vibe without ever leaving your living room.
Remember, it’s all about taking your time and not rushing the process. Creativity can sometimes make a mess, but in the world of DIY haircuts, even a little goof can lead to a style that’s uniquely yours. Embrace the journey, share the experience with friends, and who knows—you might just start a trend. So grab those scissors, keep that mirror close, and snip away with flair! Here’s to looking sharp and feeling even sharper. Cheers!