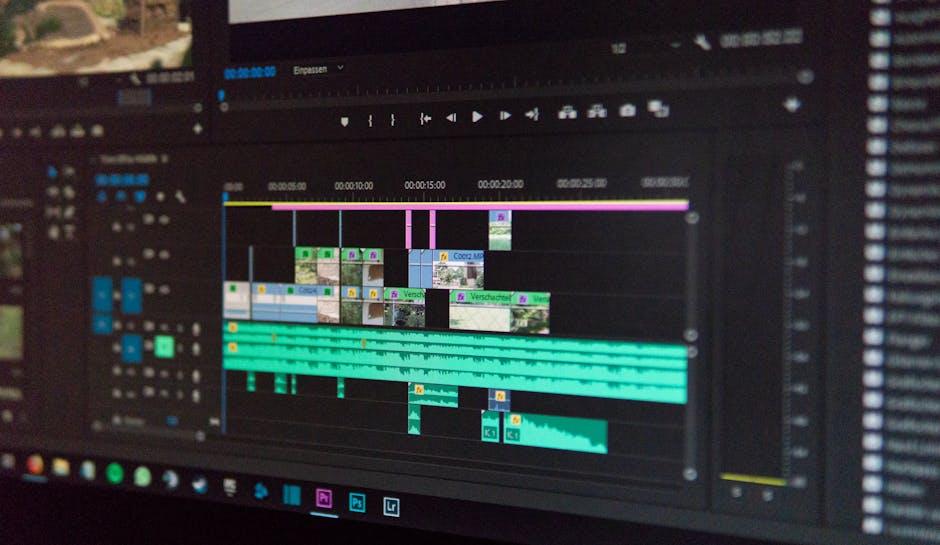
Looking to spice up your YouTube videos? You’re in the right place! Mastering the art of splicing and looping isn’t just a technical skill; it’s a game-changer for anyone who wants to keep their audience hooked. Imagine crafting seamless transitions that make your content flow like a well-composed song. Whether you’re creating tutorials, vlogs, or just sharing your daily escapades, learning how to splice and loop effectively can elevate your storytelling to a whole new level. Ready to dive into the world of video editing and unlock the secrets that make your clips pop? Let’s get started and turn your raw footage into captivating masterpieces!
Unlocking the Essentials of Splicing: Techniques That Make Your Edits Shine
When it comes to splicing your YouTube videos, the right techniques can elevate your content from ordinary to extraordinary. Think of splicing as the frosting on your cake—it’s what makes everything more appealing! Start by trimming unnecessary clips and keeping only the juiciest bits. Use tools like keyframes to achieve smooth transitions; it’s like gliding from one moment to another without any hiccups. The goal is to make the viewer feel like they’re on a seamless journey rather than jumping through a disjointed timeline.
Now, don’t underestimate the power of layering audio and video. Picture a beautiful symphony where every instrument adds depth—your clips can sing in harmony too. Incorporate background music that complements the mood of your footage, and use sound effects to enhance critical moments. To get even more precise, here’s a quick look at some essential splicing techniques:
| Technique | Description |
|---|---|
| Cutting | Removing unwanted parts to create clean edits. |
| Fading | Smoothly transitioning in and out of clips for a polished effect. |
| J-Cut | Leading with audio from the next scene to hook your audience. |
| L-Cut | Continuing audio from the current scene into the next for fluidity. |
By mastering these splicing techniques, you’ll not only make your edits shine but also keep your audience engaged and coming back for more. So go ahead, roll up your sleeves, and let those creative juices flow!

Looping Like a Pro: Creating Seamless Transitions for Engaging Content
Creating smooth transitions is like adding the finishing touches to a masterpiece. You want your viewers to glide from one moment to the next without even noticing the change. Here are some tips to ensure your edits feel natural and engaging:
- Cut on Action: When your subject is moving—whether it’s a wave crashing or a person reaching for an object—make your cut during that action. It creates a sense of continuity.
- Match Your Cuts: Pay attention to the rhythm and pacing. If you have a fast-paced segment, keep your transitions quick. For slow, reflective moments, give your viewers a little breathing room.
- Use Crossfades: Sometimes a quick fade can create an ethereal effect, making each scene subtly blend into the next.
Experimenting with audio transitions can elevate your video further. Remember, sound is just as crucial as visuals in creating seamless moments. Consider:
| Audio Technique | Effect |
|---|---|
| Sound Bridges | Carry over sounds from the previous clip into the next for fluidity. |
| Volume Adjustments | Fade audio in and out to prevent jarring jumps in sound. |
| Layering Sounds | Create a richer experience by overlapping different audio elements. |

Tools of the Trade: Must-Have Software and Apps for YouTube Video Mastery
Whether you’re a budding creator or a seasoned pro, having the right tools can make all the difference when it comes to crafting engaging YouTube videos. First on your list should be video editing software. Think of programs like Adobe Premiere Pro or Final Cut Pro. These allow you to splice clips like a chef dicing vegetables—precision is key! You’ll want something user-friendly yet powerful, so don’t overlook options like Filmora or DaVinci Resolve. They’ll help you add those spicy transitions and clean edits that keep your audience glued to the screen. Also, don’t forget audio editing tools! Quality sound is half the battle; software like Audacity or GarageBand can elevate your audio like a fine wine paired with a gourmet meal.
Next, let’s talk about thumbnail and graphic design, because you know what they say—first impressions matter! Tools such as Canva and Adobe Spark are fantastic for designing eye-catching thumbnails that can up your click-through rate significantly. You might also want to incorporate looping software like Open Broadcaster Software (OBS) or ScreenFlow that help capture those mesmerizing moments or smooth transitions. An essential aspect of mastering video is staying organized; using tools like Trello or Asana helps keep all your content ideas sorted, kind of like having a chef’s station organized before cooking a big meal. Embrace these tools, and you’ll be on your way to YouTube glory!

Tips for Captivating Your Audience: Splicing and Looping Habits to Boost Views and Engagement
When it comes to keeping your viewers glued to the screen, mastering the art of splicing and looping can be game-changing. Think of splicing as a way to create a rollercoaster ride for your audience. You want to build tension, throw in some unexpected twists, and then deliver that satisfying drop. Start by slicing up your raw footage to highlight the most exciting or emotional moments. Remember, shorter clips tend to hold attention better, so keep those edits snappy! Overlay eye-catching graphics and sound effects at pivotal moments to amplify the impact of your story. It’s all about striking that perfect balance between pacing and visual interest.
Looping, on the other hand, has a special charm that can draw people deeper into your content. Picture it like a catchy chorus in your favorite song; it sticks in your head and keeps you coming back for more. Utilize looping in ways that enhance certain elements of your video — perhaps a breathtaking scene or a powerful quote relevant to your message. You can also experiment with b-roll footage under your narration to add depth without distracting. Don’t forget to pay attention to the hook; it should be compelling enough to reel viewers in and keep them engaged throughout the loop. By injecting this rhythmic repetition thoughtfully, you’ll create an immersive experience that not only boosts your views but also builds a loyal audience.
To Wrap It Up
So there you have it—your ultimate guide to splicing and looping YouTube videos! Armed with these tips, you’re ready to elevate your video content from basic to brilliant. Just imagine creating clips that have everyone glued to their screens, hitting replay over and over again. Whether you’re aiming to create catchy highlight reels or simply want to enjoy your favorite moments on loop, the power is now at your fingertips.
Remember, practice makes perfect! The more you play around with these techniques, the more comfortable you’ll become. So dive in, experiment, and let your creativity flow. And hey, don’t forget to share your masterpieces with friends or drop them in the comments—everyone loves a good watch, right?
Now go out there and make some video magic happen! Happy splicing! 🎥✨

