Ready to dive into the vibrant world of YouTube? Strap in and get your camera rolling because we’re about to explore the ins and outs of being a YouTube cameraman! Whether you’re filming the latest viral trend or documenting your unique hobbies, dynamic visuals are the heartbeat of every great video. Imagine capturing those perfect moments, ensuring every shot tells a story that keeps viewers glued to their screens. From lighting magic to framing finesse, this guide is your backstage pass to mastering the art of visual storytelling. So grab your gear, and let’s turn those clicks into cinematic gold! Lights, camera, action—let’s make some magic happen!
The Essentials of Your YouTube Gear Setup
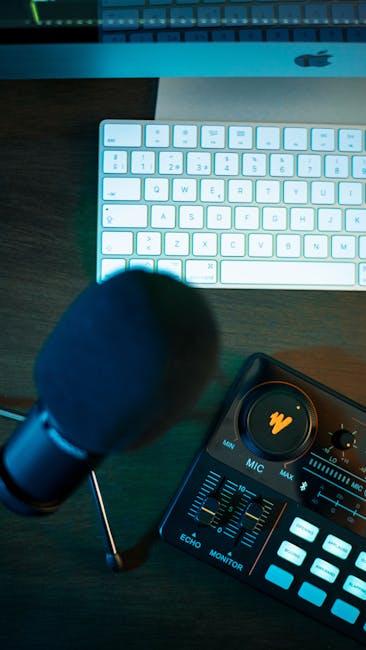
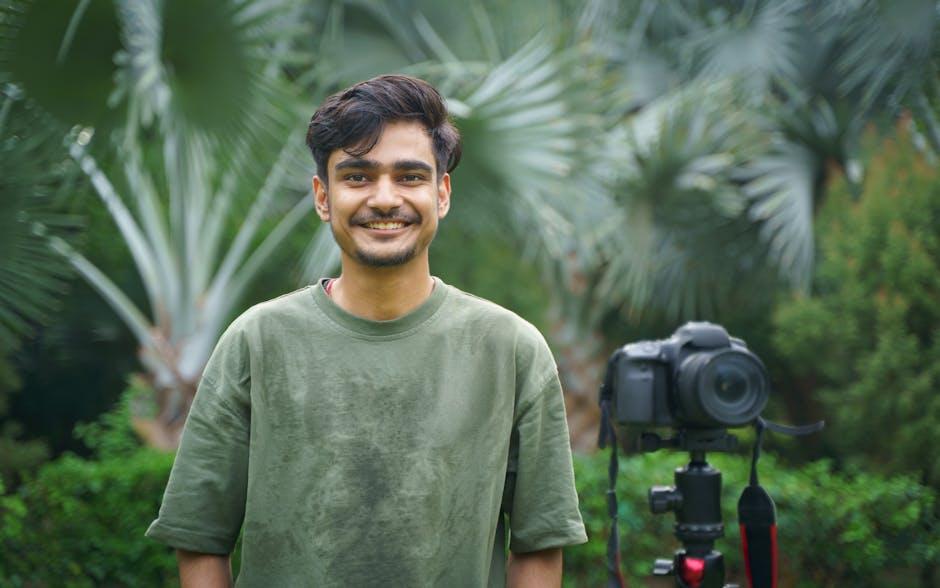
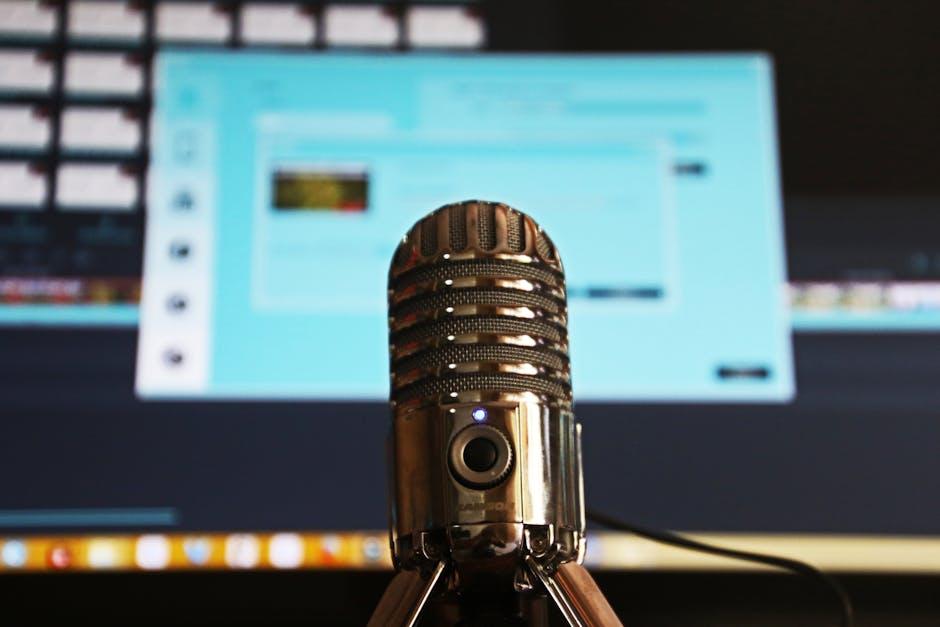
Building your YouTube gear setup is kinda like piecing together your favorite puzzle; each piece is crucial to making the whole picture come to life. You don’t necessarily need the fanciest equipment, but having the essentials can kick your content up a notch. Start with a decent camera—DSLRs and mirrorless options are popular for their versatility. Pair that with a reliable tripod for stability; nobody wants to watch a shaky video. Don’t forget your microphone; good audio can make or break a video, so whether you go for a shotgun mic or a lavalier, choose wisely! For lighting, consider softbox lights or ring lights to create that studio glow and keep the audience engaged.
Now, let’s talk about accessories that can really elevate your game. A gimbal stabilizer is essential if you’re shooting while moving; it keeps everything smooth and professional. For editing, a strong laptop or desktop with sufficient processing power is a must-have, allowing for seamless transitions and effects. Additionally, invest in a good set of headphones to monitor audio while you edit. Here’s a quick breakdown of some essential gear:
| Gear | Purpose |
| Camera | Captures high-quality video |
| Tripod | Provides stability for filming |
| Microphone | Enhances audio quality |
| Lighting | Improves video clarity and appeal |
| Stabilizer | Ensures smooth movement |
| Editing Software | Enables video enhancement and cutting |
Mastering Lighting Techniques for Stunning Shots
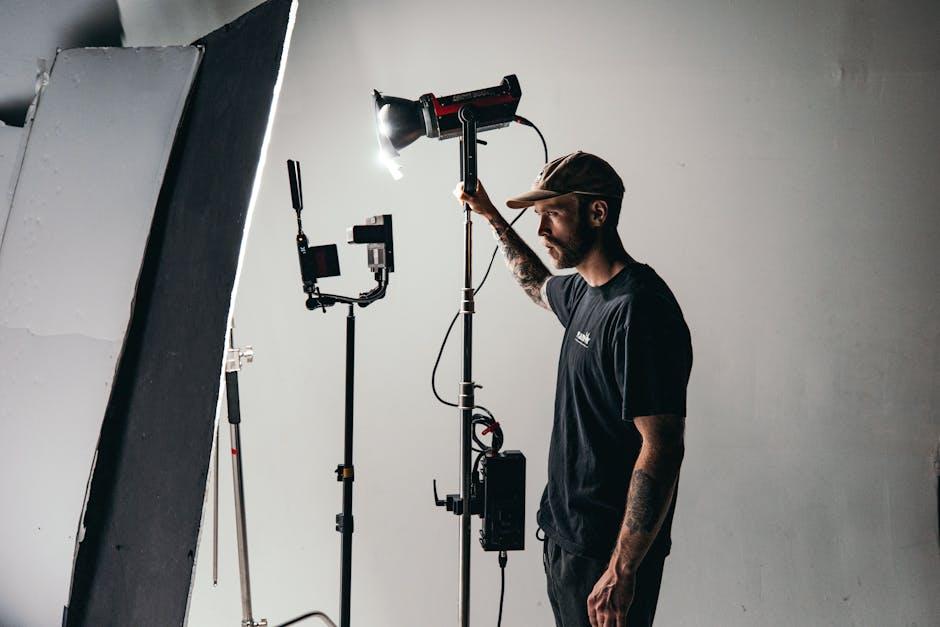
Great lighting can turn an alright video into something spectacular faster than you can say, “Action!” Think of your camera as a canvas; without the right light, even the most breathtaking scenery can fall flat. Here are some key techniques to brighten up your shots:
- Natural Light: Utilize the golden hours—early morning and late afternoon—when the sun has that soft, magical glow. Aim to film near windows or outside to catch that free light.
- Three-Point Lighting: This classic setup involves a key light, fill light, and backlight. It’s like a cozy sandwich: the key light is the main course, the fill light adds some texture, and the backlight gives depth.
- Diffusers and Reflectors: Soften harsh sunlight with a diffuser or bounce it back with a reflector. These tools are like cheat codes for achieving that perfect, flattering glow.
Experimenting with light not only enhances your visuals but also sets the mood for your content. Want a more dramatic effect? Try low-key lighting to create shadows that captivate your audience. Or, if you’re after a cheerful vibe, a well-lit space can evoke those feel-good vibes. Just remember, finding the right light is like hunting for treasure—sometimes you’ve got to dig a little to uncover those sparkling moments. Here’s a handy table to keep those settings straight:
| Lighting Technique | Best For | Key Takeaway |
|---|---|---|
| Natural Light | Vlogs, outdoors | Free and beautiful! |
| Three-Point Lighting | Interviews, tutorials | Creates depth and professionalism. |
| Diffusers & Reflectors | Softening harsh light | Flattering for all skin tones! |
Crafting Compelling Angles and Composition

Getting the angle just right can feel like finding the perfect piece in a jigsaw puzzle. You want your viewers to feel like they’re part of the action, experiencing every moment up close and personal. Experimentation is key—try different perspectives, like shooting from below to make your subject appear more powerful, or above for an intimate overview. When you’re framing your shots, think of the rule of thirds; it’s a classic for a reason! Instead of putting your subject smack in the middle, align them with the intersections of a grid. This adds dynamism to your shots and keeps your audience hooked.
Composition goes hand-in-hand with angles; it’s the art of arranging your visual elements to tell a compelling story. Things like leading lines can draw the viewer’s eye directly to the focus of your video. Use natural elements like roads, paths, or even shadows to guide attention where you want it. Pay attention to your backgrounds, too—think of them as actors in your scene. A cluttered space can distract from your main character, while clean, aesthetically pleasing backdrops can elevate your footage. Don’t shy away from color contrast; a splash of something bold can make the whole frame pop!
Editing Like a Pro: Bringing Your Vision to Life
Editing is where the magic truly happens, transforming raw footage into a gripping story that resonates with your audience. Think of it as sculpting stone; you chip away the unnecessary bits, shaping your narrative into something beautiful and compelling. To elevate your editing skills, consider these key techniques:
- Cut on Action: This creates a seamless transition that keeps the viewer engaged.
- Use Jump Cuts Sparingly: They can create a dynamic feel, but too many can jar your audience.
- Match Cuts: These bring visual coherence and help maintain the flow of the story.
- Add Sound Effects: Sounds play a key role in enhancing emotion and tension.
Don’t overlook the importance of color grading, as it sets the mood and tone of your video. Imagine your favorite movie; how the hues complement the storyline enhances your emotional connection. If you’re unsure where to start, check out a simple color grading cheat sheet:
| Color Tone | Emotion |
|---|---|
| Warm | Happiness, Joy |
| Cool | Calm, Sadness |
| Vibrant | Excitement, Energy |
| Muted | Tension, Drama |
The Conclusion
So there you have it, folks! Armed with all this knowledge, you’re ready to dive headfirst into the world of YouTube camerawork. Think of your camera as a trusty sidekick, ready to help you tell your story. Whether you’re capturing epic adventures or everyday moments, remember that every frame is an opportunity to connect with your audience.
Get out there, experiment, and don’t be afraid to make mistakes—sometimes the best shots come from the most unexpected bloopers! Keep that creative juice flowing, learn from each video you produce, and share your unique voice with the world.
Lights may fade and cameras might get a bit shaky, but with passion and persistence, you’ve got this! So grab your gear, hit record, and let your creativity shine. Who knows? The next viral hit could come from your lens, just waiting for the world to see. Happy filming!