Ready to jump into the bright and buzzing world of YouTube Live? Going live on this platform isn’t just about hitting that “Go Live” button; it’s like throwing a digital party, where you’re the host and your audience is right there with you, sharing in the excitement! Whether you want to showcase your gaming skills, host a Q&A, or simply chat with your fans, streaming live is a fantastic way to connect in real time. So grab a snack, settle in, and let’s dive into this fun step-by-step guide that’ll get you suited up and ready to roll. We’ll tackle everything from setting up your equipment to engaging with your viewers, because who doesn’t want to be everyone’s favorite live-streamer? Let’s get started!
Setting the Stage for Success with Pre-Live Prep
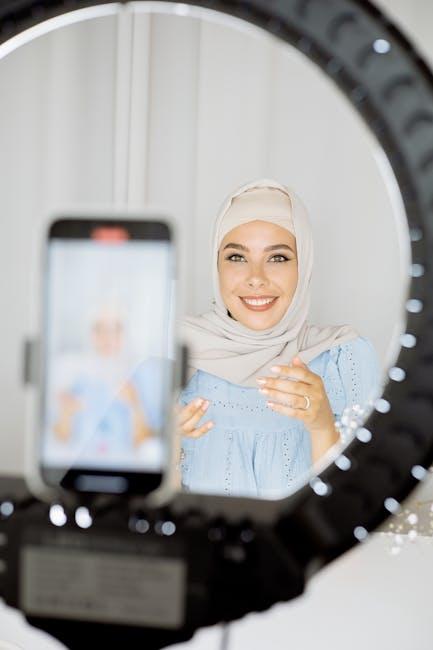
Before you hit that “go live” button, think of your setup as the stage where all the magic happens. It’s all about making sure everything runs smoothly so that your audience can enjoy the show without a hitch. Start by checking your equipment to ensure your camera, microphone, and lighting are in tip-top shape. You don’t want a fuzzy stream or worse, a dead mic. Create a cozy and inviting background that reflects your personality—no one wants to see laundry piling up in the frame! Consider these essential pre-live tasks:
- Test your internet connection: A wired connection typically beats Wi-Fi for stability.
- Position your camera: Eye-level is best to create a personal vibe.
- Lighting matters: Natural light is fantastic; just avoid shadows that make you look spooky.
- Create a checklist: Write down everything you need to prepare beforehand.
Engagement needs to be part of your prep too! Come up with a brief outline of what you want to cover, but keep it flexible—room for spontaneity is what keeps things lively. Think of it like a jam session; you have your main chords down, but the solos just happen! Prepare to interact with your viewers; ask questions and encourage them to chime in. You could even set up a simple table to help you track common questions you might encounter during the stream:
| Common Viewer Questions | How to Respond |
|---|---|
| What inspired you to start? | Share your passion and journey! |
| Can you show us more behind-the-scenes? | Give them sneak peeks for an inside scoop! |
| What’s next for your channel? | Tease upcoming content to build anticipation. |
Mastering the Equipment Essentials for a Flawless Stream
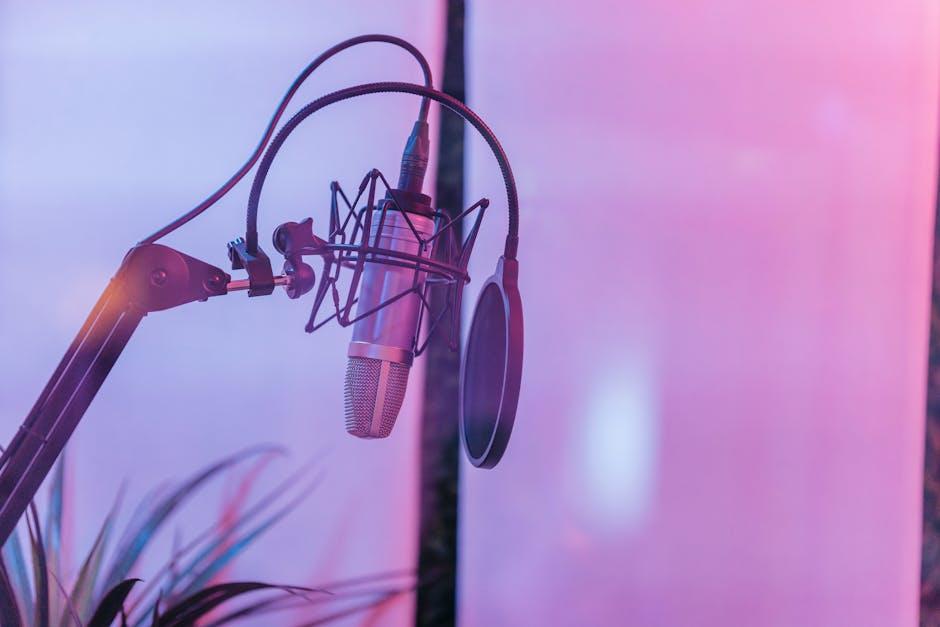
When you’re diving into the streaming world, the right gear can make all the difference. Think of your equipment as the magic wand that’ll help you enchant your audience. You’ll need a good camera that captures your brilliance — a simple webcam can work wonders, but serious streamers often opt for DSLR or mirrorless options for that crisp, professional look. Add a microphone that doesn’t sound like you’re broadcasting from the bottom of a well; a USB mic is perfect for beginners. Don’t forget about lighting! Natural light is amazing, but a ring light can turn your cozy corner into a well-lit stage.
Now, let’s address your streaming software — it’s like your backstage pass. Programs like OBS Studio or Streamlabs are super user-friendly and let you customize your stream to your heart’s content. Don’t overlook your internet connection, either. A wired connection beats Wi-Fi hands down unless you enjoy lagging behind like a turtle in a race. To wrap it all up, here’s a quick checklist:
- Camera: Webcam, DSLR, or mirrorless
- Microphone: USB mic or condenser mic
- Lighting: Natural light or ring light
- Streaming Software: OBS Studio or Streamlabs
- Internet Connection: Wired connection for stability
Engaging Your Audience like a Pro during the Broadcast
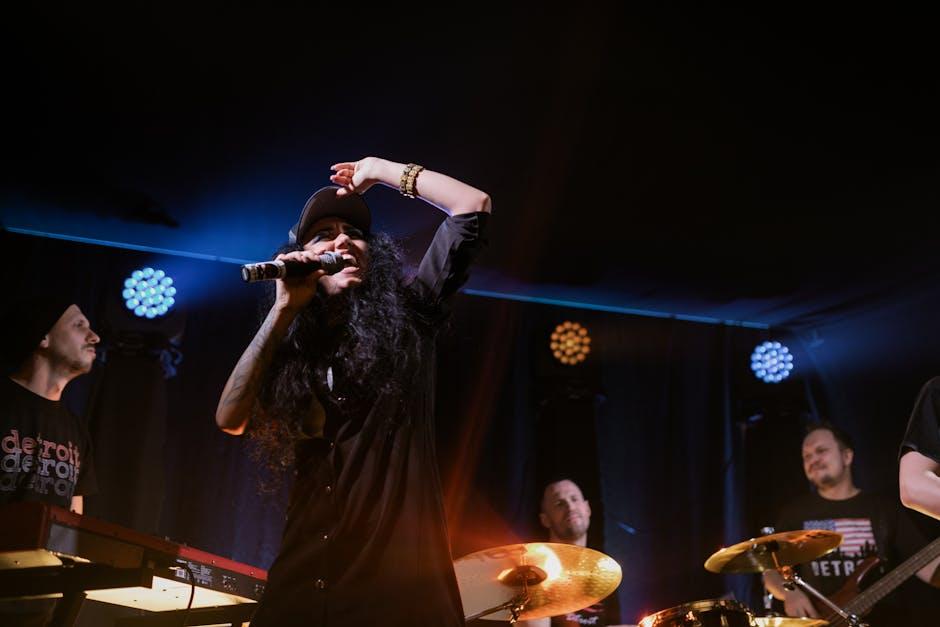
When you’re live on YouTube, it’s all about connecting with your viewers in real-time. Think of it like throwing a party—if you don’t engage your guests, they might just wander off to another room! Start by asking open-ended questions to spark conversations. “What’s your favorite part of today’s topic?” or “Have you ever experienced something similar?” These questions not only warm up the atmosphere but also invite your audience to share their stories, making them feel like they’re part of the experience. Use their responses as springboards to keep the dialogue flowing. It’s like dancing; the more fluid you are, the more vibrant the vibe!
Visuals play a huge role too. We’re talking emojis, funky graphics, or even quick polls that get people excited! Why not incorporate a simple table to highlight some key points? Check out this quick overview:
| Engagement Tactics | Benefits |
|---|---|
| Questions | Encourages participation |
| Visuals | Captures attention |
| Polls | Instant feedback |
By mixing in these elements, your broadcast transforms into an engaging chat rather than just a one-way broadcast. Don’t forget to respond to comments in real-time! Your audience will appreciate your attention, and suddenly, they feel like rockstars too. Remember, it’s not just about talking at them; it’s about inviting them to join the conversation. So, how will you keep the momentum going?

Nailing the Post-Stream Wrap-Up: Building Momentum for Next Time
Wrapping up your stream is more than just hitting that end button—it’s like the grand finale of a fireworks show! This is your chance to turn the buzz of your live session into lasting momentum. Engage your viewers by asking for their thoughts on the stream, what they loved, or even what they want to see next. Make it personal; drop a couple of their names if you can! Not only does this show you appreciate their input, but it also builds a community vibe as they know their voices matter. Plus, don’t forget to promote your next live date. Embed that excitement in your words! You could say something like, “Can’t wait to see your faces next Friday—bring your wildest questions!”
Consider creating a quick feedback loop to enhance future streams. Something as simple as a post-stream survey can work wonders. Not only does it make your audience feel valued, but it also provides you with actionable insights. You might include questions like:
| What did you enjoy most? | How would you rate the stream? | What topics should we cover next? |
|---|---|---|
| Interactions | ⭐️⭐️⭐️⭐️⭐️ | Advanced tips |
| Live Q&A | ⭐️⭐️⭐️⭐️ | Future trends |
| Special Guests | ⭐️⭐️⭐️ | Community challenges |
With this feedback, you can polish your format, boost your content, and keep that excitement brick by brick for the next stream. Your viewers won’t just return; they’ll bring their friends along, too!
The Conclusion
So, there you have it—your fun, step-by-step guide to going live on YouTube! It’s like throwing a virtual party that everyone can join, no matter where they are. Just think of all the exciting moments, spontaneous interactions, and shared laughter waiting for you.
Remember, don’t stress about perfection; your authenticity is what will truly resonate with your audience. As you set up your live stream and hit that ‘Go Live’ button, embrace those butterflies in your stomach—they’re just signs of the excitement that’s about to unfold.
So, gather your ideas, set that camera rolling, and let your personality shine! You’ve got this. Who knows—this could be the beginning of an amazing journey connecting with viewers from all over the world. Now, go out there and start broadcasting your passion! Happy streaming!