Got a playlist on your school Chromebook that’s not doing it for you anymore? Whether you’re flooding your workspace with a mix of old tunes or clunky instructional videos, sometimes it’s time for a clean slate. Maybe you just want to declutter your YouTube, or perhaps you’re crafting a new playlist for that upcoming project. Whatever your reason, deleting those pesky playlists doesn’t have to be a head-scratcher. Let’s dive into some super simple steps to wipe away those unwanted playlists like a pro, so you can focus on more important things, like acing that next assignment or finding the perfect study jam!
Mastering the Basics of YouTube Playlists on Your Chromebook
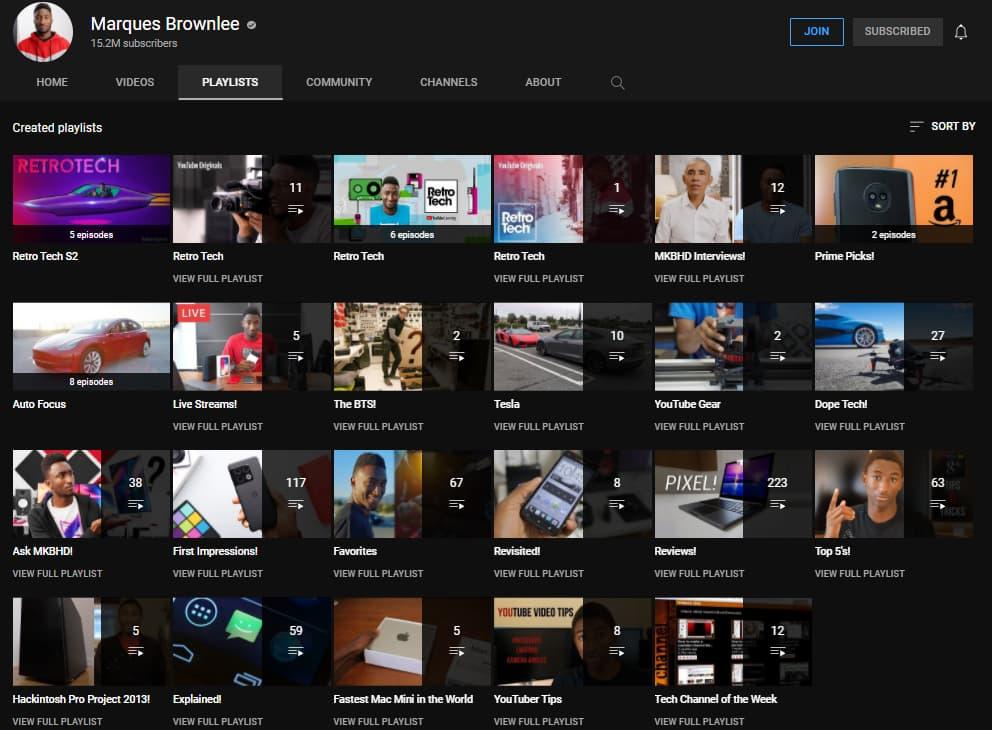
Want to get rid of some YouTube playlists on your school Chromebook? It’s as simple as pie! First, fire up your Chrome browser and navigate to YouTube. Once there, head over to the ”Library” section located on the left sidebar. Here, you’ll find all your playlists neatly organized, just like a well-stocked bookshelf. Now, just click on the playlist you wish to delete. When it opens up, look for the three dots (more options) icon, often tucked away in the upper-right corner. Give it a little click, and you’ll see an option that says “Delete playlist.” Don’t worry, this is like cleaning out your closet—sometimes you just need to make room for new favorites!
If you’re still feeling a little lost, think of it this way: deleting a playlist is like saying goodbye to a book you no longer want on your shelf. Just confirm when YouTube asks if you’re sure about deleting it. It’s important to remember that this action can’t be undone. Once it’s gone, it’s gone! If you ever change your mind, you’ll have to start from scratch to recreate it. But hey, it’s a fresh start, and who knows what amazing content you might discover next!
Navigating the YouTube Interface Like a Pro
Jumping into your YouTube interface on your school Chromebook might feel a bit like trying to find your favorite flavor in a giant ice cream shop. But don’t sweat it! Once you get the hang of it, you’ll be navigating it like a seasoned pro. To kick things off, open up your YouTube app or website. Right there, you’ll see a sidebar with handy links. Look for the “Library” section—this is your personal hub where all your playlists reside. If you’ve got a couple of playlists that no longer tickle your fancy, don’t worry. It’s as simple as pie to delete them and clear up some virtual space!
Finding your playlists is a piece of cake. Just head over to the “Library” section and scroll down to “Playlists”. You’ll see all the playlists you’ve created. Click on the one you want to delete, and you’ll find the 3 dots (also known as the “more” option) next to the playlist title. Click that, and voilà! You’ll see the “Delete” option appear. Give it a click, and just like that, it’s gone! It’s almost like giving your closet a good spring cleaning—you’re just making room for new content that truly inspires you. Pretty smooth, right?
Step-by-Step Deletion: Clearing Out Your Playlists Effortlessly
Clearing out your YouTube playlists on a school Chromebook can feel like a daunting task, but it doesn’t have to be! First off, navigate to the YouTube homepage and log in to your account if you’re not already in. Next, head over to the Library section located on the left-hand menu. There, you’ll find all your playlists gathered in one neat spot, making it super easy to identify which ones you want to turf. Take a moment to browse through your playlists. Are there any old favorites or cringe-worthy collections you could do without? Let’s put those sentimental feelings aside for a moment!
Now, to delete a playlist, simply click on the playlist you wish to remove. Once you’re in, look for the three vertical dots (the More options menu) next to the playlist title. Give it a click, and you’ll see the option to Delete Playlist. A confirmation message will pop up, just to make sure you really want to do it—because there’s no going back once you hit that button! If you’re dealing with multiple playlists, it might help to jot down a little checklist. Here’s a quick reference to keep track:
| Playlist Name | Action |
|---|---|
| Favorites | Keep |
| Old School Jams | Delete |
| Workout Beats | Keep |
Once you’ve crossed off the ones you want to get rid of, you can focus on curating a playlist that really reflects your vibe. How satisfying is it to declutter? By using these simple steps, you’ll lighten your digital load in no time!
Troubleshooting Common Hiccups During Deletion
Encountering issues while trying to delete a YouTube playlist can be frustrating, especially when you’re cruising along smoothly and then hit a speed bump. If you find that your playlist refuses to budge, it might just be a hiccup in your internet connection. Being on a school Chromebook means that network restrictions might also be at play. Check your Wi-Fi connection and try refreshing the page. Alternatively, give those browser extensions a once-over—sometimes, they can cause unexpected detours in your process. If those don’t do the trick, clearing your browser’s cache could help eliminate any stale data that’s causing the playlist to stick around longer than intended.
Another common hurdle is a simple oversight in permissions. Ensure you’re signed into the right Google account — the one that created the playlist in the first place. If you’ve managed multiple accounts, it’s easy to get mixed up. Make sure to double-check! If everything seems on point but the playlist is still embedded in your life like an annoying pop-up ad, a reboot of your Chromebook might just be the refresh you need. Give it a restart and return to the YouTube app; you might be surprised at how often a fresh start paves the way for smooth sailing. Remember, tech isn’t perfect; sometimes it just needs a little nudge to cooperate!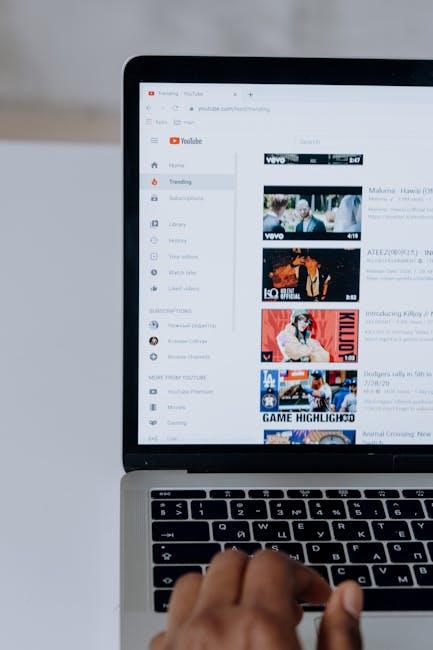
In Retrospect
So there you have it! Deleting those YouTube playlists on your school Chromebook is a breeze when you break it down into simple steps. Think of it like cleaning out your digital closet; sometimes, you just need to make room for the new stuff! Whether you’re clearing out old favorites or just decluttering your watchlist, these easy steps ensure you can quickly and efficiently manage your playlists.
Remember, technology is meant to make our lives easier, not more complicated. So take charge of your YouTube space, keep it fresh, and enjoy your viewing experience without the clutter. If you have any lingering questions or run into hiccups along the way, feel free to reach out! Happy streaming, and may your playlists always bring you joy!